# How to Connect
# Connecting with ClickHouse GUI
Tabix is a lightweight browser-based GUI for ClickHouse that lets you browse tables, write queries, and manage your ClickHouse instance using a preconfigured admin dashboard provided by Elestio.
### **Variables**
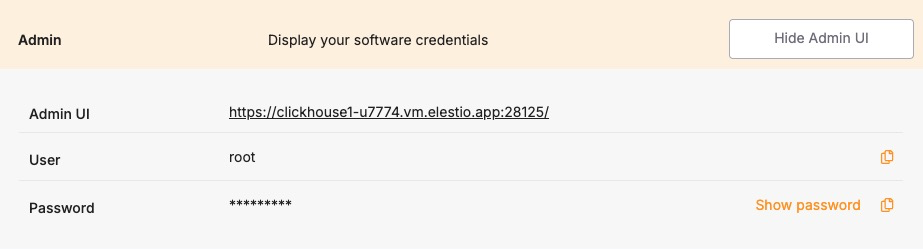
To connect using Tabix, you’ll need the following login credentials. When you deploy a ClickHouse service on Elestio, a Tabix dashboard is automatically created and configured for you. These credentials are available in the Elestio service overview page:
**Variable**
**Description**
**Purpose**
USER
Tabix login username
Identifies the user with access permission to Tabix GUI.
PASSWORD
Tabix login password
Authentication key for the USER to access the Tabix dashboard.
You can find these values in your Elestio project dashboard under the **Admin** section.
[](https://docs.elest.io/uploads/images/gallery/2025-06/lA0image.png)
### **Prerequisites**
Make sure the ClickHouse service is correctly deployed on Elestio and you are able to access the **Admin** section of the service overview page, which includes the Tabix dashboard URL and login credentials.
### **Setting Up the Connection**
1. Launch Tabix from the **Admin UI URL** shown in your Elestio service.
2. Enter the provided **username** and **password**.
3. Click **Login**.
[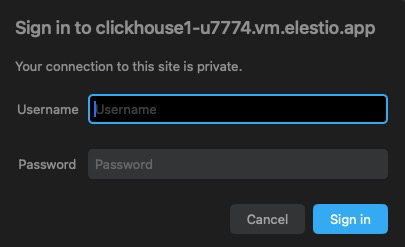](https://docs.elest.io/uploads/images/gallery/2025-06/eFsimage.png)
If the login is successful, Tabix will open directly into the SQL query interface where you can run queries, browse tables, and manage your ClickHouse schema and data.
[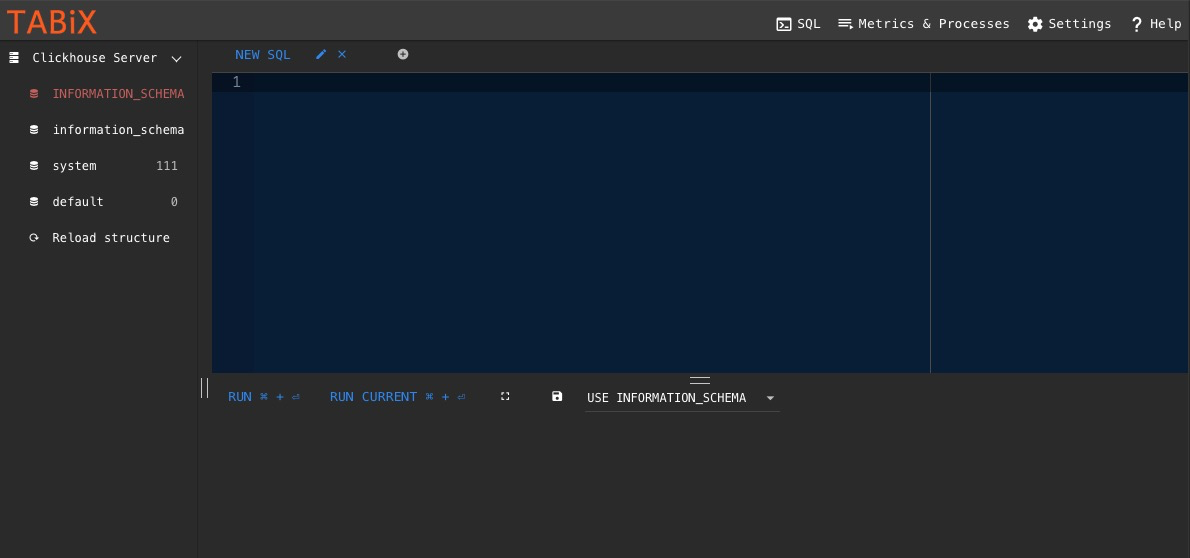](https://docs.elest.io/uploads/images/gallery/2025-06/TT0image.png)