# Database Migration Services for ClickHouse
Elestio provides a easy and reliable approach for migrating ClickHouse instances from various environments such as on-premises servers, self-managed cloud deployments, or other managed services into its fully managed ClickHouse platform. This migration process is designed to ensure data consistency, minimize downtime, and simplify the operational complexity of managing ClickHouse infrastructure.
### **Key Steps in Migrating to Elestio**
#### **Pre-Migration Preparation**
Before initiating your ClickHouse migration, proper preparation is essential to ensure a seamless and error-free transition:
- **Create an Elestio Account**: Sign up on the Elestio platform to access its suite of managed services. This account will serve as the central hub for provisioning and managing your ClickHouse instance.
- **Deploy the Target ClickHouse Service**: Create a new ClickHouse service on Elestio to act as the migration destination. Ensure that the version matches your current ClickHouse setup to prevent compatibility issues. Refer to Elestio’s ClickHouse documentation for supported features such as replication, sharding, merge trees, and compression settings.
#### **Initiating the Migration Process**
With the target environment ready, proceed with the ClickHouse migration using the Elestio migration interface:
- **Access the Migration Tool**: Navigate to your ClickHouse service overview on the Elestio dashboard. Select the “Migrate Database” option to begin the guided migration workflow.
- **Configure Migration Settings**: A prompt will appear to verify that the destination ClickHouse instance has sufficient CPU, RAM, and disk space to receive the source data. Once verified, click “Get started” to begin the migration.
- **Validate Source ClickHouse Connection**: Enter the connection details for your existing ClickHouse instance, including:
**Hostname** – IP address or domain of the source ClickHouse server
**Port** – Default ClickHouse port (9000 for native TCP, 8123 for HTTP)
**Username & Password** – Use credentials with read permissions on all target tables
**Database Name** – The specific ClickHouse database you wish to migrate
Click **“Run Check”** to validate connectivity. Elestio will confirm it can securely access and read from your ClickHouse instance.
[](https://docs.elest.io/uploads/images/gallery/2025-06/VFJimage.png)
- **Execute the Migration**: If all checks pass, click **“Start migration.”** Elestio will begin copying schema definitions, table structures, and all dataset partitions into the new ClickHouse environment. Depending on the dataset size and source performance, this process may take time. Real-time logs and progress indicators will be available to help track progress and address issues promptly.
### **Post-Migration Validation and Optimization**
Once the ClickHouse migration is complete, it’s critical to validate the deployment and ensure optimal performance:
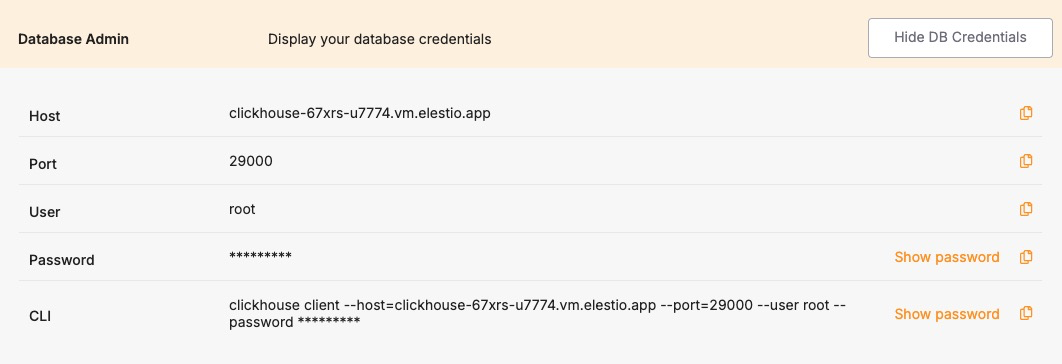
- **Verify Data Consistency**: Use clickhouse-client or Elestio’s integrated terminal to compare row counts, table checksums, and sample queries between source and destination. Confirm that partitions, indexes, and materialized views are intact and functioning.
- **Test Application Connectivity**: Update your application’s ClickHouse connection settings to use the new host, port, and credentials provided by Elestio. Test query performance, batch insert operations, and any dependent pipelines or BI dashboards.
- **Optimize Performance**: Utilize Elestio’s dashboard to monitor CPU, disk IO, and query execution times. Adjust merge tree settings, buffer sizes, and caching parameters to suit your workload. You can also enable sharding or vertical scaling options as needed.
- **Implement Security Best Practices**: Secure your ClickHouse instance by configuring IP allowlists, rotating user credentials, and enabling TLS (if applicable). Elestio provides built-in access control and network isolation to reduce the risk of unauthorized access.
- **Clean Up and Document**: After successful validation, decommission the old ClickHouse environment if it’s no longer needed. Update internal documentation with new hostnames, credentials, cluster topology (if applicable), and any architectural changes made during migration.
### **Benefits of Using Elestio for ClickHouse**
Migrating ClickHouse to Elestio delivers several operational and strategic benefits:
- **Simplified Management**: Elestio handles routine ClickHouse operations like backups, software updates, storage provisioning, and cluster scaling. Its dashboard provides real-time performance insights, query logs, and system metrics all without needing a dedicated database administrator.
- **Security**: Elestio keeps ClickHouse up to date with the latest security patches and offers built-in credential management, IP allowlists, and encrypted connections. Scheduled backups and high-availability options ensure data safety and business continuity.
- **Performance**: Elestio’s infrastructure is tuned to support large-scale analytical workloads with minimal latency. It supports both single-node and clustered ClickHouse setups, providing flexibility for batch analytics, OLAP queries, and real-time data processing.
- **Scalability**: ClickHouse services on Elestio are built to grow with your needs. Users can scale up compute and storage, attach read replicas, or enable distributed clusters. Upgrades and reconfigurations are handled with minimal downtime, making scaling seamless.