# Restricting Access by IP
Securing access to services is a fundamental part of managing cloud infrastructure. One of the most effective ways to reduce unauthorized access is by restricting connectivity to a defined set of IP addresses. Elestio supports IP-based access control through its dashboard, allowing you to explicitly define which IPs or IP ranges are allowed to interact with your services. This is particularly useful when exposing databases, APIs, or web services over public endpoints.
## **Need to Restrict Access by IP**
Restricting access by IP provides a first layer of network-level protection. Instead of relying solely on application-layer authentication, you can control who is allowed to even initiate a connection to your service. This approach reduces the surface area for attacks such as brute-force login attempts, automated scanning, or unauthorized probing.
Common use cases include:
- Limiting access to production databases from known office networks or VPNs.
- Allowing only CI/CD pipelines or monitoring tools with static IPs to connect.
- Restricting admin dashboards or internal tools to internal teams.
By defining access rules at the infrastructure level, you gain more control over who can reach your services, regardless of their authentication or API access status.
## **Restrict Access by IP**
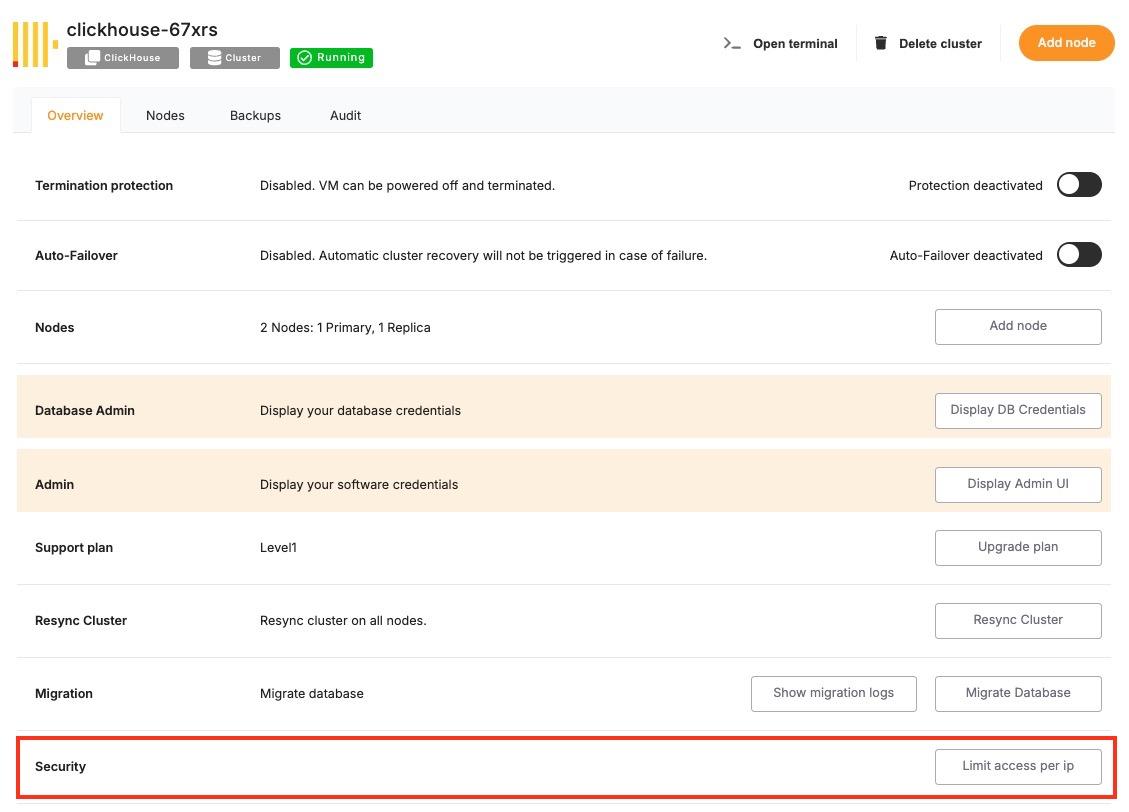
To restrict access by IP in Elestio, start by logging into the [Elestio dashboard](https://dash.elest.io/) and navigating to the **Clusters** section. Select the cluster that hosts the service you want to protect. Once inside the **Cluster Overview** page, locate the **Security** section.
[](https://docs.elest.io/uploads/images/gallery/2025-06/screenshot-2025-06-09-at-3-24-25-pm.jpg)
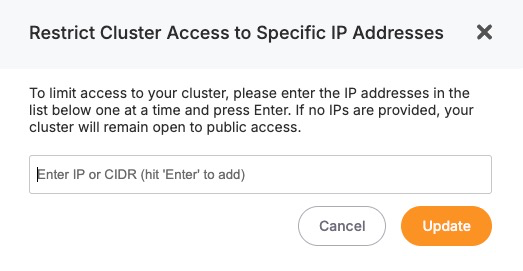
Within this section, you’ll find a setting labelled **“Limit access per IP”**. This is where you can define which IP addresses or CIDR ranges are permitted to access the services running in the cluster. You can add a specific IPv4 or IPv6 address (e.g., 203.0.113.5) or a subnet in CIDR notation (e.g., 203.0.113.0/24) to allow access from a range of IPs.
[](https://docs.elest.io/uploads/images/gallery/2025-06/tS8image.png)
After entering the necessary IP addresses, save the configuration. The changes will apply to all services running inside the cluster, and only the defined IPs will be allowed to establish network connections. All other incoming requests from unlisted IPs will be blocked at the infrastructure level.
## **Considerations When Using IP Restrictions**
- When applying IP restrictions, it’s important to avoid locking yourself out. Always double-check that your own IP address is included in the allowlist before applying rules, especially when working on remote infrastructure.
- For users on dynamic IPs (e.g., home broadband connections), consider using a VPN or a static jump host that you can reliably allowlist. Similarly, if your services are accessed through cloud-based tools, make sure to verify their IP ranges and update your rules accordingly when those IPs change.
- In multi-team environments, document and review IP access policies regularly to avoid stale rules or overly permissive configurations. Combine IP restrictions with secure authentication and encrypted connections (such as HTTPS or SSL for databases) for layered security.