# Deploy a new cluster
#### **How to deploy a new cluster**
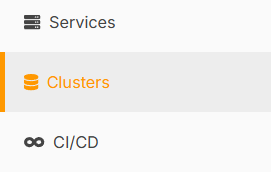
1\) Go to the **Elestio Clusters** tab.
[](https://docs.elest.io/uploads/images/gallery/2025-01/001.png)
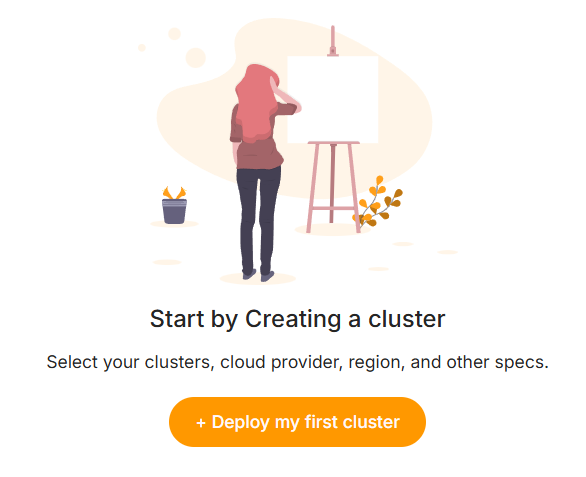
2\) Click on **Deploy My First Cluster**.
[](https://docs.elest.io/uploads/images/gallery/2025-01/002.png)
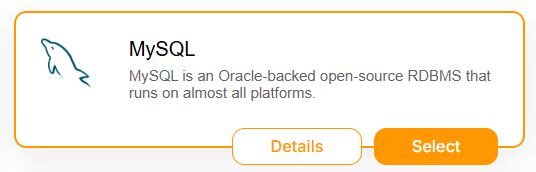
3\) Select your **Software**, for example, **MySQL**.
[](https://docs.elest.io/uploads/images/gallery/2025-01/003.png)
4\) Choose your **Provider** and **Service Plan**, then click **Next**.
5\) Choose a name for your cluster, for example **mysql-cluster**
6\) On Select Support & advanced setting part, scroll down until Cluster configuration(Optional) part.
Here, you’ll have three configuration options:
- Single Node
- Primary/Replica
- Multi-Master
**Single node**
**[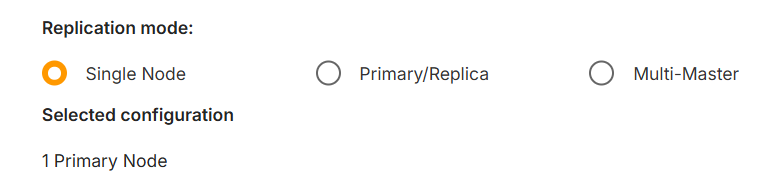](https://docs.elest.io/uploads/images/gallery/2025-01/004.png)**
When choosing the **Single Node** option, you’ll deploy a standalone node for **MySQL**. This means only one node will be set up, but it will already be configured as a **Primary** node. This setup ensures that, in the future, if you want to scale by adding one or more nodes, it will be seamlessly possible without requiring reconfiguration.
**Primary/Replica**
**[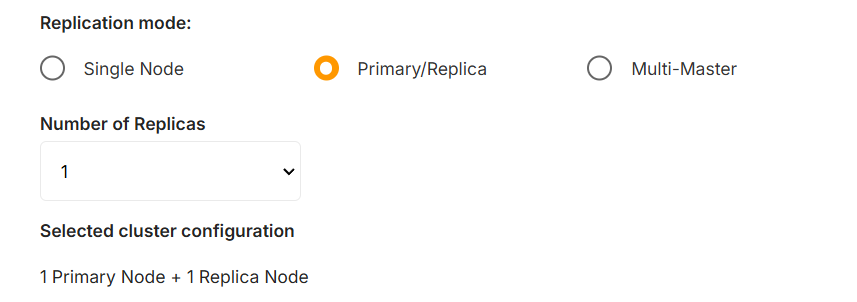](https://docs.elest.io/uploads/images/gallery/2025-01/005.png)**
When choosing the **Primary/Replica** option, you will deploy at least one **Primary** node, and you can specify the number of replicas to include in the cluster.
By default, the number of replicas will be determined by the minimum required for the selected software. However, you can increase the number of replicas as long as it fits within your **Service Quota**.
For example, if you select **3 replicas** from the dropdown, your cluster will consist of **4 nodes**: 1 **Primary** and 3 **Replicas**.
**Multi-Master**
**[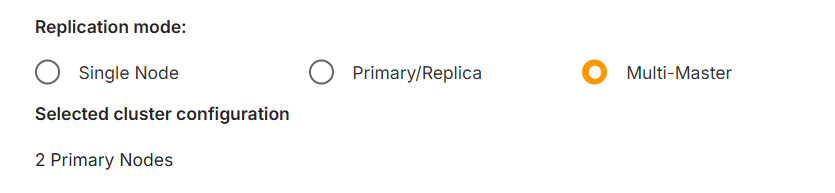](https://docs.elest.io/uploads/images/gallery/2025-01/006.png)**
When choosing the **Multi-Master** option, you will deploy **2 Primary nodes** that are connected to each other, ensuring mutual synchronization and redundancy.
It’s important to note that not all software supports this option. Make sure to verify compatibility with your selected software before proceeding.
7\) Click on **Create Service**.
Now your cluster will be configured. Depending on the selected software, this process may take a little time.
**CNAME**
When deploying a new cluster, you will choose a **CNAME**. In our example, we used **mysql-cluster.**
Each node in the cluster will inherit the base name and receive a number incrementally.
For example, if you deploy a **Primary/Replica** cluster with 3 nodes, the nodes will be named:
- **mysql-cluster1**
- **mysql-cluster2**
- **mysql-cluster3**
These names will also be used for their individual CNAMEs, automatically created by **Elestio**.
In addition, you will have a **CNAME** for the base name itself, such as **mysql-cluster.**
This base CNAME will always point to the **Primary Node**. If you promote a new node to Primary, the base CNAME will automatically update to reflect the change, ensuring seamless continuity without requiring reconfiguration across your services.