Domains
Domains
- Buying a Domain from Elest.io
- How to Transfer your Domains from GoDaddy /others to elestio
- How to Renew a Domain on Elestio?
- How can I change the name server for elestio domains?
- Locking/unlocking a domain
Buying a Domain from Elest.io
Great brand names are like magnets that people gravitate towards. Try https://elest.io/domains domains to get your business's unique brand identity.
In today's fast-paced digital world, establishing a strong online presence is crucial for businesses, individuals, and creative projects alike. One of the foundational steps in building this presence is securing a domain name that reflects your brand, vision, or purpose. In this guide, we'll walk you through the process of purchasing a domain from Elest.io, a trusted domain registration platform known for its user-friendly interface and reliable services.
Why Choose Elest.io?
Elest.io stands out as a reputable domain registration platform for several reasons:
Step-by-Step Guide to Purchasing a Domain from Elest.io:
Step 1: Navigate to Elest.io
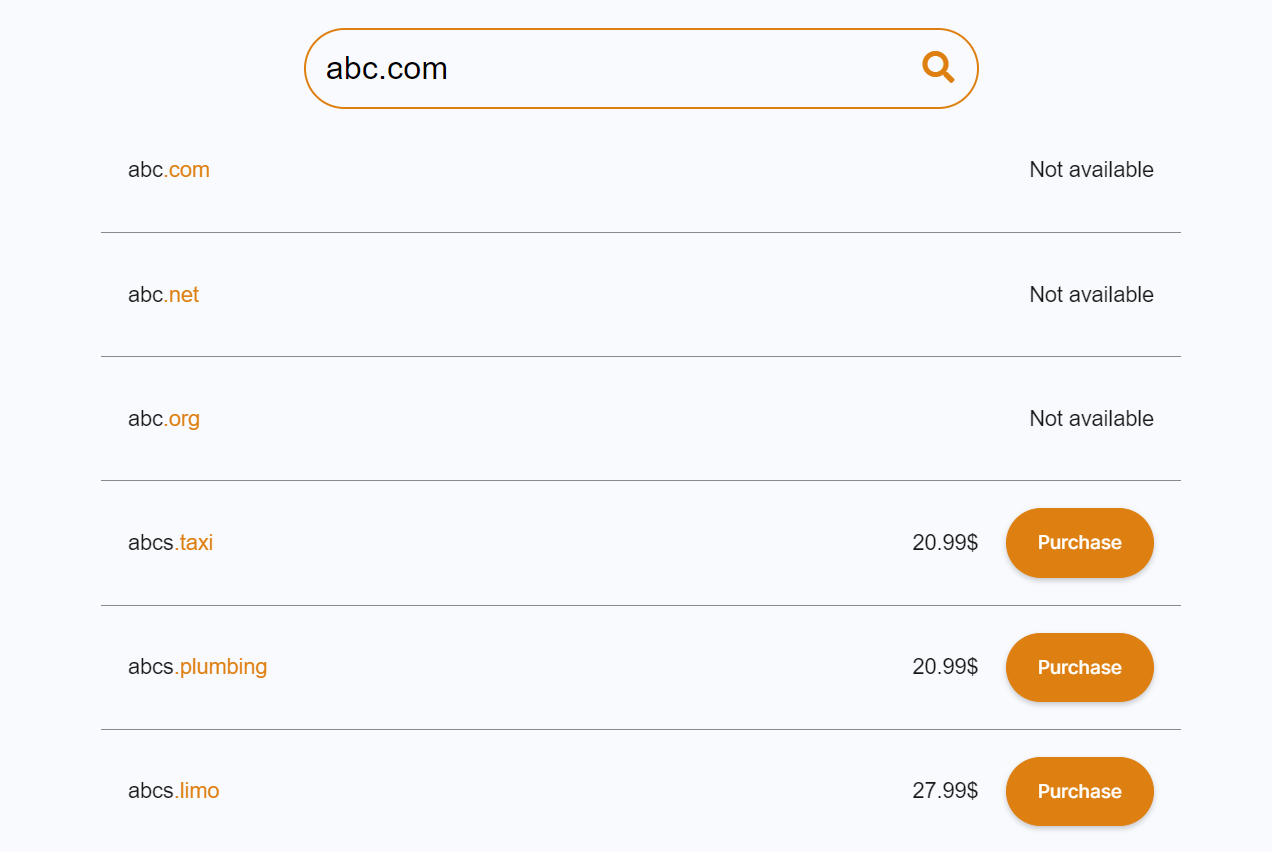
Step 2: Choose Your Domain

Step 3: Check Availability and Pricing
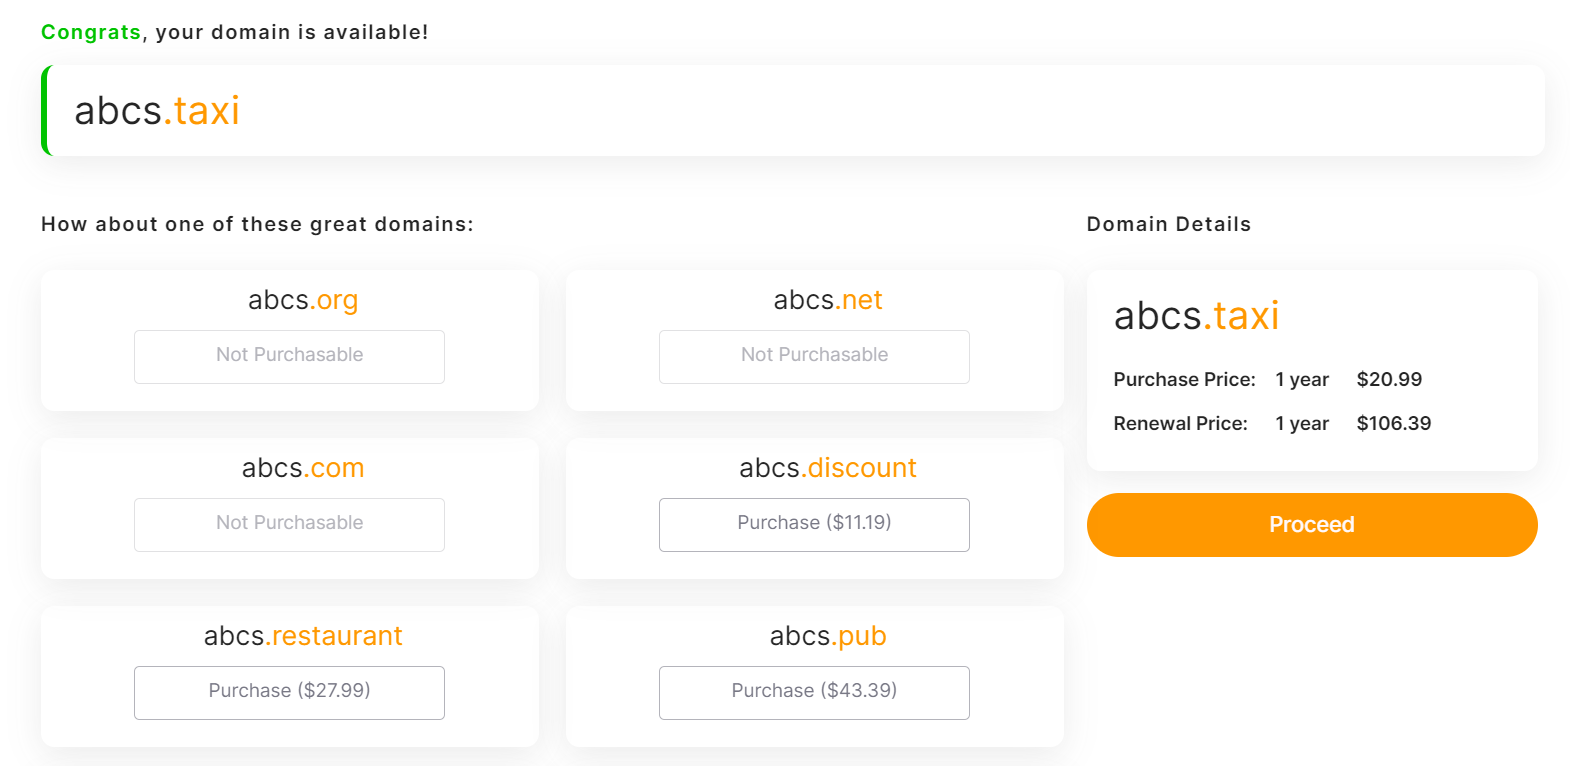
Step 4: Purchase

Step 5: Review and Proceed
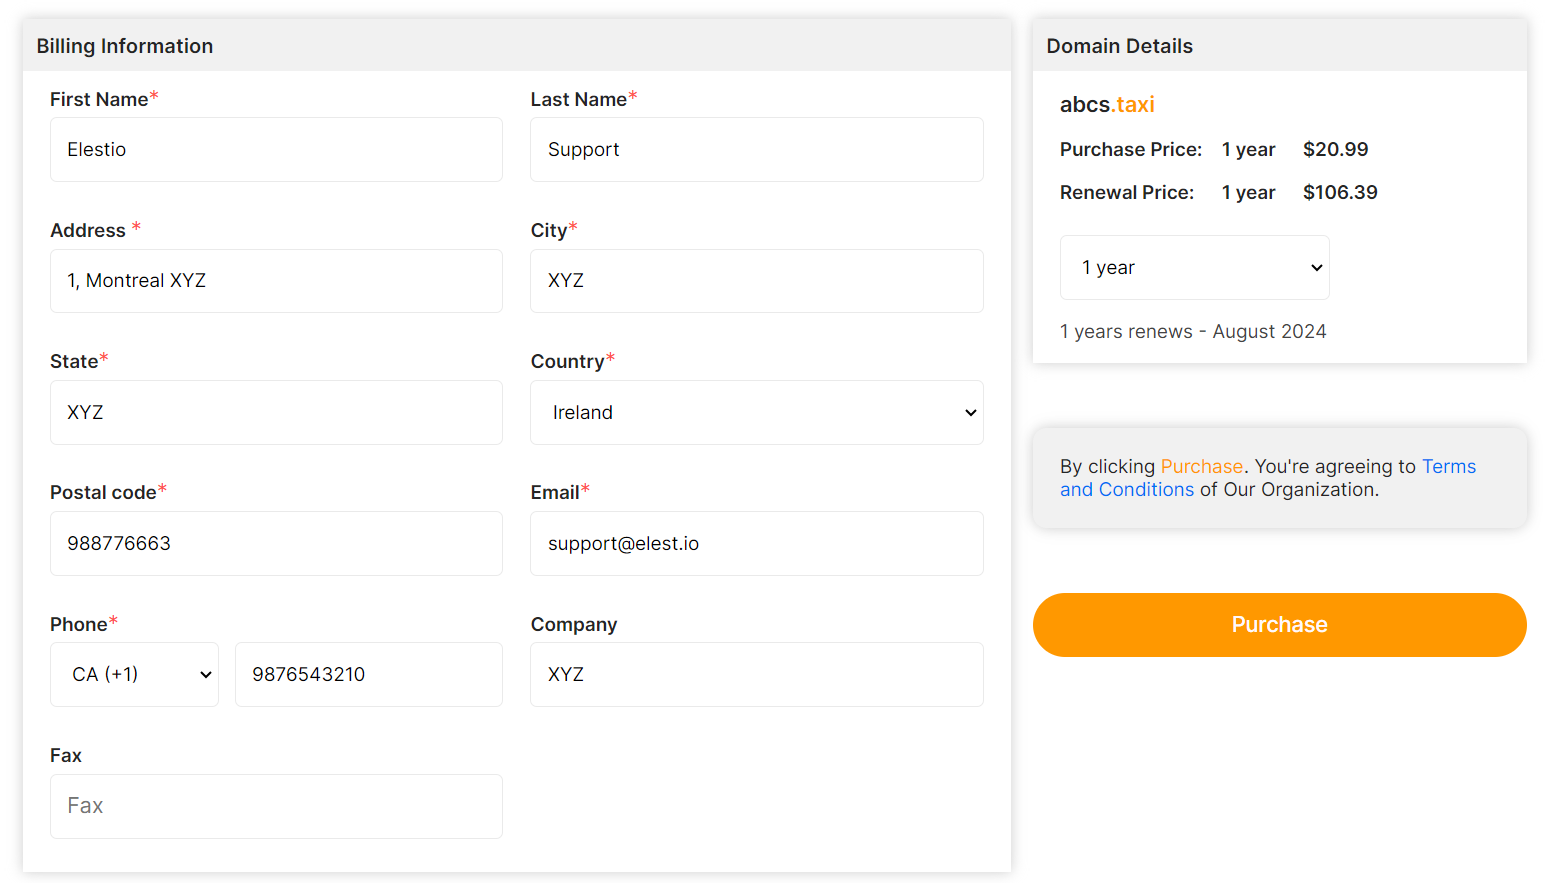
Step 6: Personal Details and Year Selection.
Elest.io takes data security seriously, so you can rest assured that your information is in safe hands.
After clicking the "Purchase" button, you will be asked to confirm your purchase by reviewing the domain name, price, and number of years. Click the "Confirm" button to confirm the purchase.
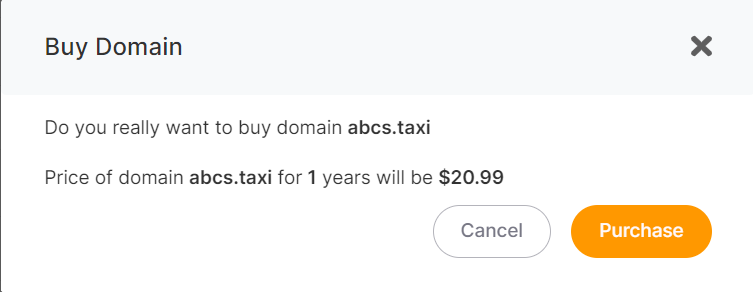
It will just take a few seconds for your domain to be purchased and added to your project's Domains list🚀
How to Transfer your Domains from GoDaddy /others to elestio
If you desire to transfer your domain to Elestio, here is a comprehensive, step-by-step guide that will enable you to successfully migrate your domains to Elestio while effortlessly continuing to develop your online presence.
Before initiating the domain transfer process, ensure you have completed the following steps:
- Verify domain eligibility: Confirm that your domain is eligible for transfer. The domain must be at least 60 days old
as per ICANN policy, should not be in the process of expiration or redemption, and must not have a transfer lock enabled.
- Obtain the EPP/Auth Code: Request the EPP (Extensible Provisioning Protocol) or Auth Code from GoDaddy/others for the domain you wish to transfer. This code serves as an extra layer of security during the transfer process.
- Backup your domain settings: Take note or screenshot your current DNS settings, email forwarding configurations, and any custom settings associated with the domain to replicate them on Elestio after the transfer.
Step 1. Unlock the domain in your GoDaddy account
- Log in to GoDaddy, navigate to the domains menu, and then click “launch” for the domain you intend to transfer. If you’ve enabled privacy protection for the domain, you’ll need to turn it off before proceeding.
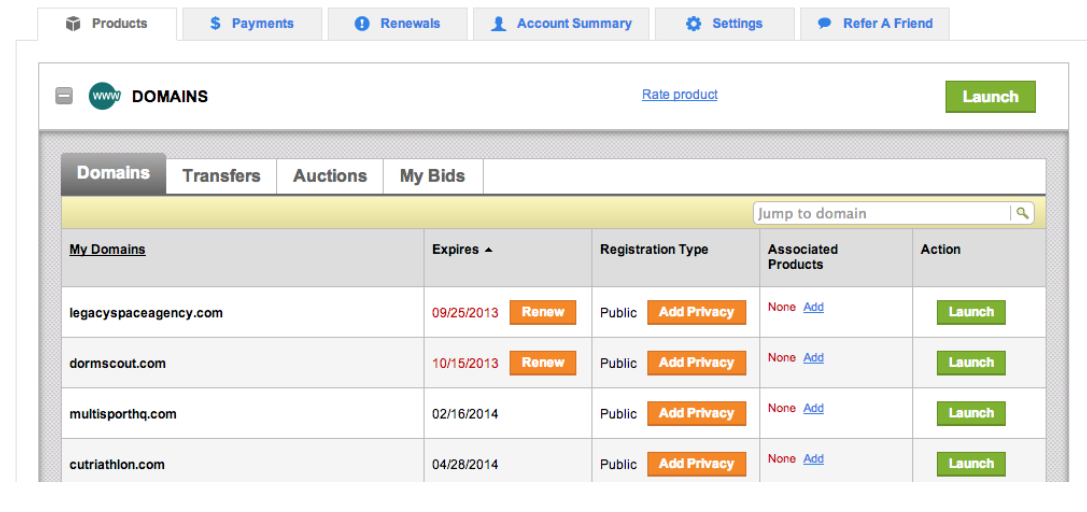
- After clicking “Launch,” you’ll be taken to a menu where you can manage settings for that specific domain. Click the “Manage” link in the “Lock” section, and a dialogue box will open.
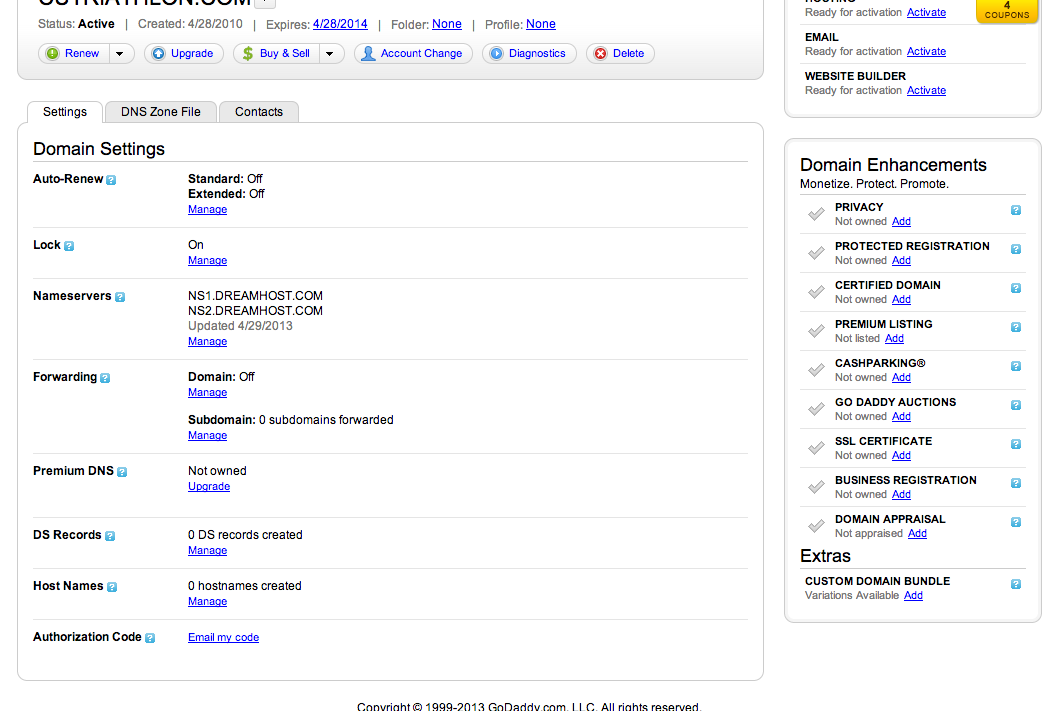
- Switch the lock setting to “Off,” and then click “Save.”

Step 2. Get an authorization code
- After unlocking the domain you’ll return to the domain settings page. Scroll to the bottom, click the “Authorization code” link, and then click “Send” to have an authorization code sent to the email address associated with the domain.


- You should receive an email containing the authorization code within a few minutes.

Step 3. Use the elestio domain transfer page to initiate your transfer.
- Go to the elestio dashboard and click on domains in the left sidebar.
- Click on the text "Want to transfer your existing one ?" in the top right side.
- Fill in the appropriate fields for the domain name and the authorization code (which you just received via email), and then click the “Create Transfer” button.
Step 4. Confirm the domain transfer at GoDaddy.com
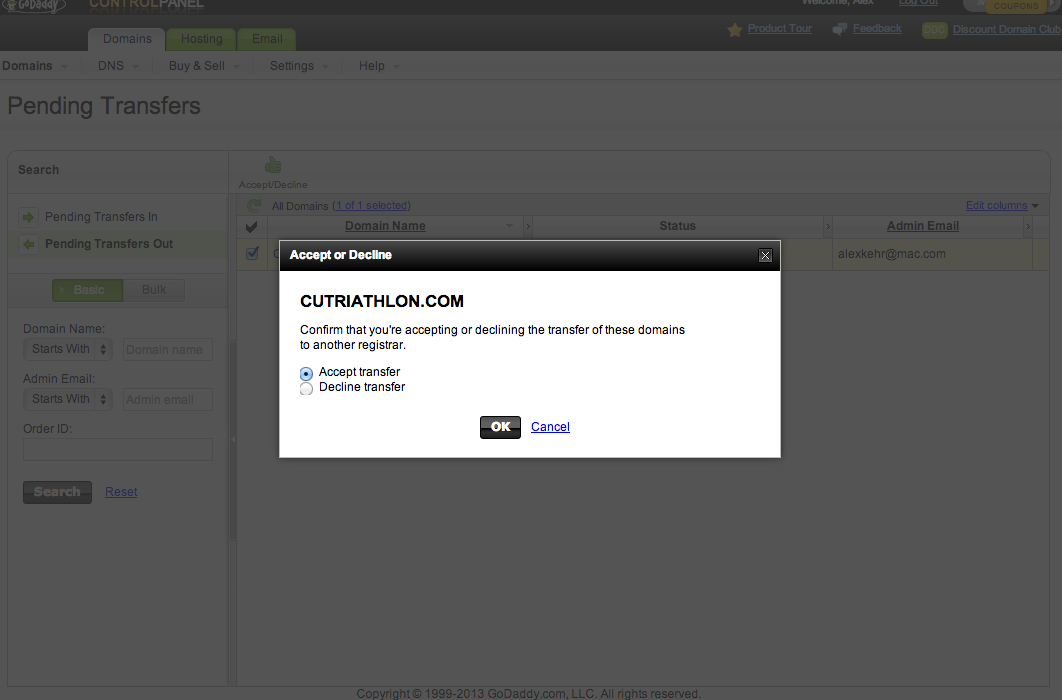
- Once you’ve approved the transfer, you’ll receive an email from GoDaddy (it may take a few hours). It’ll include a link to your GoDaddy account, where you can confirm the transfer.

- Clicking that link will take you to the transfers page in your GoDaddy account. Click on your pending transfers, follow the “Accept of decline transfer now” link, and accept the transfer.

Celebrate! Your domain is now safe and sound in your elestio account 🚀
Transferring your domains from GoDaddy to elestio can be a straightforward process when following the steps mentioned above. Remember to prepare in advance, backup essential domain settings, and ensure your domain is eligible for transfer.
This guide is intended for GoDaddy users; however, it can also be applied to other service providers. You may begin the transfer process on your provider's account and subsequently proceed with step 3 to execute it on elestio.
How to Renew a Domain on Elestio?
It is always best to renew a domain name before it expires so there is no interruption in service and there is no risk of losing ownership of the domain name.
You can renew a domain for a minimum of 1 year and up to a maximum of 10 (you cannot exceed 10 years).
You can renew your domain by following these simple steps:
Step 2: Choose your domain from the list that you want to renew.
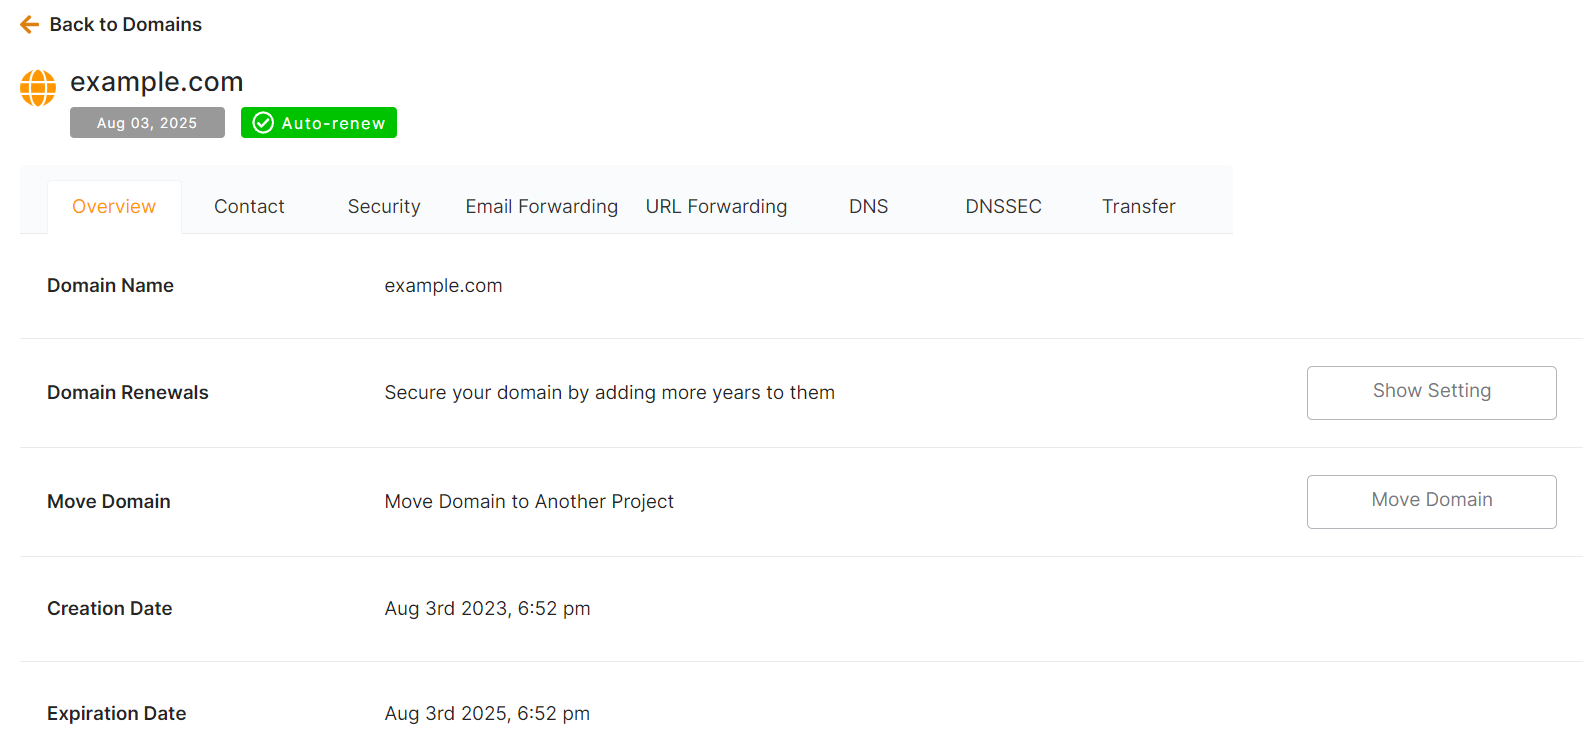
Step 3: In the Domain Renewals row, click the Show Setting button.
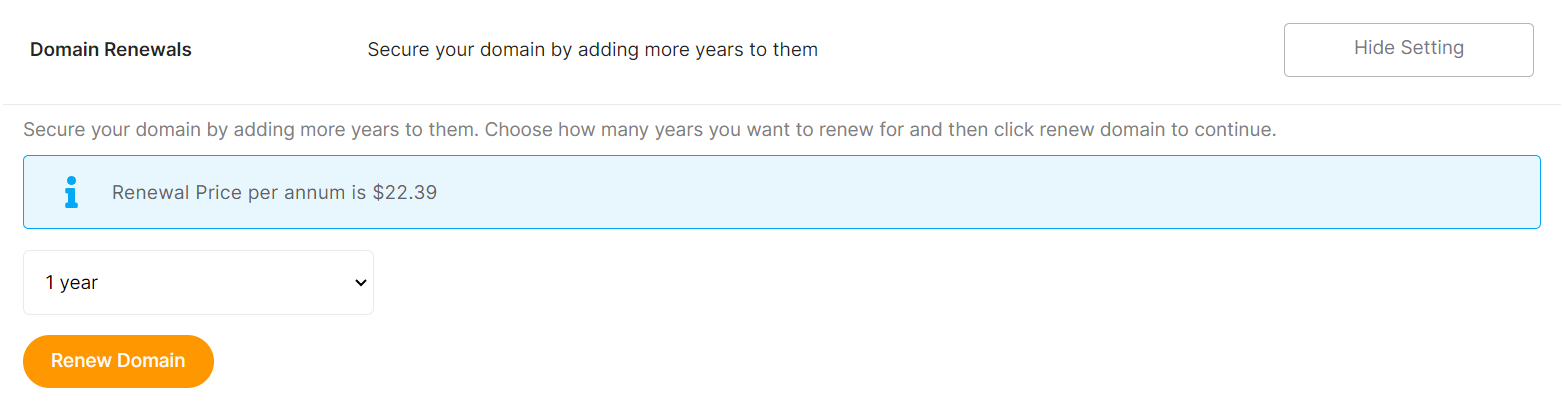
Step 4: Now you can review the domain's renewal pricing and select the number of years you want to renew before clicking the Renew domain button to proceed.
Step 5: After selecting "Renew Domain," a confirmation window will now open where you can review the cost and number of years you choose.
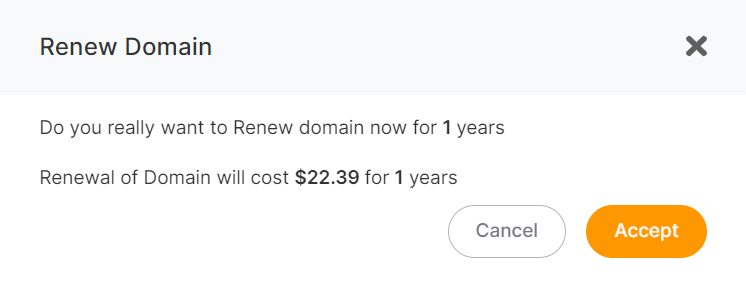
Step 6: By clicking the Accept button, you can confirm the renewal.
Your domain will be renewed in a few seconds after you accept the renewal. 🚀
How can I change the name server for elestio domains?
Nameservers are the first thing domain names look to when they need to know where the content of a site is located. Nameservers dictate the DNS, which means you have to set up the DNS records with your nameserver provider.
If you use elestio nameservers, then elestio manages and hosts your DNS, and everything DNS-related needs to be set up in your elestio account. If you do not use elestio domain nameservers then we do NOT manage your DNS, and you will need to set up the DNS records with your nameserver provider.
In order to manage DNS records or use URL forwarding through elestio, you will need to use our default nameservers which are:
- ns1.name.com
- ns2.name.com
- ns3.name.com
- ns4.name.com
You can add the default elestio nameservers or point others by following the instructions below:

Step 2: Select your domain from the list to change the name server record.
Step 3: In the Domain overview, click the Security tab.
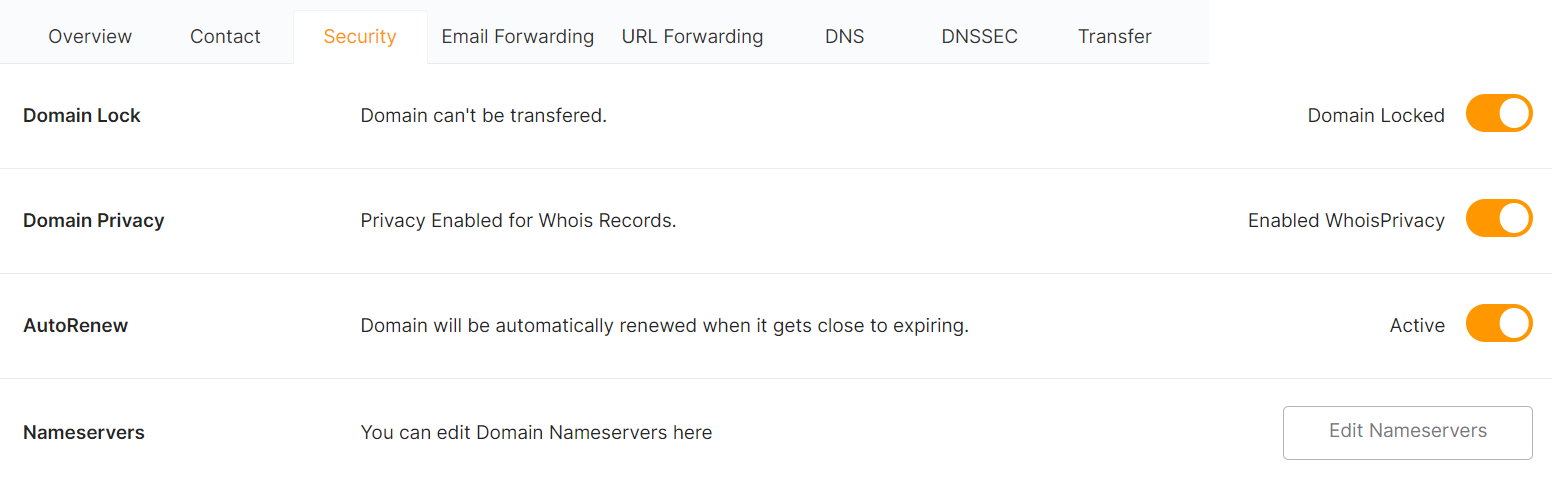
Step 4: Now, In the NameServers row, click the Edit NameServers button.

Step 5: You can add or update your name server record here. To save your changes, click the Update information button.
Locking/unlocking a domain
The domain lock is an added layer of security to guard against unauthorized domain transfers. You can lock or unlock your domain by following the instructions below:
Step 2: Select your domain from the list to change the setting of the lock/unlock domain.
Step 3: In the Domain overview, click the Security tab.
Step 4: Now, In the Domain Lock row, click the Toggle Switch to lock/unlock the domain.
Once the switch to "lock/unlock" the domain has been flipped, a confirmation window will now open, allowing you to confirm the operation by clicking the "Lock" or "Unlock" button.
As soon as you confirm the action, your domain's Lock/Unlock settings will change.
This only affects transfers, so it is best to leave a domain name locked unless you are about to transfer it to another registrar.
Why won't my domain name unlock?
ICANN, the group that regulates the distribution of domain names, has a very strict rule that domain names cannot be transferred to another registrar within 60 days of the date they were registered or transferred to a new registrar. This is done to prevent fraud. Unfortunately, since this is an ICANN rule and not an elestio rule, there is no way we can remove the 60-day hold.
The good news is that you can fully use your site while the domain name is locked. Your hosting provider or website builder will give you either name servers or DNS records to point to the domain name.