How to Deploy Your React App to Elestio
Are you looking for the simplest tutorial for deploying a React app on Elestio? Do you want to deploy a project in less than a minute but don't know how? Here's the walkthrough!
On Elestio you can deploy any application even without technical knowledge😀
In this tutorial, we will deploy a simple ReactJS app that was created using the create-react-app command. You can use any existing application, create a new one with create-react-app, or simply fork and use our example by following the links below.
To learn more about the elestio CI-CD, go here.
If you're new, sign up for Elestio, otherwise, login to your existing account.
Follow these steps to deploy a project on elestio:
Step 1:
Go to ci-cd from the left sidebar.
Step 2:
Now, select the deployment source.
In this tutorial, I'm deploying using GITHUB, but you can also use GITLAB if you have a project there.
Step 3:
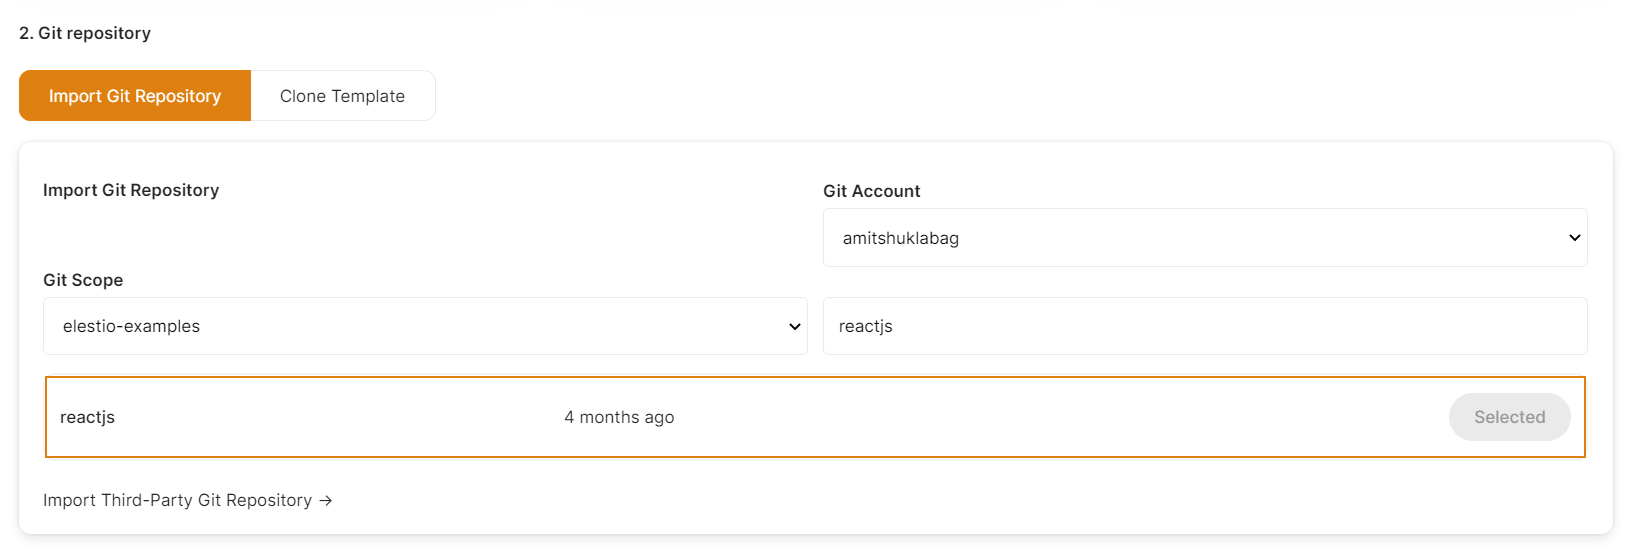
Select the repository.
If you have already authenticated your GITHUB or GITLAB account in ci-cd for repository access, you can choose the desired repository to deploy directly. Otherwise, you must first authenticate your GIT account with elestio ci-cd for repository access.
Step 4:
Choose Deployment Targets
Elestio offers two types of deployment targets "Deploy on a new VM" and "Deploy on an existing VM".
You are allowed to set up n pipelines on each elestio Ci-CD target/VM. According to the project configuration you select and the project you're deploying, the number of pipelines varies.
If you want to deploy these projects as a pipeline on a new Target/VM or don't have any installed targets, choose "Deploy on a new VM." If you already have any installed or previously configured ci-cd targets/VMs, choose "Deploy on an existing VM," and then choose the existing target from the targets dropdown.


