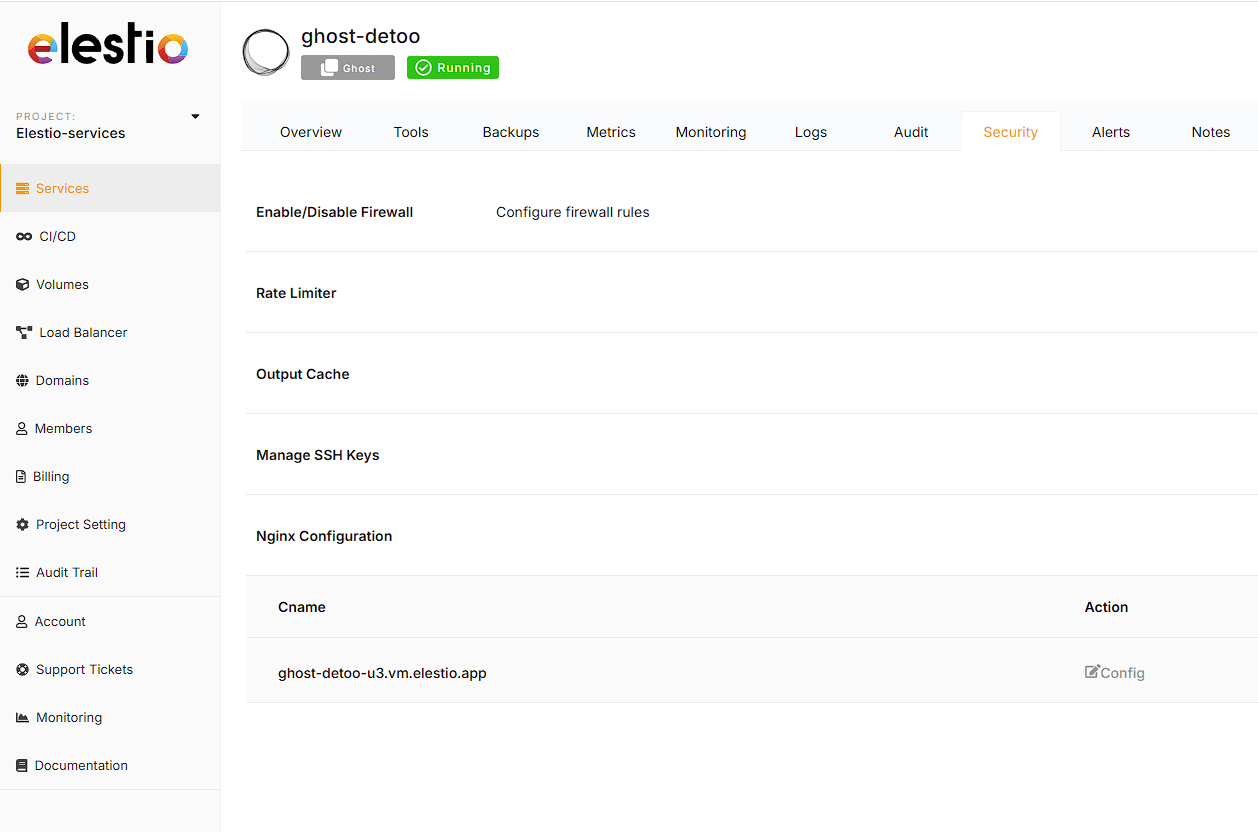
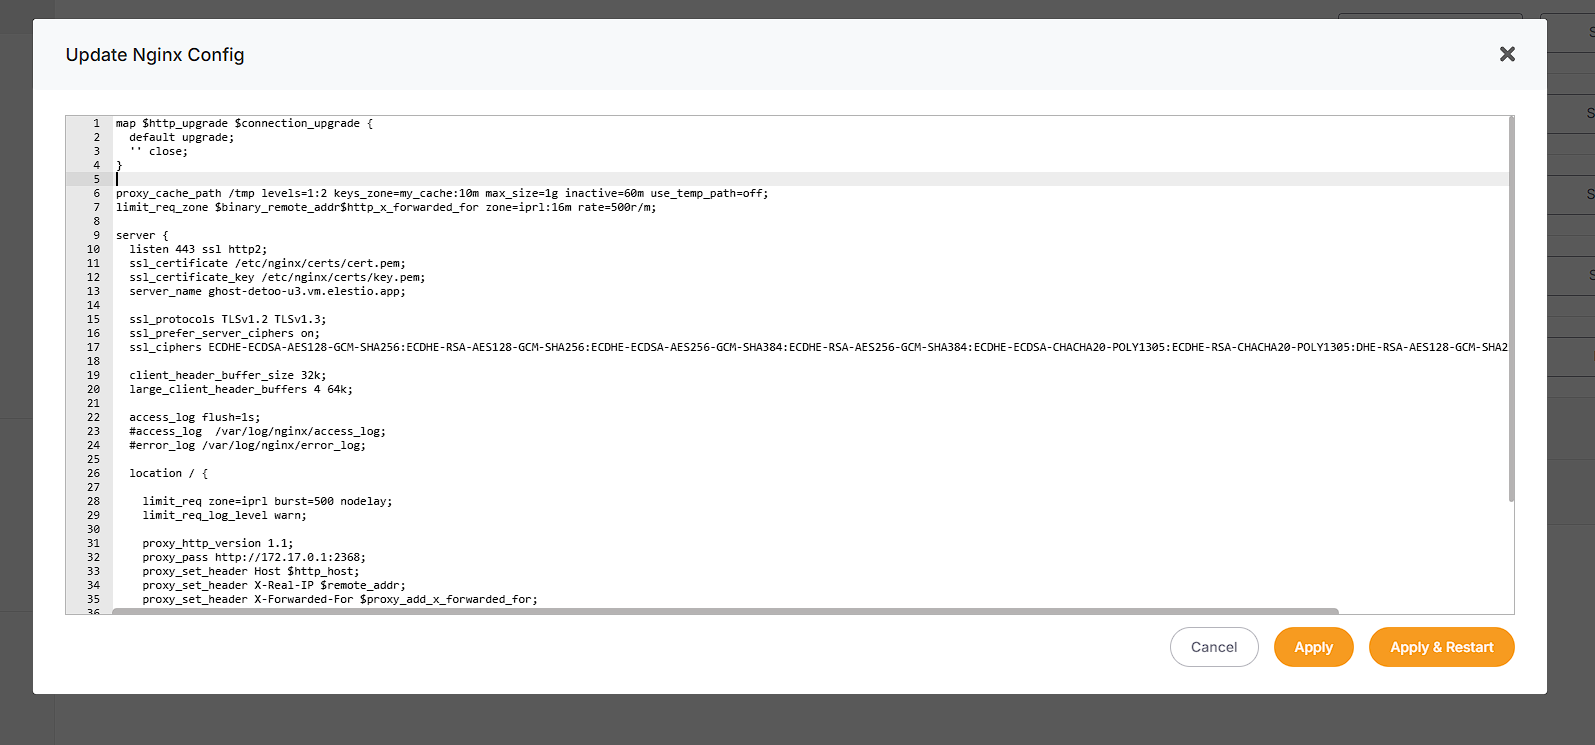
Nginx advanced configuration
If you have activated the firewall on your service ensure port 80 is open or else certificate creation/renewal will fail
Access the "Manage SSL Domains" option within the "Custom Domain Names" row located in the overview tab ofFrom the service dashboard.

From there, you can manage allowed domains for SSL. If you wantpossible to add a new domain, type it and press enter to add it to the list of authorized domains. You will also need to create a DNS entry to point your domain to the IP address of your service.
You can create an A or CNAME record to point to your service. CNAME is preferred as it won't change even if your IP changes (e.g., this can happen if you clone/migrate your service to another provider).
Once added, you can verify if your DNS entry is propagated with a tool like https://dnschecker.org/
Once propagated, SSL should work instantly on your service. The certificate will be automatically generated and renewed.
Important
For some software, you must also update an env var to indicate the domain to be used. To do that in the overview screen of your service click on the UPDATE CONFIG button > Env tab > there update the domain env var with your domain
Cloudflare users
If you are using Cloudflare reverse proxy (orange cloud icon), please check detailed instructions about Cloudflare & Elestio here:
https://docs.elest.io/books/security/page/using-cloudflare
Troubleshooting SSL not generated
You can displayedit the nginx logconfiguration with this command in a terminal:
cd /opt/elestio/nginx;
docker-compose logs -f;
Press Ctrl+C to stop displayingfor the liveelestio logs
subdomain
Resetdomain SSL_DATA folder
In some cases, the /opt/elestio/nginx/ssl_data folder can become corrupt. If this happens, connect to a terminal and try this:
cd /opt/elestio/nginx/;
docker-compose down;
mv ./ssl_data/ ./ssl_data_old/;
mkdir ./ssl_data/;
chmod 777 ./ssl_data/;
docker-compose up -d
Once executed, just open your& custom websitedomain