
Create a new volume
To create a new volume in an Elestio:
Step 1:
Open Elestio Dashboard and then click the volume tab in the left sidebar.

Step 2:
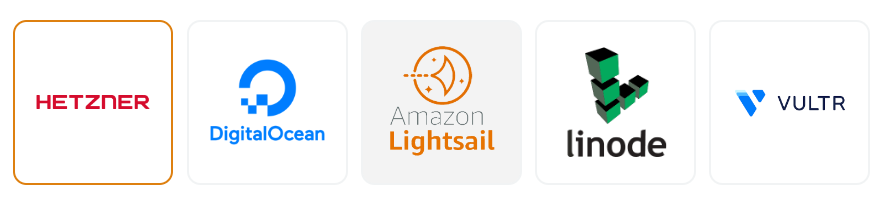
Select Service Cloud Provider
Elestio has the top 5 cloud partners in 85 locations across 27 countries (AWS Lightsail, Digital Ocean, Vultr, Linode, and Hetzner).
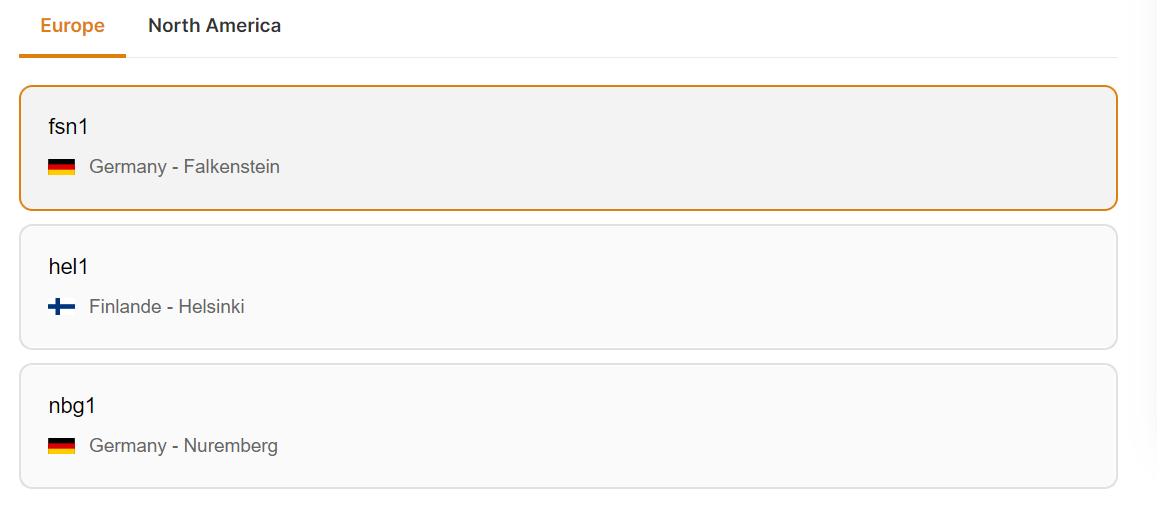
Step 3:
Select Service Cloud Region
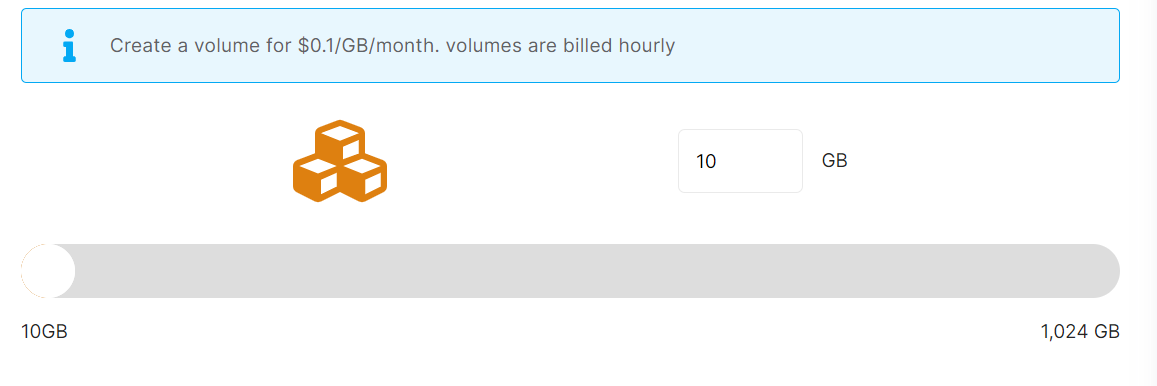
Step 4:
Choose the Volume Size
You can choose the volume size between 10-10,000 GB.
Whenever you want, you can use our resize volume feature to change the size of your volume, but the new volume size must be larger than the old one.
Step 5:
Select the target service where the volume will be attached(Optional)
It was an optional field, so you could configure it either during the volume creation process or after if you wanted to attach the volume to any service.
Selecting the active service from the same provider and region in these dropdowns will allow you to attach a service at the same time that you create a volume.

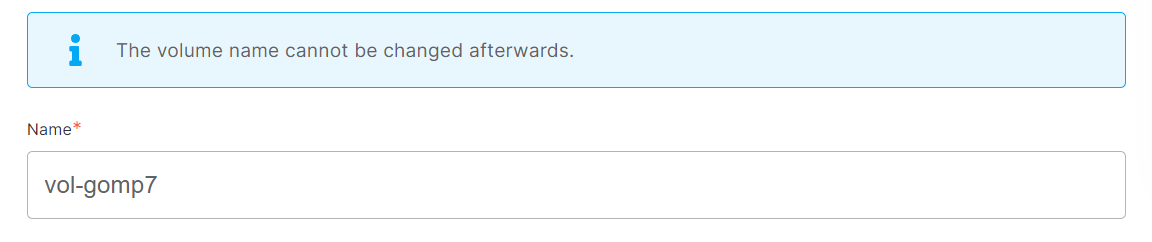
Step 6:
Provide Volume Name
If you want to deploy it with a different name, you can customize it. By default, we configure it with a dynamic unique name.
Step 7:
Click the Create volume button to create your volume.

In a couple of seconds, your desired volume was created on elestio 🚀.