Deploy own docker-compose apps using Elestio "Custom docker-compose"
This tutorial will walk you through the process of deploying your own custom Docker image to the Elestio cloud.
Use cases:
- Deploy one or multiple instances of stateful apps like Wordpress / Directus / MySQL / Redis / RabbitMQ / ...
- Deploy an internal service available only to your private network
- Deploy an application that was created elsewhere and published to a private Docker registry.
First, open the Elestio dashboard and click on CI/CD
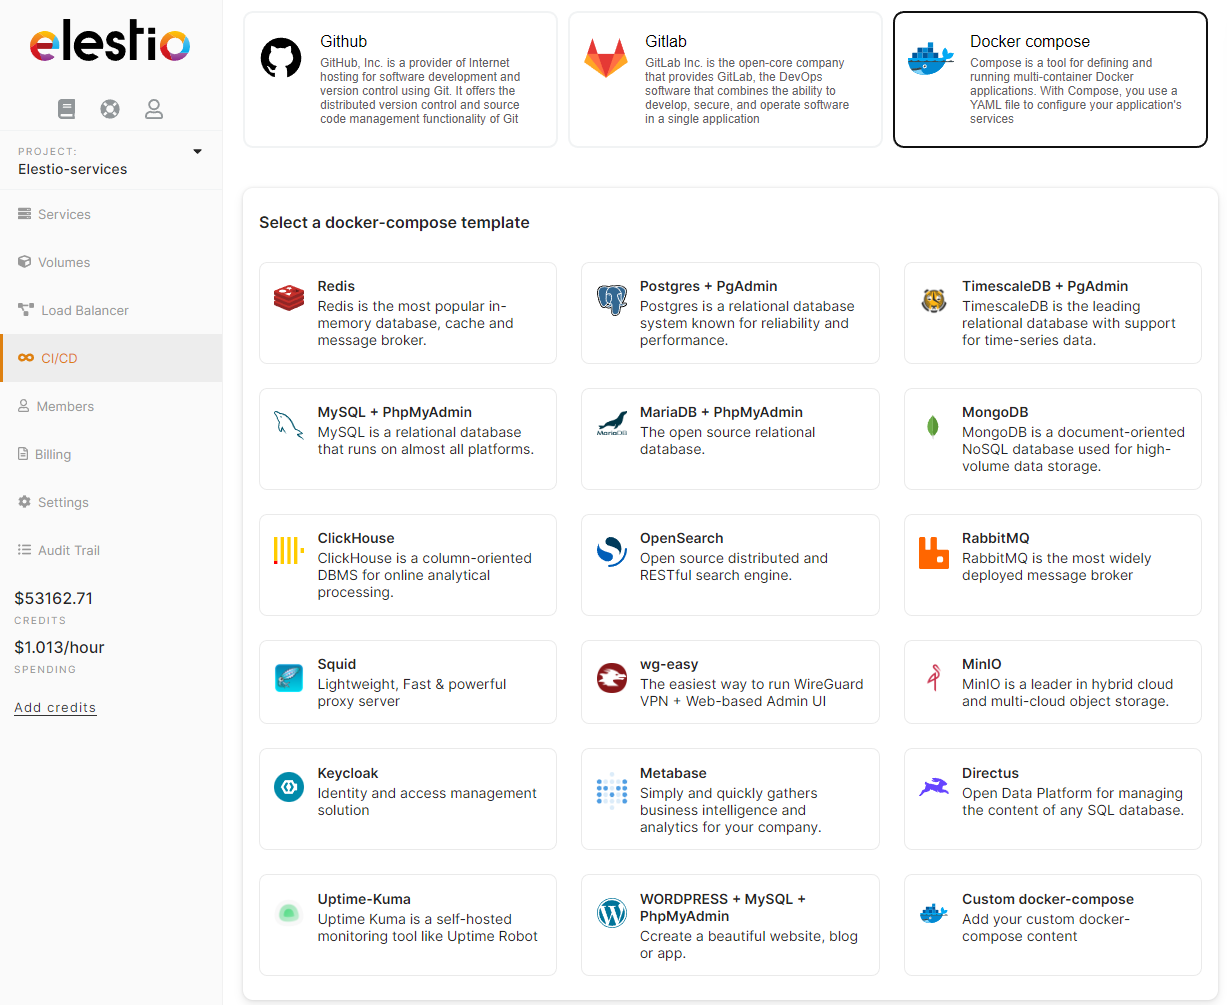
1) Select your app to deploy
When you select Docker to compose the deployment method, we provide a few samples of applications that you can deploy
From there click on Github or Gitlab, and you will be asked to provide authorization to list your projects in Elestio.
Then you will be able to browse Organizations & Repositories detected on your account. You can also use the search to find directly your project to deploy. Once you found it, click on Import, then click on next.
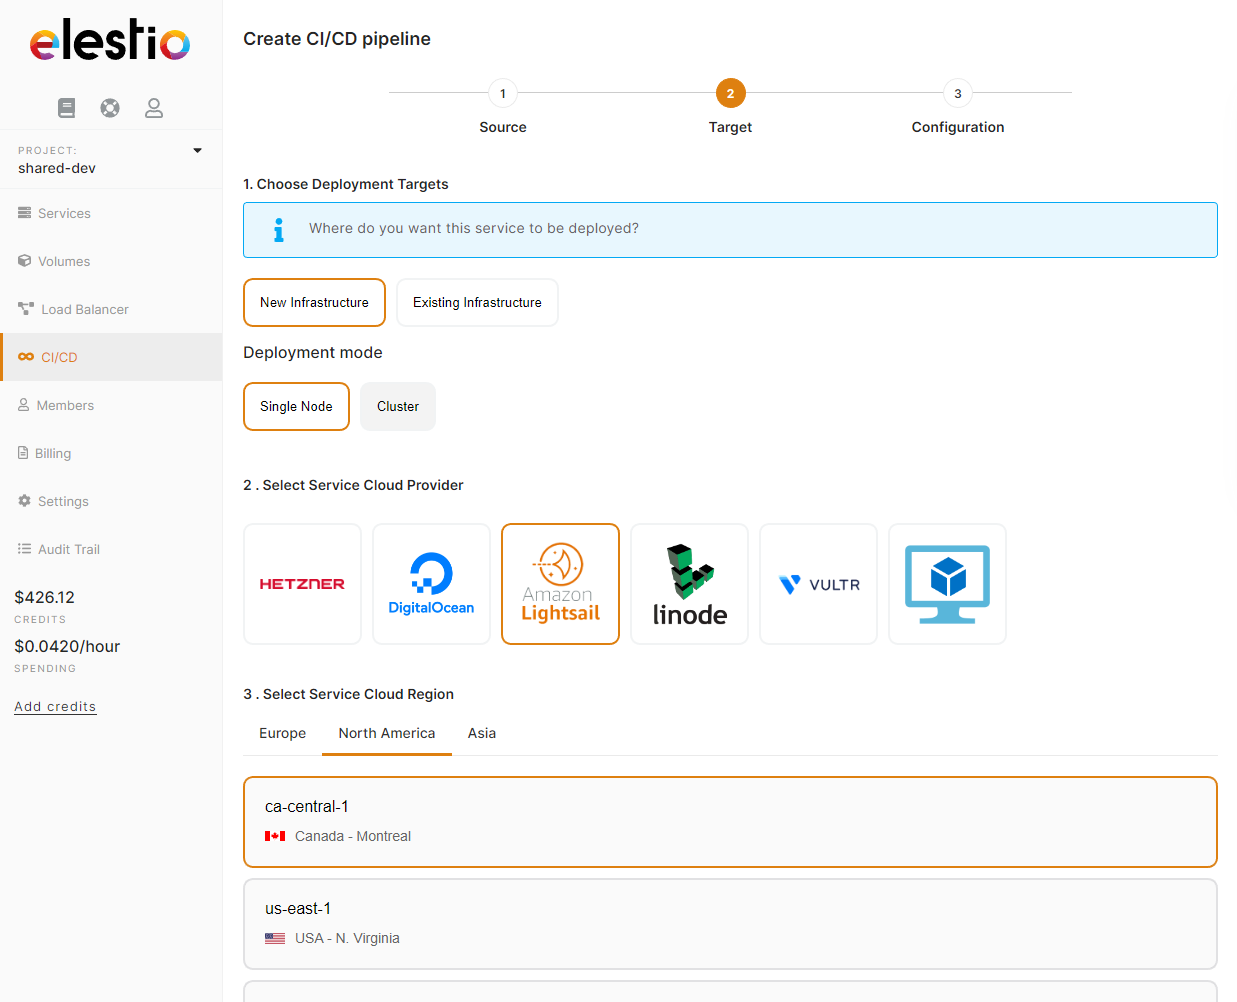
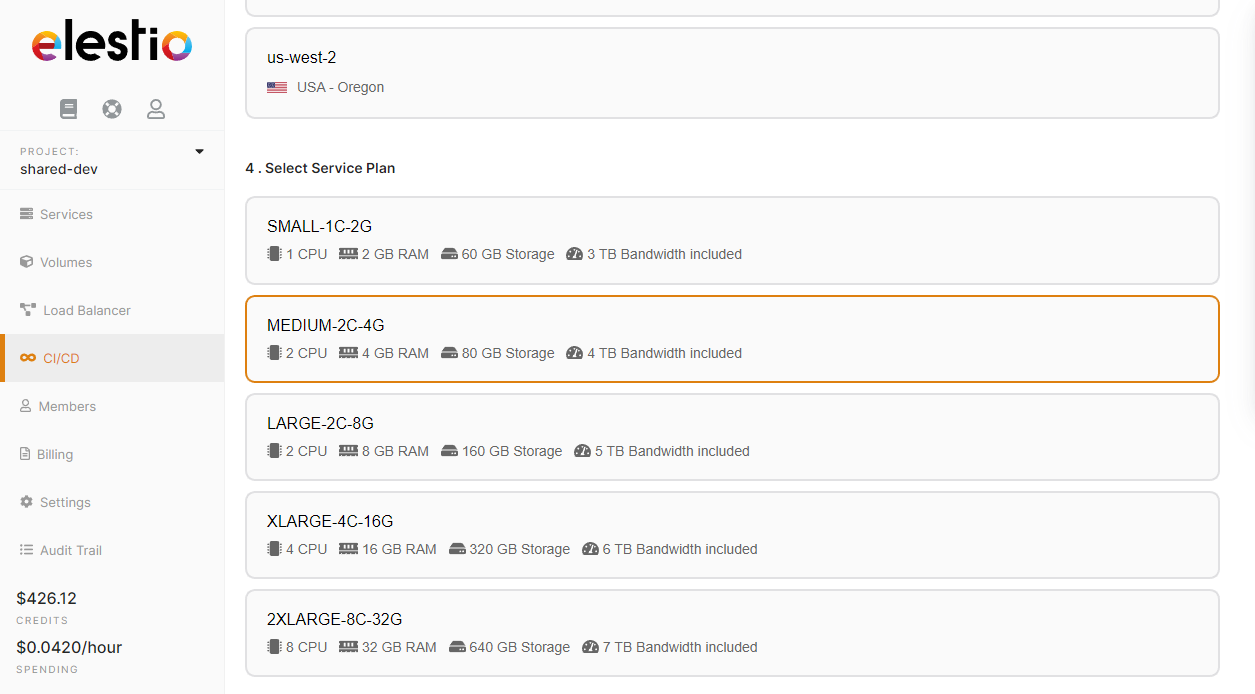
2) Select your target (where to deploy)
Here you have to indicate where the app should be deployed, it can be a "New infrastructure", in that case, you can select your preferred provider/region/instance size. Or an existing infrastructure, then you just have to pick it from the list.
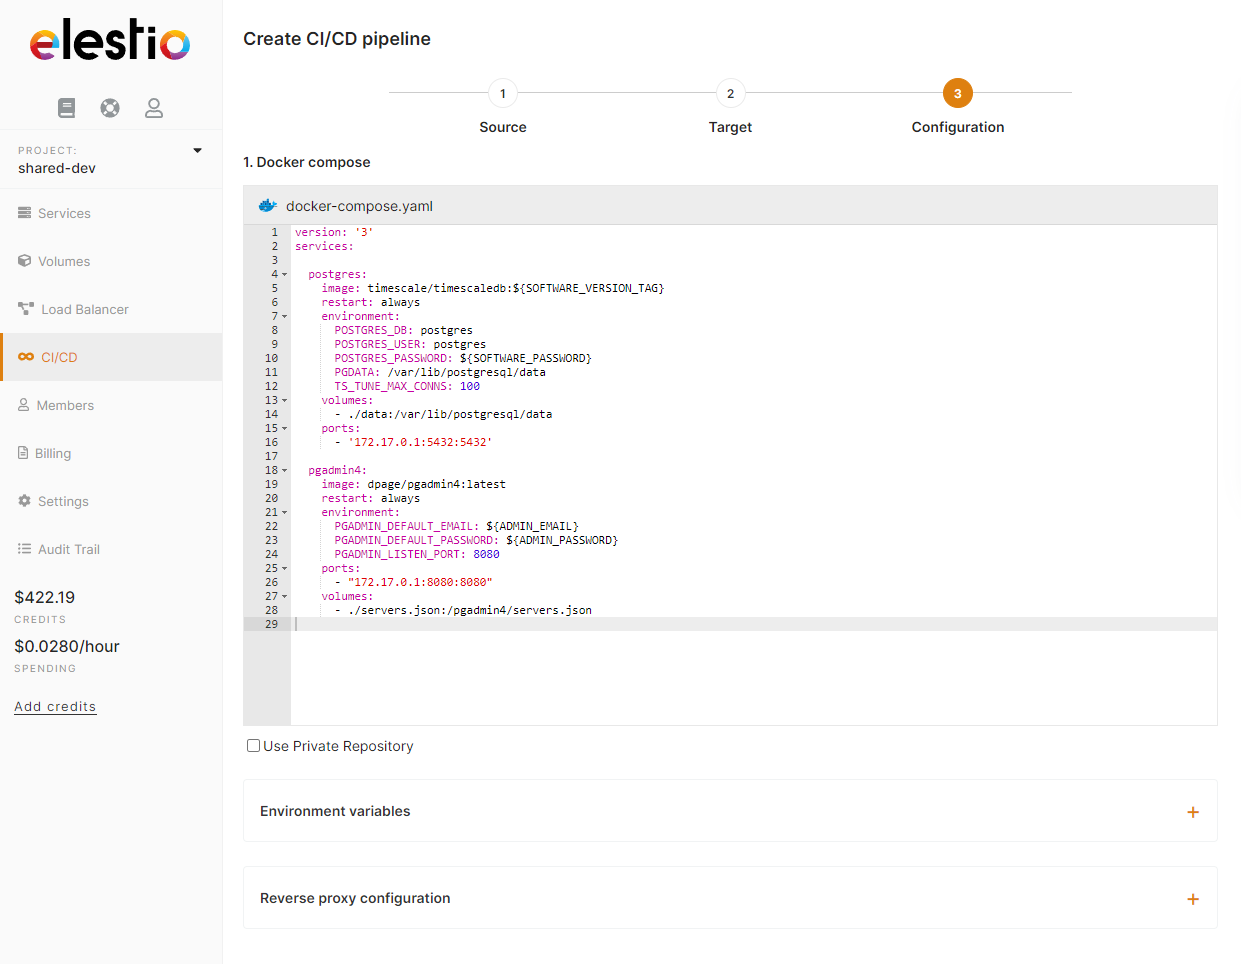
3) Configure your app
This is the last step of the process where you can adjust the app settings, docker-compose, env vars, and reverse proxy configuration.
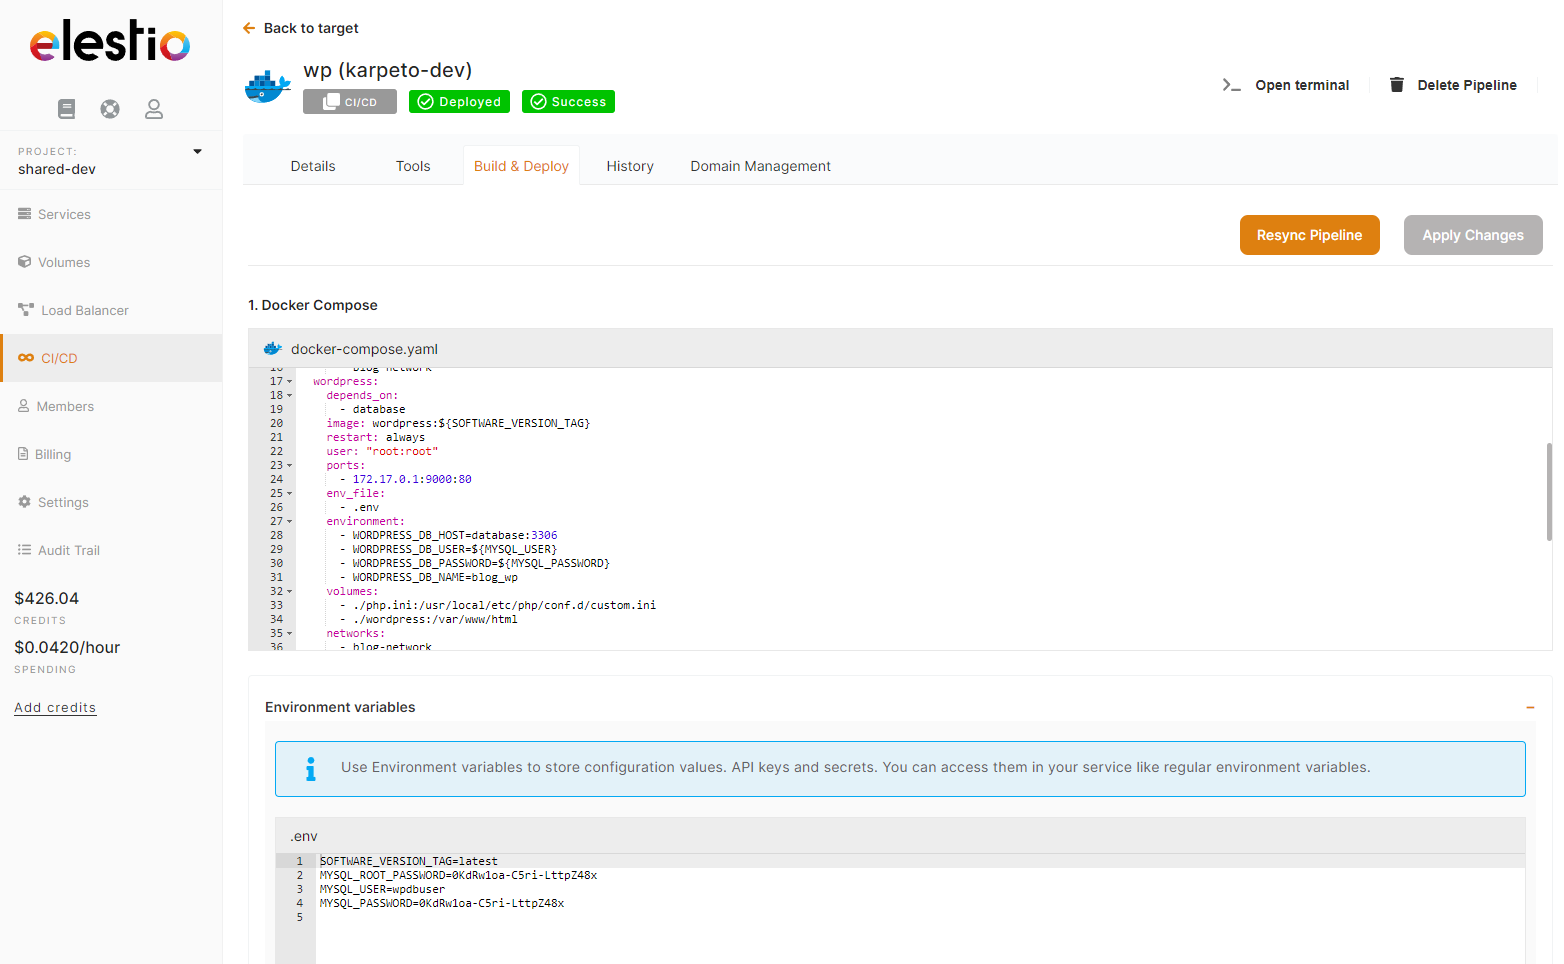
a) Docker-compose stack
b) Environment variables
In most cases, you will have to indicate configuration for your app through env vars. This is useful to pass various configurations to your app like database connection string, S3 bucket details, email address to use, and other global configurations.

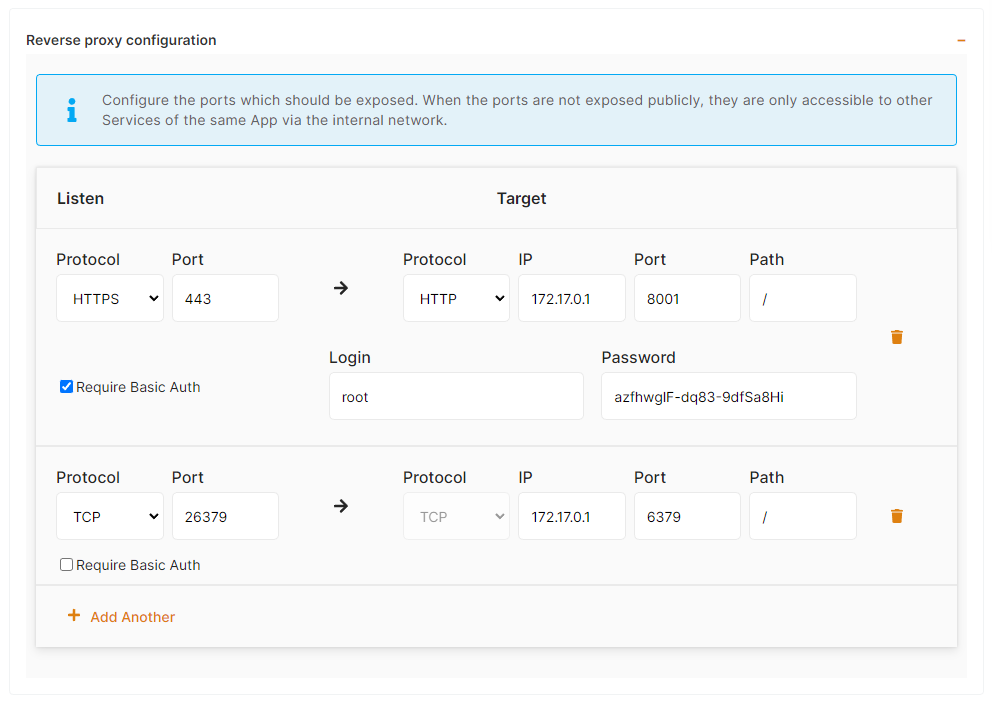
c) Reverse proxy
To make your app accessible on the internet, indicate in the target port the same thing you have configured on the host port in the docker-compose ports binding.
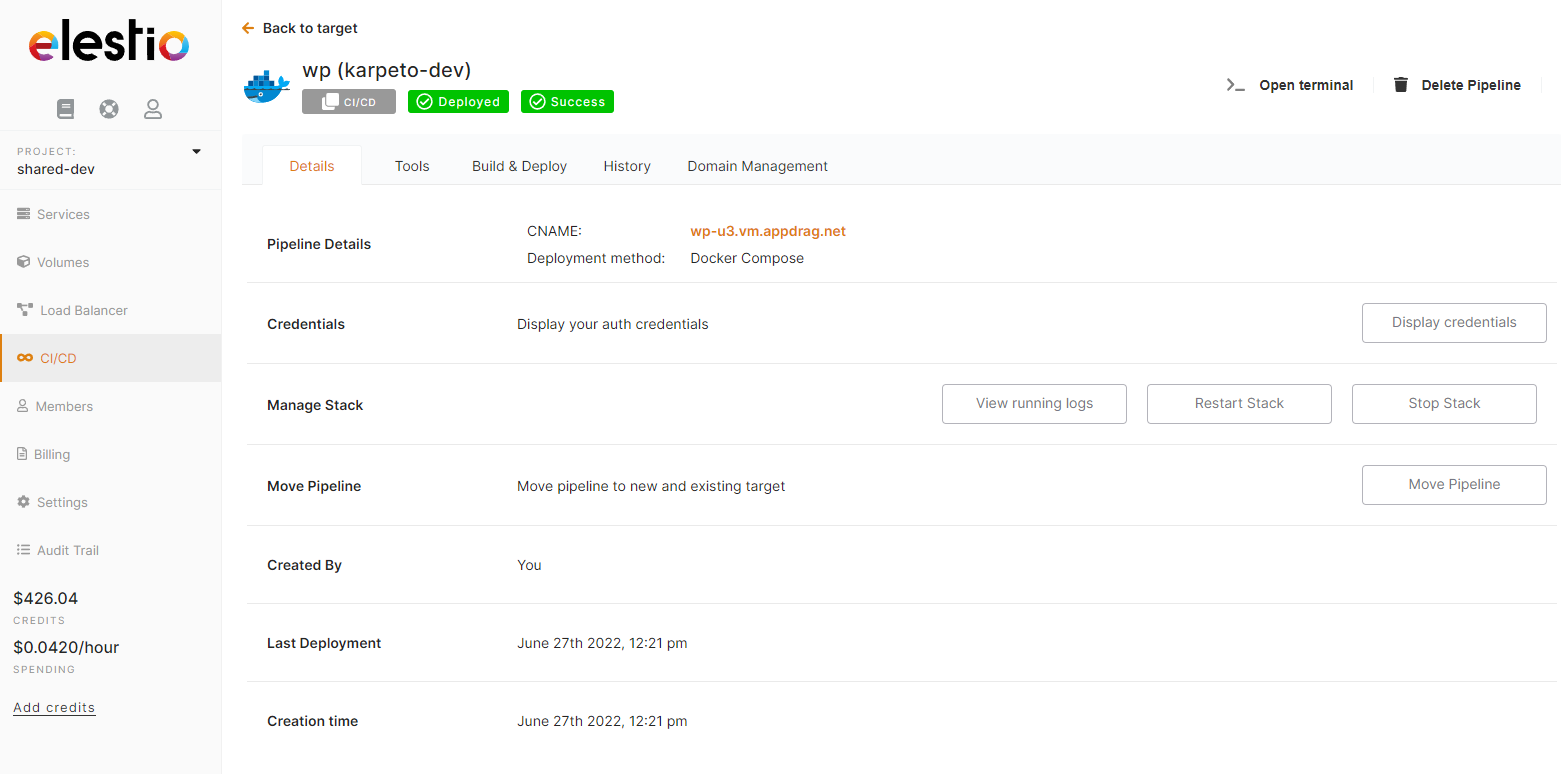
Finally, click on "Create CI/CD pipeline" to complete your deployment.
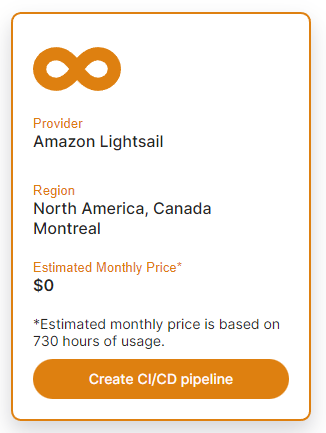
After a few minutes, your app should be accessible on the CI/CD pipeline url, you can find it in the dashboard overview of your pipeline. Your generated credentials are visible in the "Build & Deploy" tab in the env var section or reverse proxy section if you have activated basic authentication.