
Create a new load balancer
To create a new load balancer, go to the dashboard and click on Load Balancer on the left side
https://dash.elest.io/default/Elestio-services/load-balancer
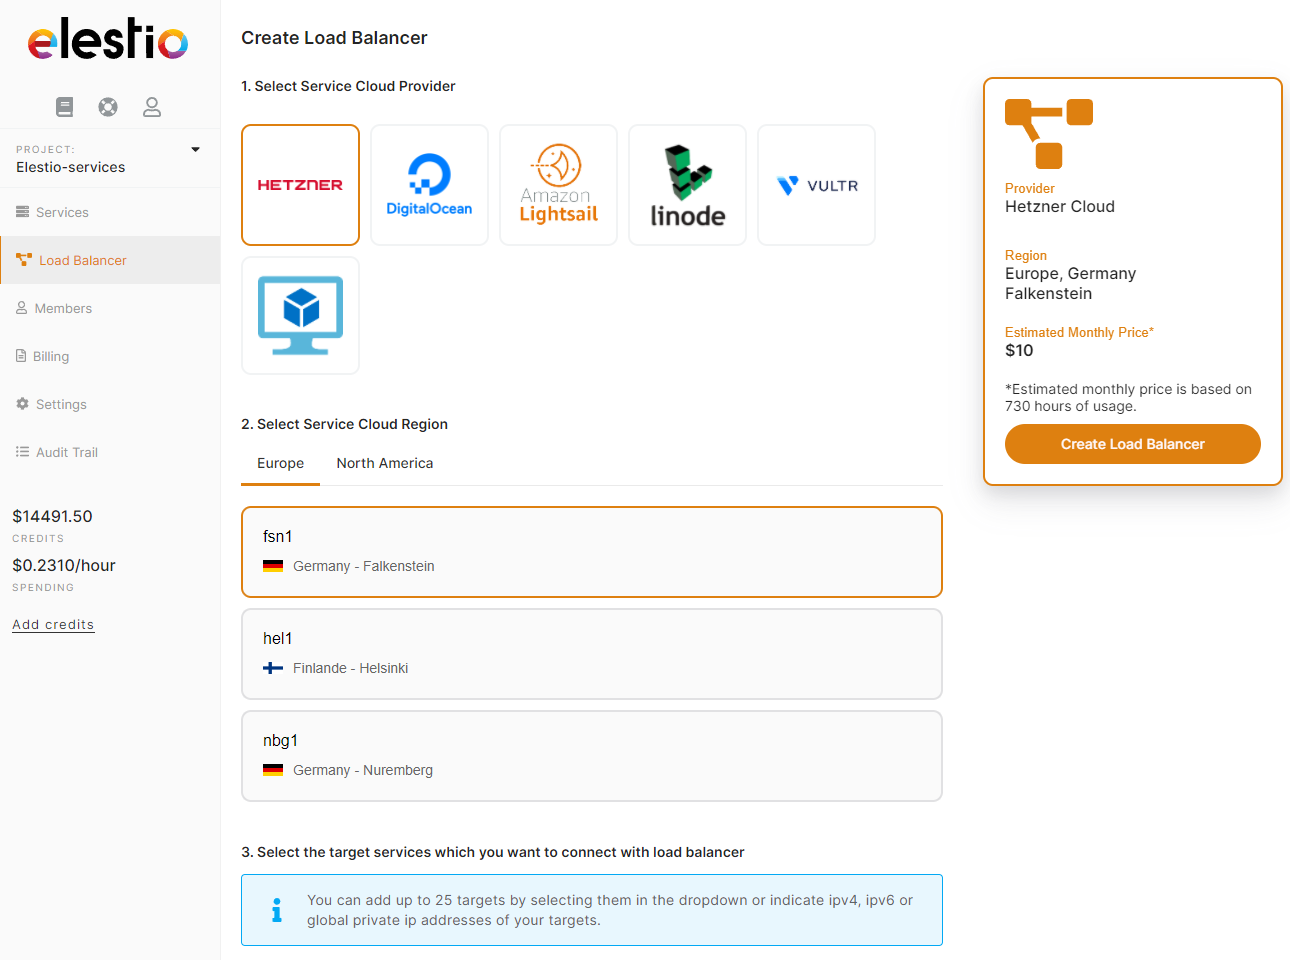
There, select your cloud provider (or BYOVM) then select your preferred region.
Then select one or multiple targets for your load balancer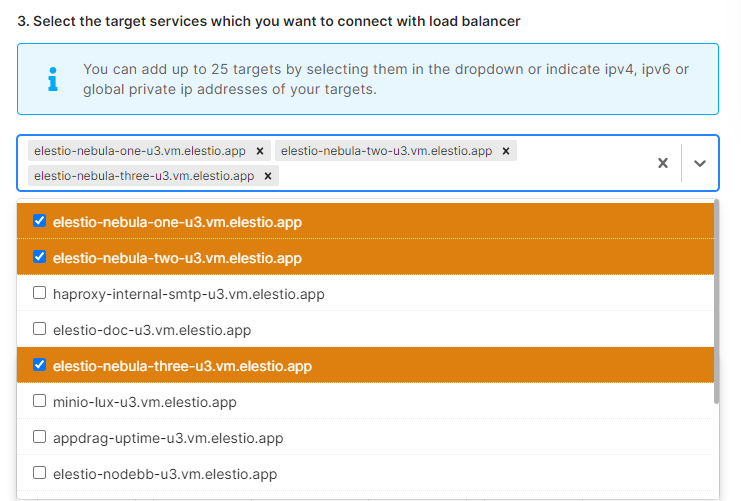
Targets can be services in the same project, or any other target pointed by cname, IPV4, IPV6 or global private IP. You can mix targets from several providers/datacenters, this way you can improve your reliability. Since it's possible to point to the global private ip, your targets don't have to be exposed on internet and can be configured to be reached only through the load balancer.
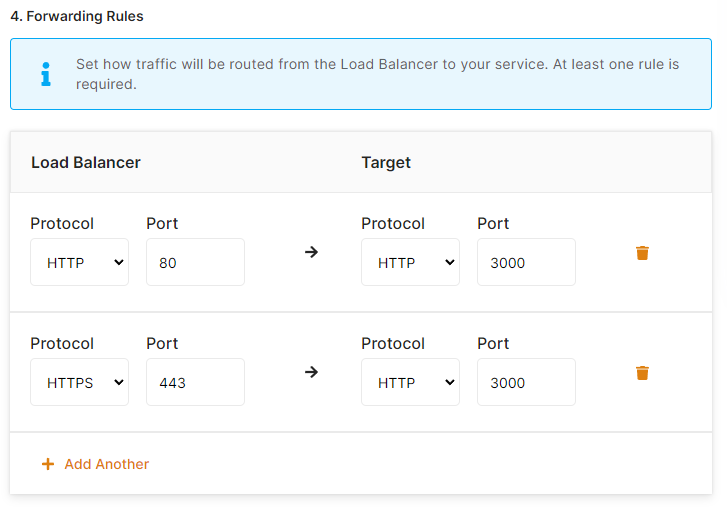
Next, configure your forwarding rules from the load balancer to the targets. All incoming traffic will be sent to targets based on the rules defined below, the load balancer will use the "least connections" algorithm to decide where to send the traffic, taking account of target health and current load of targets.
It's possible to route TCP, UDP, HTTP & HTTPS traffic from the load balancer to the targets. It's possible to contact the targets over a different protocol if needed, for example from HTTPS on port 443 received on the load balancer to HTTP on port 3000 on the target, this is a very common use case when deploying an application with high availability.
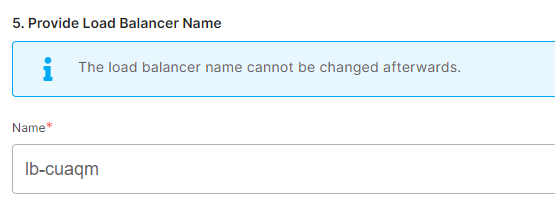
Next, give a name to your load balancer, it cannot be changed, but you can add additional custom domain names to it.
From there you can click on "Create Load Balancer" button; or check the optional advanced configuration below.

In advanced options, you can add up to 1000 custom domain names per load balancer
More advanced options are available to fine tune your load balancer:
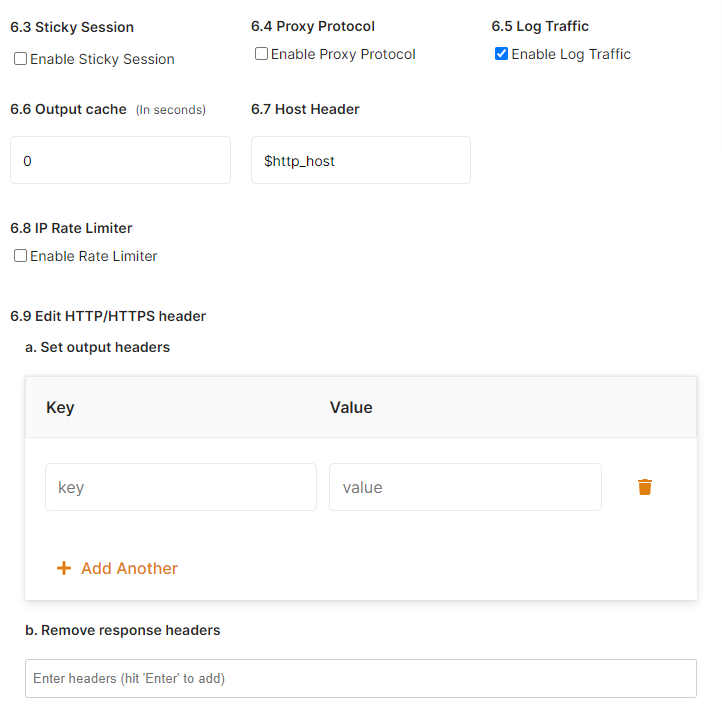
Sticky sessions: useful for backends that require visitors to be always forwarded to the same node for session management.
Proxy Protocal: forward the original visitor ip address to the backend, Switching proxy protocol on for targets that do not support it will render the whole service inaccessible. Alternatively the original visitor IP is available in the header "x-forwarded-for".
Log traffic: log all the traffic (visible in the log tab)
Output cache: Serve cache for a duration configured in seconds for all GET requests
Host header: by default ($http_host) will pass to the targets the original host received by the load balancer, this can be defined to a fixed value expected by the targets if required.
IP Rate Limiter: limit the maximum number of requests allowed per second per IP address.
Add/Edit HTTP headers: allow to add or edit http headers returned by the targets to the visitors
Remove response headers: allow to remove http headers returned by the targets to the visitors
To achieve full HA you will need at least 2 load balancers in different regions and point your DNS to both load balancers with round robin DNS entries.