
Adding a Node
As your application usage grows or your infrastructure requirements change, scaling your cluster becomes essential. In Elestio, you can scale horizontally by adding new nodes to an existing cluster. This operation allows you to expand your compute capacity, improve availability, and distribute workloads more effectively.
Need to Add a Node
There are several scenarios where adding a node becomes necessary. One of the most common cases is resource saturation when existing nodes are fully utilized in terms of CPU, memory, or disk. Adding another node helps distribute the workload and maintain performance under load.
In clusters that run stateful services or require high availability, having additional nodes ensures that workloads can fail over without downtime. Even in development environments, nodes can be added to isolate environments or test services under production-like load conditions. Scaling out also gives you flexibility when deploying services with different resource profiles or placement requirements.
Add a Node to Cluster
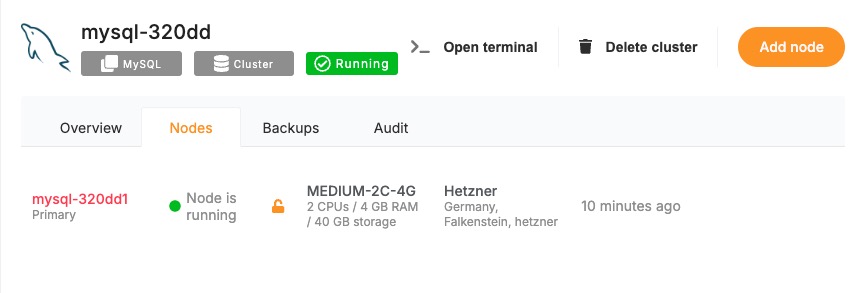
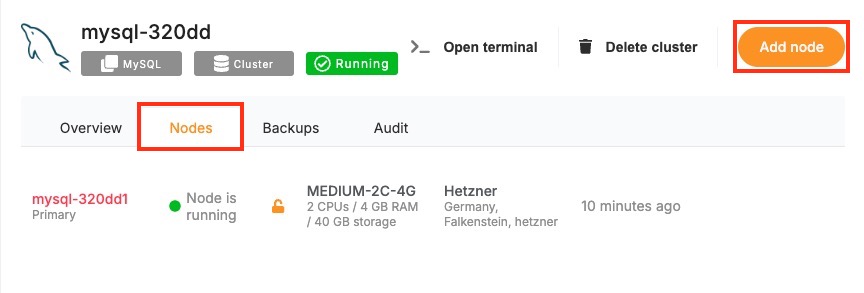
To begin, log in to the Elestio dashboard and navigate to the Clusters section from the sidebar. Select the cluster you want to scale. Once inside the cluster view, switch to the Nodes tab. This section provides an overview of all current nodes along with their health status and real-time resource usage.
To add a new node, click the “Add Node” button. This opens a configuration panel where you can define the specifications for the new node. You’ll be asked to specify the amount of CPU, memory, and disk you want to allocate. If you’re using a bring-your-own-cloud setup, you may also need to confirm or choose the cloud provider and deployment region.
After configuring the node, review the settings to ensure they meet your performance and cost requirements. Click “Create” to initiate provisioning. Elestio will begin setting up the new node, and once it’s ready, it will automatically join your cluster.
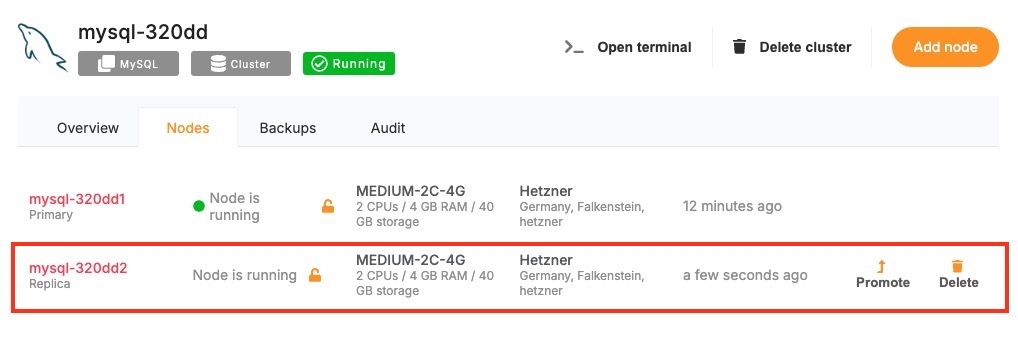
Once provisioned, the new node will appear in the node list with its own metrics and status indicators. You can monitor its activity, verify that workloads are being scheduled to it, and access its logs directly from the dashboard. From this point onward, the node behaves like any other in the cluster and can be managed using the same lifecycle actions such as rebooting or draining.
Post-Provisioning Considerations
After the node has been added, it becomes part of the active cluster and is available for scheduling workloads. Elestio’s orchestration layer will begin using it automatically, but you can further customize service placement through resource constraints or affinity rules if needed.
For performance monitoring, the dashboard provides per-node metrics, including CPU load, memory usage, and disk I/O. This visibility helps you confirm that the new node is functioning correctly and contributing to workload distribution as expected.
Maintenance actions such as draining or rebooting the node are also available from the same interface, making it easy to manage the node lifecycle after provisioning.