
Creating a Database
Redis is a popular in-memory key-value data store known for its speed, flexibility, and support for a wide range of data structures. Setting up Redis properly is essential to ensure high availability, data persistence, and performance in modern applications. This guide walks through different ways to run and connect to Redis: using the Redis CLI, using Docker containers, and using Redis CLI tools. It also emphasizes best practices that should be followed at each step.
Creating Using redis-cli
The Redis command-line interface (redis-cli) is a built-in tool that allows direct interaction with a Redis server. It supports connecting to local or remote Redis instances and executing all supported Redis commands interactively or non-interactively.
Connect to Redis:
If you’re running Redis locally (e.g., from a system package or Docker container on your machine), you can simply run the CLI tool with no arguments:
redis-cliFor remote connections, you need to provide the hostname or IP address, the port number (default is 6379), and the password if the instance is protected:
redis-cli -h <host> -p <port> -a <password>You’ll be dropped into the Redis shell, where commands can be executed directly.
Running Redis Using Docker
Docker is a widely-used tool for running applications in isolated environments called containers. Redis can be deployed in a container for fast and consistent setup across different environments, making it ideal for both development and production.
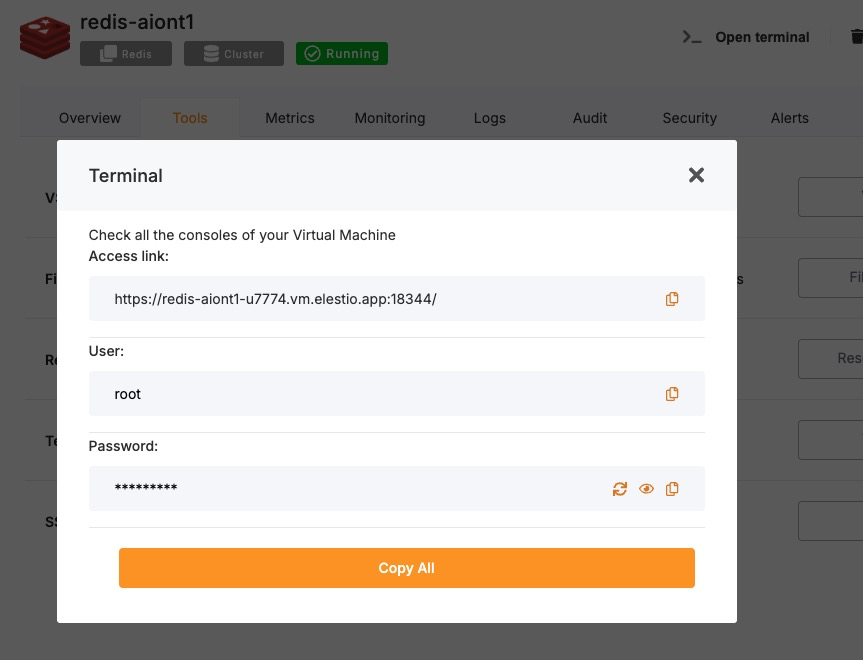
Access Elestio Terminal
If you’re using Elestio for your Redis deployment, log into the Elestio dashboard. Go to your Redis service, then navigate to Tools > Terminal. This opens a browser-based terminal already configured for the correct environment.
Once in the terminal, change the directory to the project root where the Docker services are defined. This is typically:
cd /opt/app/Access the Redis Container Shell
Elestio services are managed using Docker Compose, which orchestrates multiple containers. To enter the Redis container’s shell and run Redis commands, use the following:
docker-compose exec redis bashThis command opens a shell inside the running Redis container.
Access Redis CLI from Within the Container
Inside the Redis container, the redis-cli command is already available. Use it to access the Redis instance. If authentication is enabled, supply the password using the -a flag:
redis-cli -a <password>You will be connected directly to the Redis server running inside the container.
Test Connectivity
Use a simple SET command to store a value and then retrieve it using GET to ensure Redis is functioning properly:
set testkey "Hello Redis"
get testkey
Expected output:
"Hello Redis"This verifies read/write operations are working as expected.
Connecting Using redis-cli in Scripts
redis-cli isn’t just for interactive use — it can also be used within shell scripts and automated pipelines. This is useful for deployment tasks, monitoring scripts, and health checks.
For example, to set a key from a script or cron job:
redis-cli -h <host> -p <port> -a <password> SET example_key "example_value"This command connects to the Redis server and sets the specified key in a single line, suitable for automation.
Best Practices for Setting Up Redis
Use Meaningful Key Naming Conventions
Organizing your Redis data is essential for maintainability and clarity. Use descriptive keys and adopt a namespace-style format using colons (:) to group related keys:
user:1001:profile
order:2023:total
This makes it easier to debug, analyze, and migrate data in the future.
Follow Consistent Data Structures
Redis supports multiple data types: strings, hashes, lists, sets, and sorted sets. Choose the most appropriate structure for your use case, and apply it consistently. For example, use hashes to store user attributes and lists for ordered items.
Inconsistent or incorrect use of data structures can lead to performance issues and logic errors.
Enable Authentication and TLS
Security is critical in production environments. Always set a strong password using the requirepass directive in redis.conf, and consider enabling TLS for encrypted communication if Redis is exposed over a network.
Example redis.conf settings:
requirepass strong_secure_password
tls-port 6379
tls-cert-file /path/to/cert.pem
tls-key-file /path/to/key.pem
This helps prevent unauthorized access and secures data in transit.
Configure Persistence Options
Redis is in-memory, but it supports two main persistence options:
-
RDB (snapshotting): takes periodic snapshots of the data.
-
AOF (Append Only File): logs each write operation for more durable persistence.
Set these options in redis.conf:
save 900 1
appendonly yes
appendfsync everysec
Use AOF for durability and RDB for faster restarts — or combine both for a balance.
Monitor and Tune Performance
Use Redis’s built-in tools (INFO, MONITOR, SLOWLOG) to analyze behavior, identify slow queries, and monitor memory usage. This helps maintain performance and plan for scaling.
External tools like RedisInsight, Prometheus, or Grafana can visualize metrics and alert on anomalies.
Common Issues and Their Solutions
|
Issue |
Cause |
Solution |
|---|---|---|
|
NOAUTH Authentication required. |
Connecting to a password-protected Redis without a password |
Use the -a <password> flag or the AUTH command before other commands |
|
ERR Client sent AUTH, but no password is set |
The Redis server does not require a password |
Remove the -a flag or check requirepass in redis.conf |
|
Can’t connect to Redis on ‘localhost’ |
Redis is not running or using the wrong port |
Start Redis and check redis.conf or Docker port mappings |
|
Docker Redis container refuses connections |
Container is not ready or misconfigured network |
Check logs using docker-compose logs redis and verify port exposure |
|
Data not persisted after restart |
Persistence settings are disabled |
Enable AOF or RDB in redis.conf |