
Create a new volume
1.
To create a new volume,volume firstin openan Elestio:
Step 1:
Open Elestio Dashboard and then click the volume tab in the left sidebar.

Use
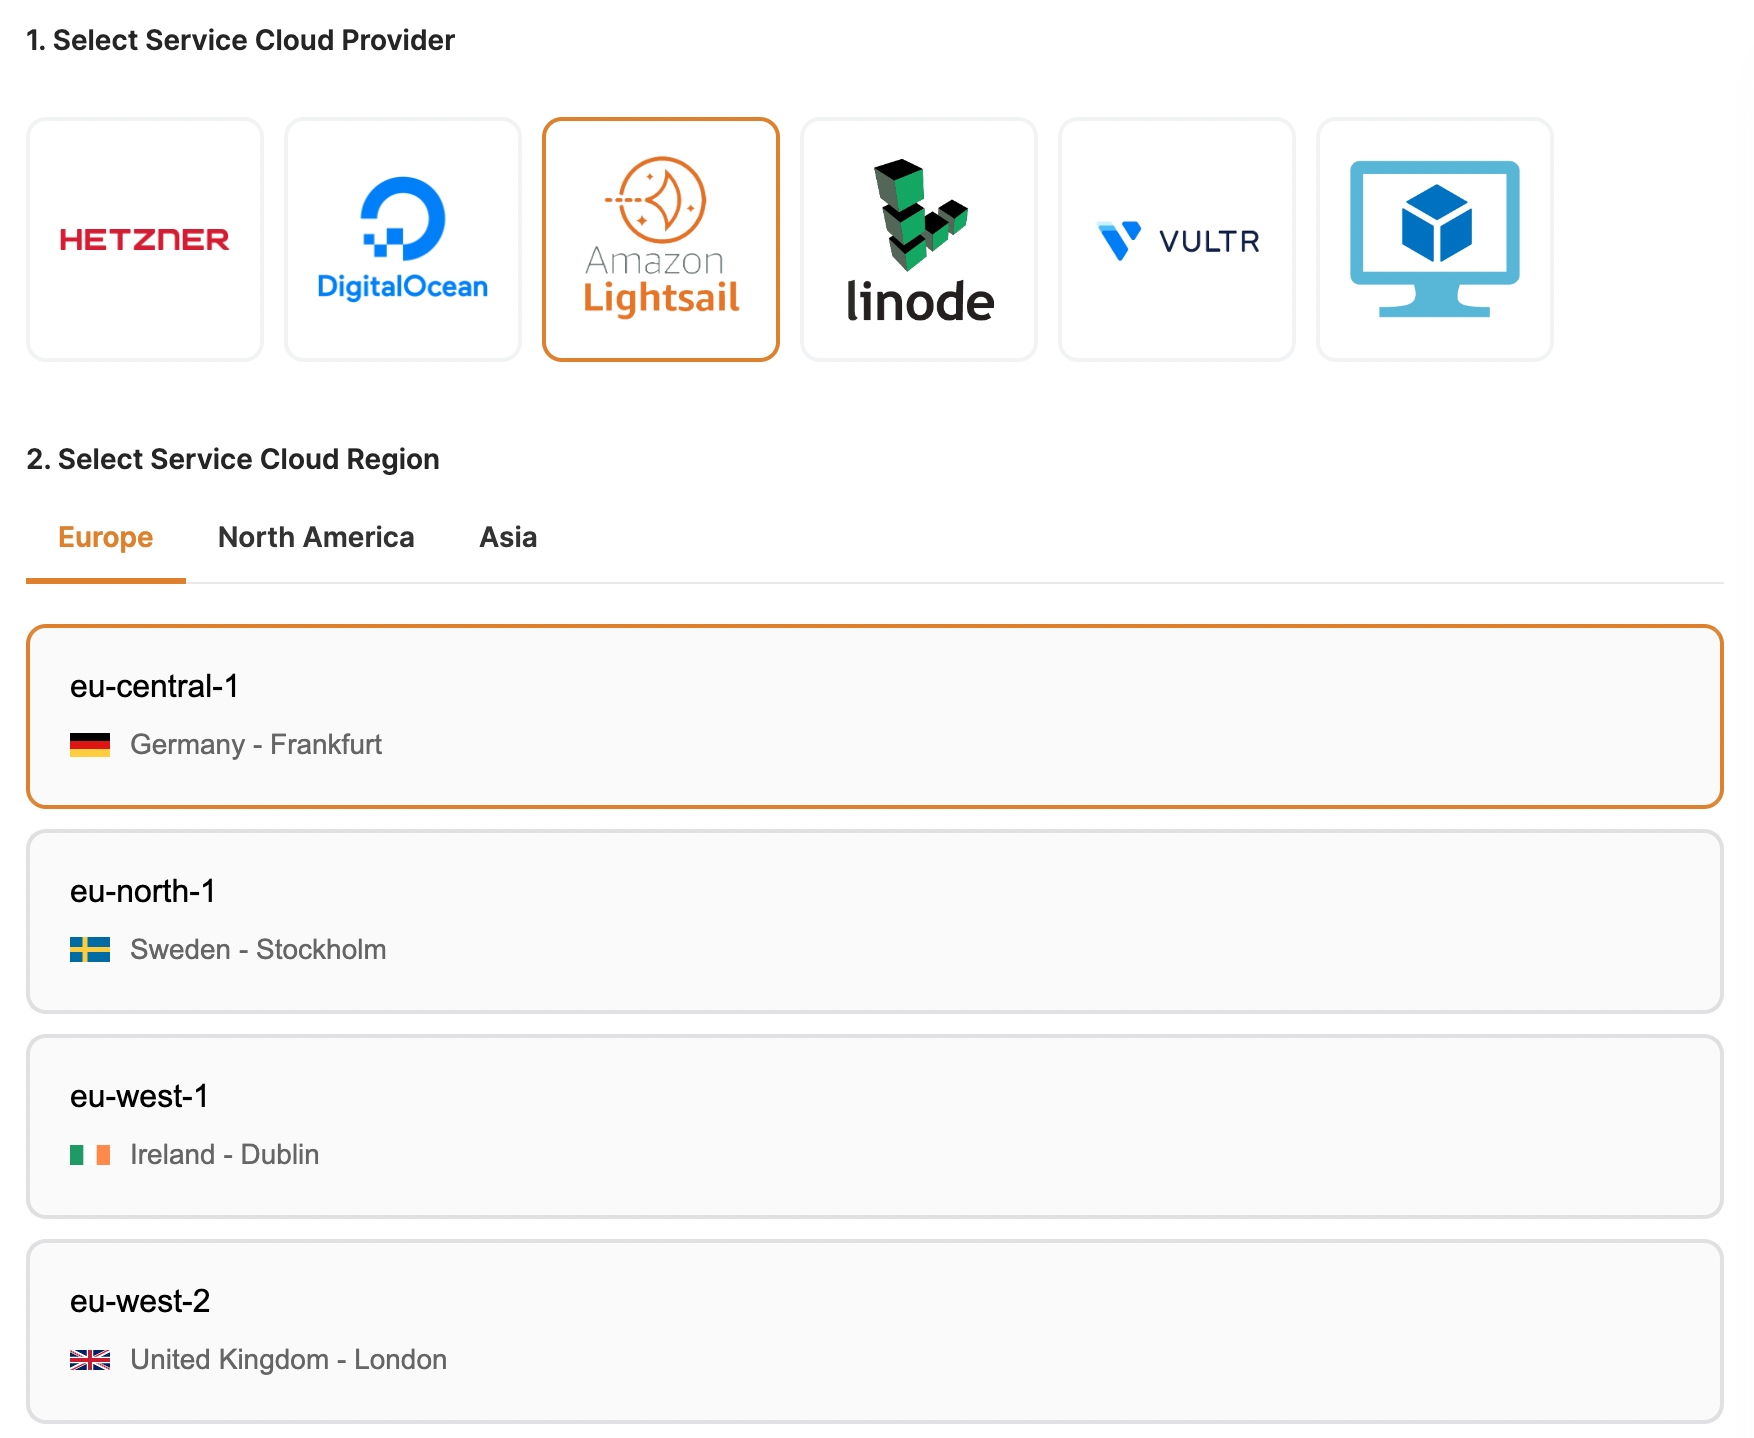
Step 2:
Select Service Cloud Provider
Elestio has the categorytop tabs5 cloud partners in 85 locations across 27 countries (AWS Lightsail, Digital Ocean, Vultr, Linode, and Hetzner).
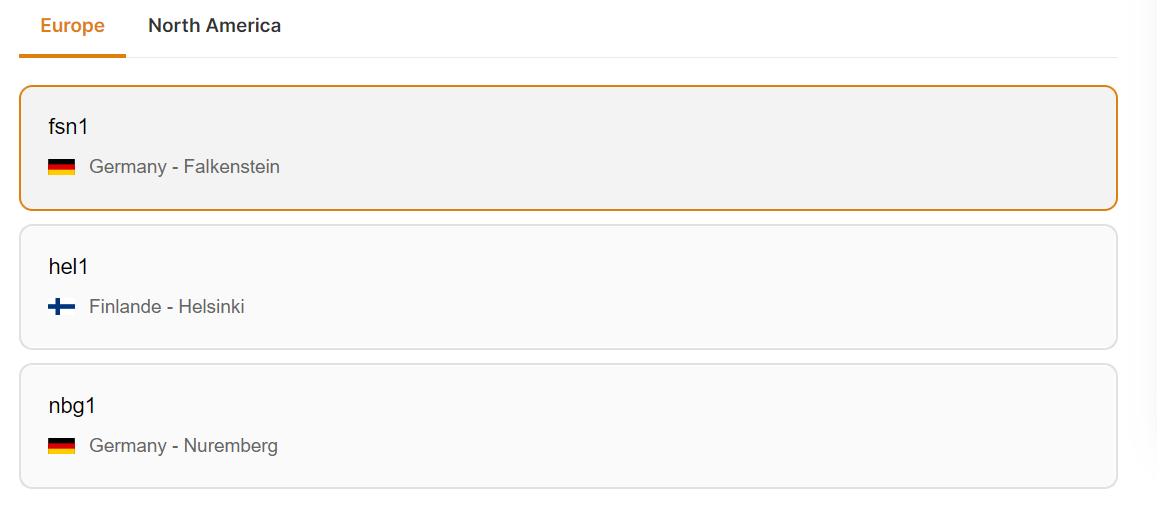
Step 3:
Select Service Cloud Region
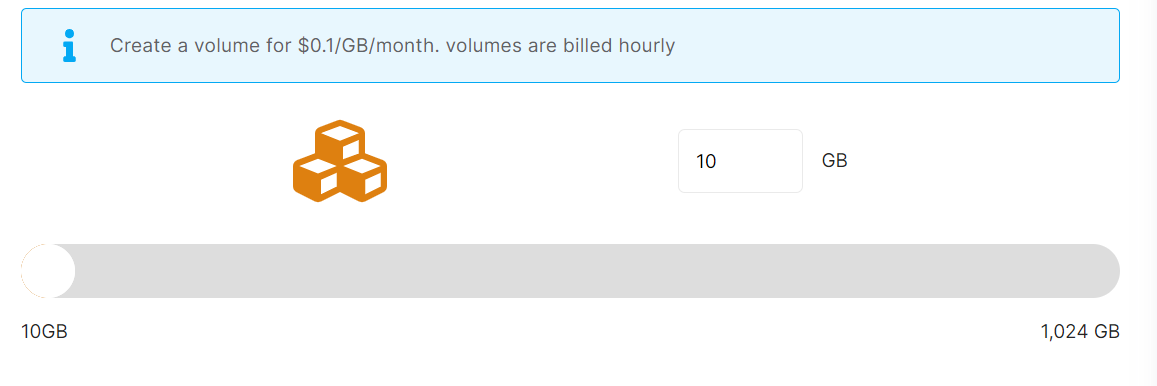
Step 4:
Choose the Volume Size
You can choose the volume size between 10-1024 GB.
Whenever you want, you can use our resize volume feature tofilterchange theselectionsize ofsoftware.your volume, but the new volume size must be larger than the old one.

Step 5:
2.Select Selectthe target service where the volume will be attached(Optional)
It was an optional field, so you could configure it either during the volume creation process or after if you wanted to attach the volume to any service.
Selecting the active service from the same provider and region in these dropdowns will allow you to attach a provider,service region,at andthe datasame centertime inthat whichyou create a volume.

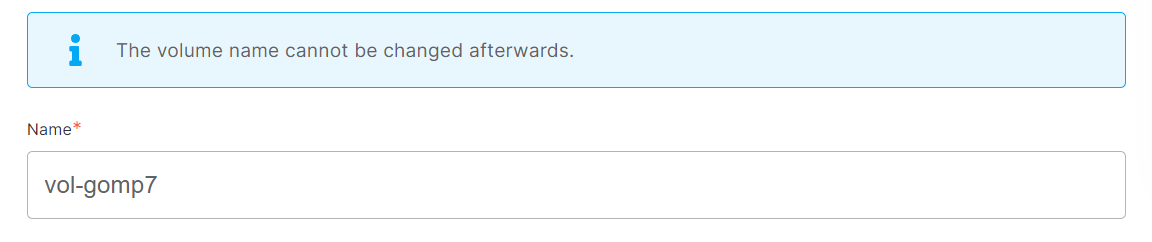
Step 6:
Provide Volume Name
If you want to deploy
your service
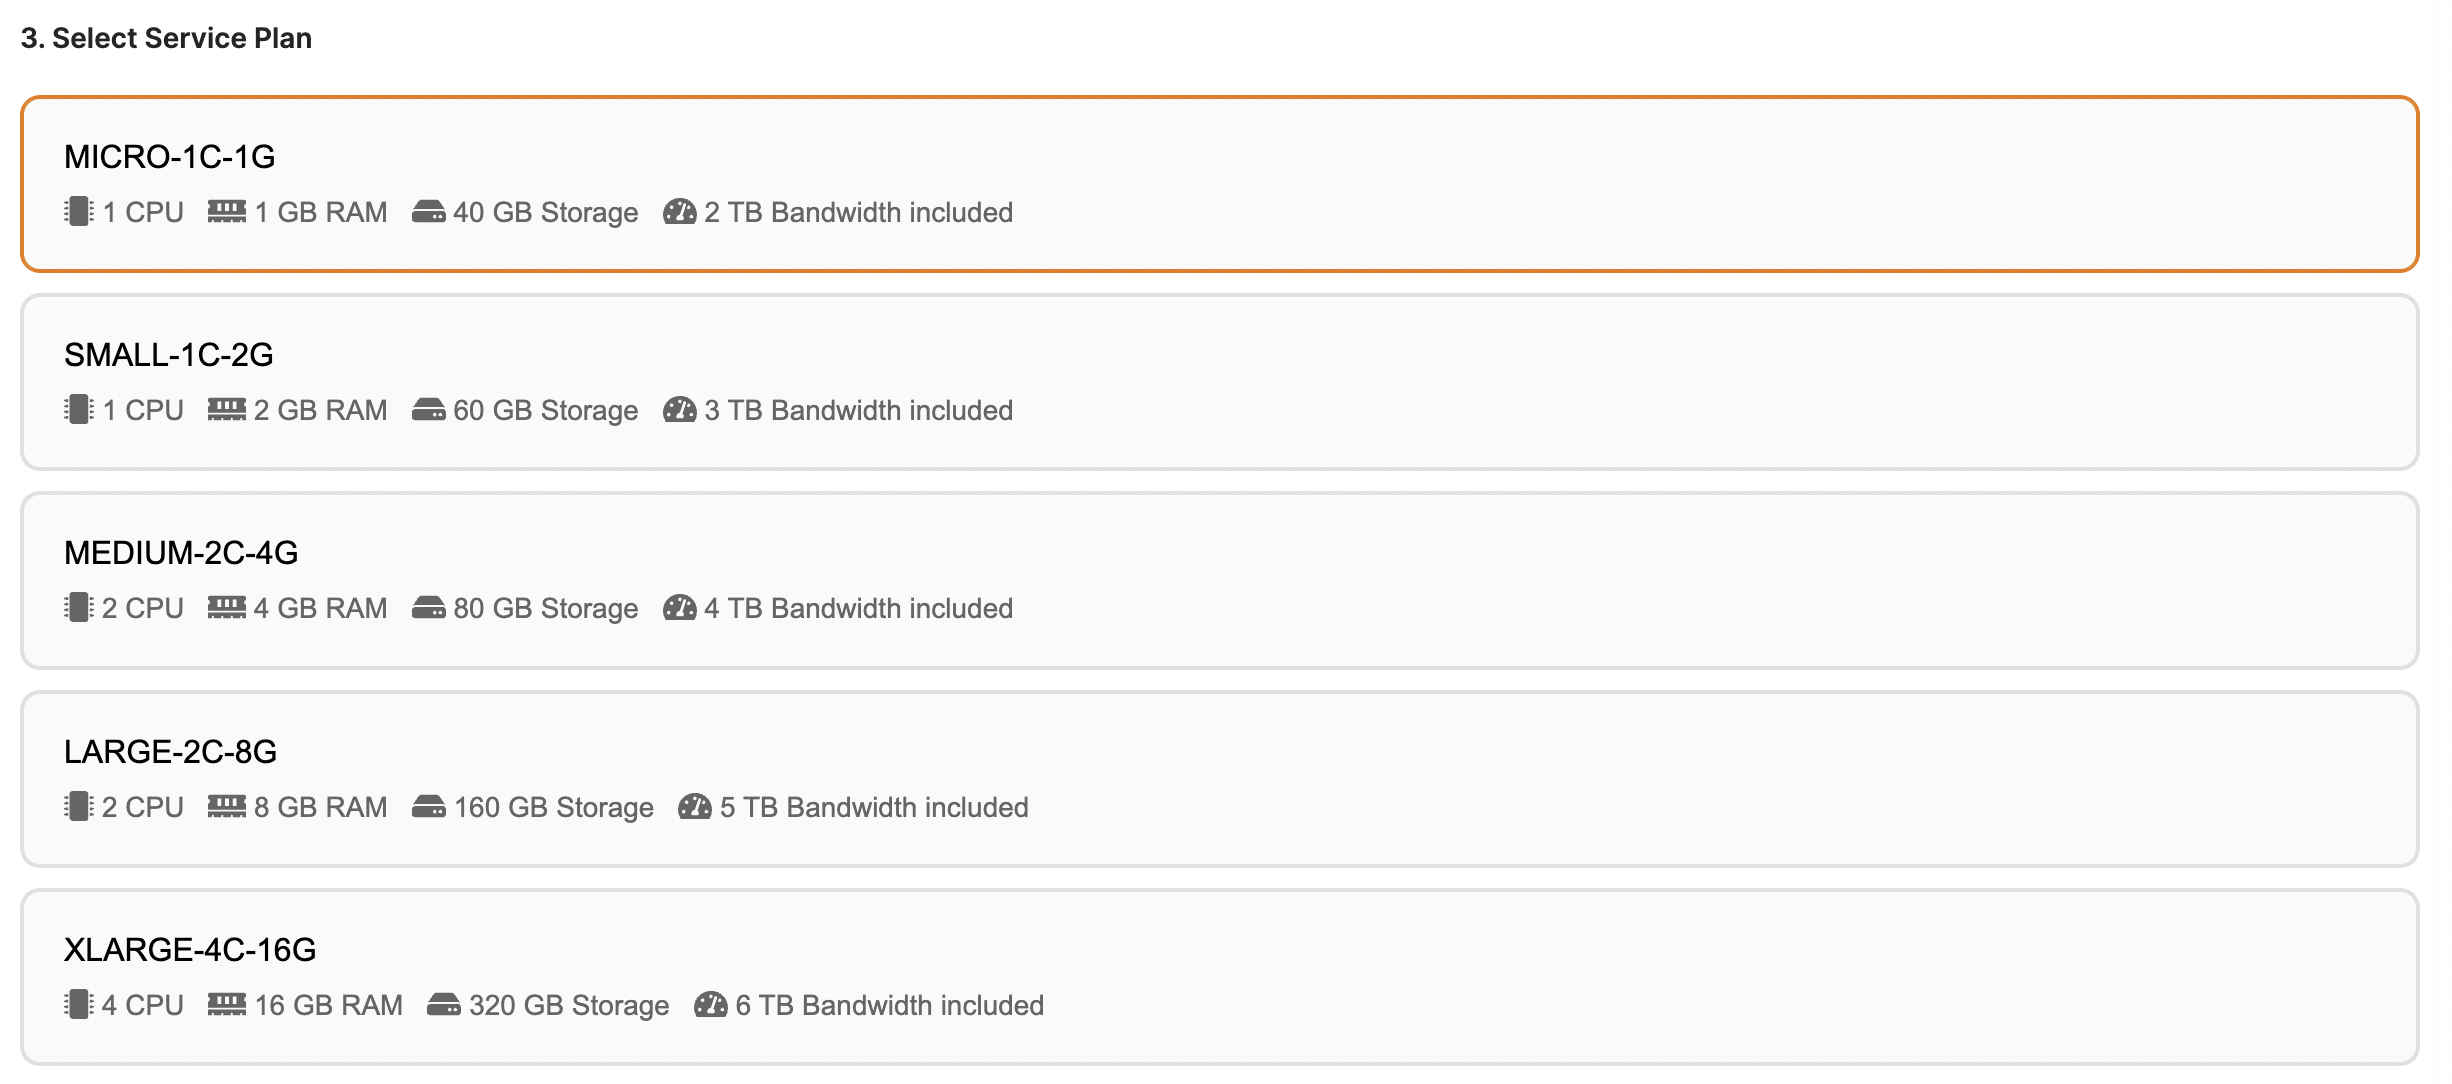
3. Select the instance size that works for you
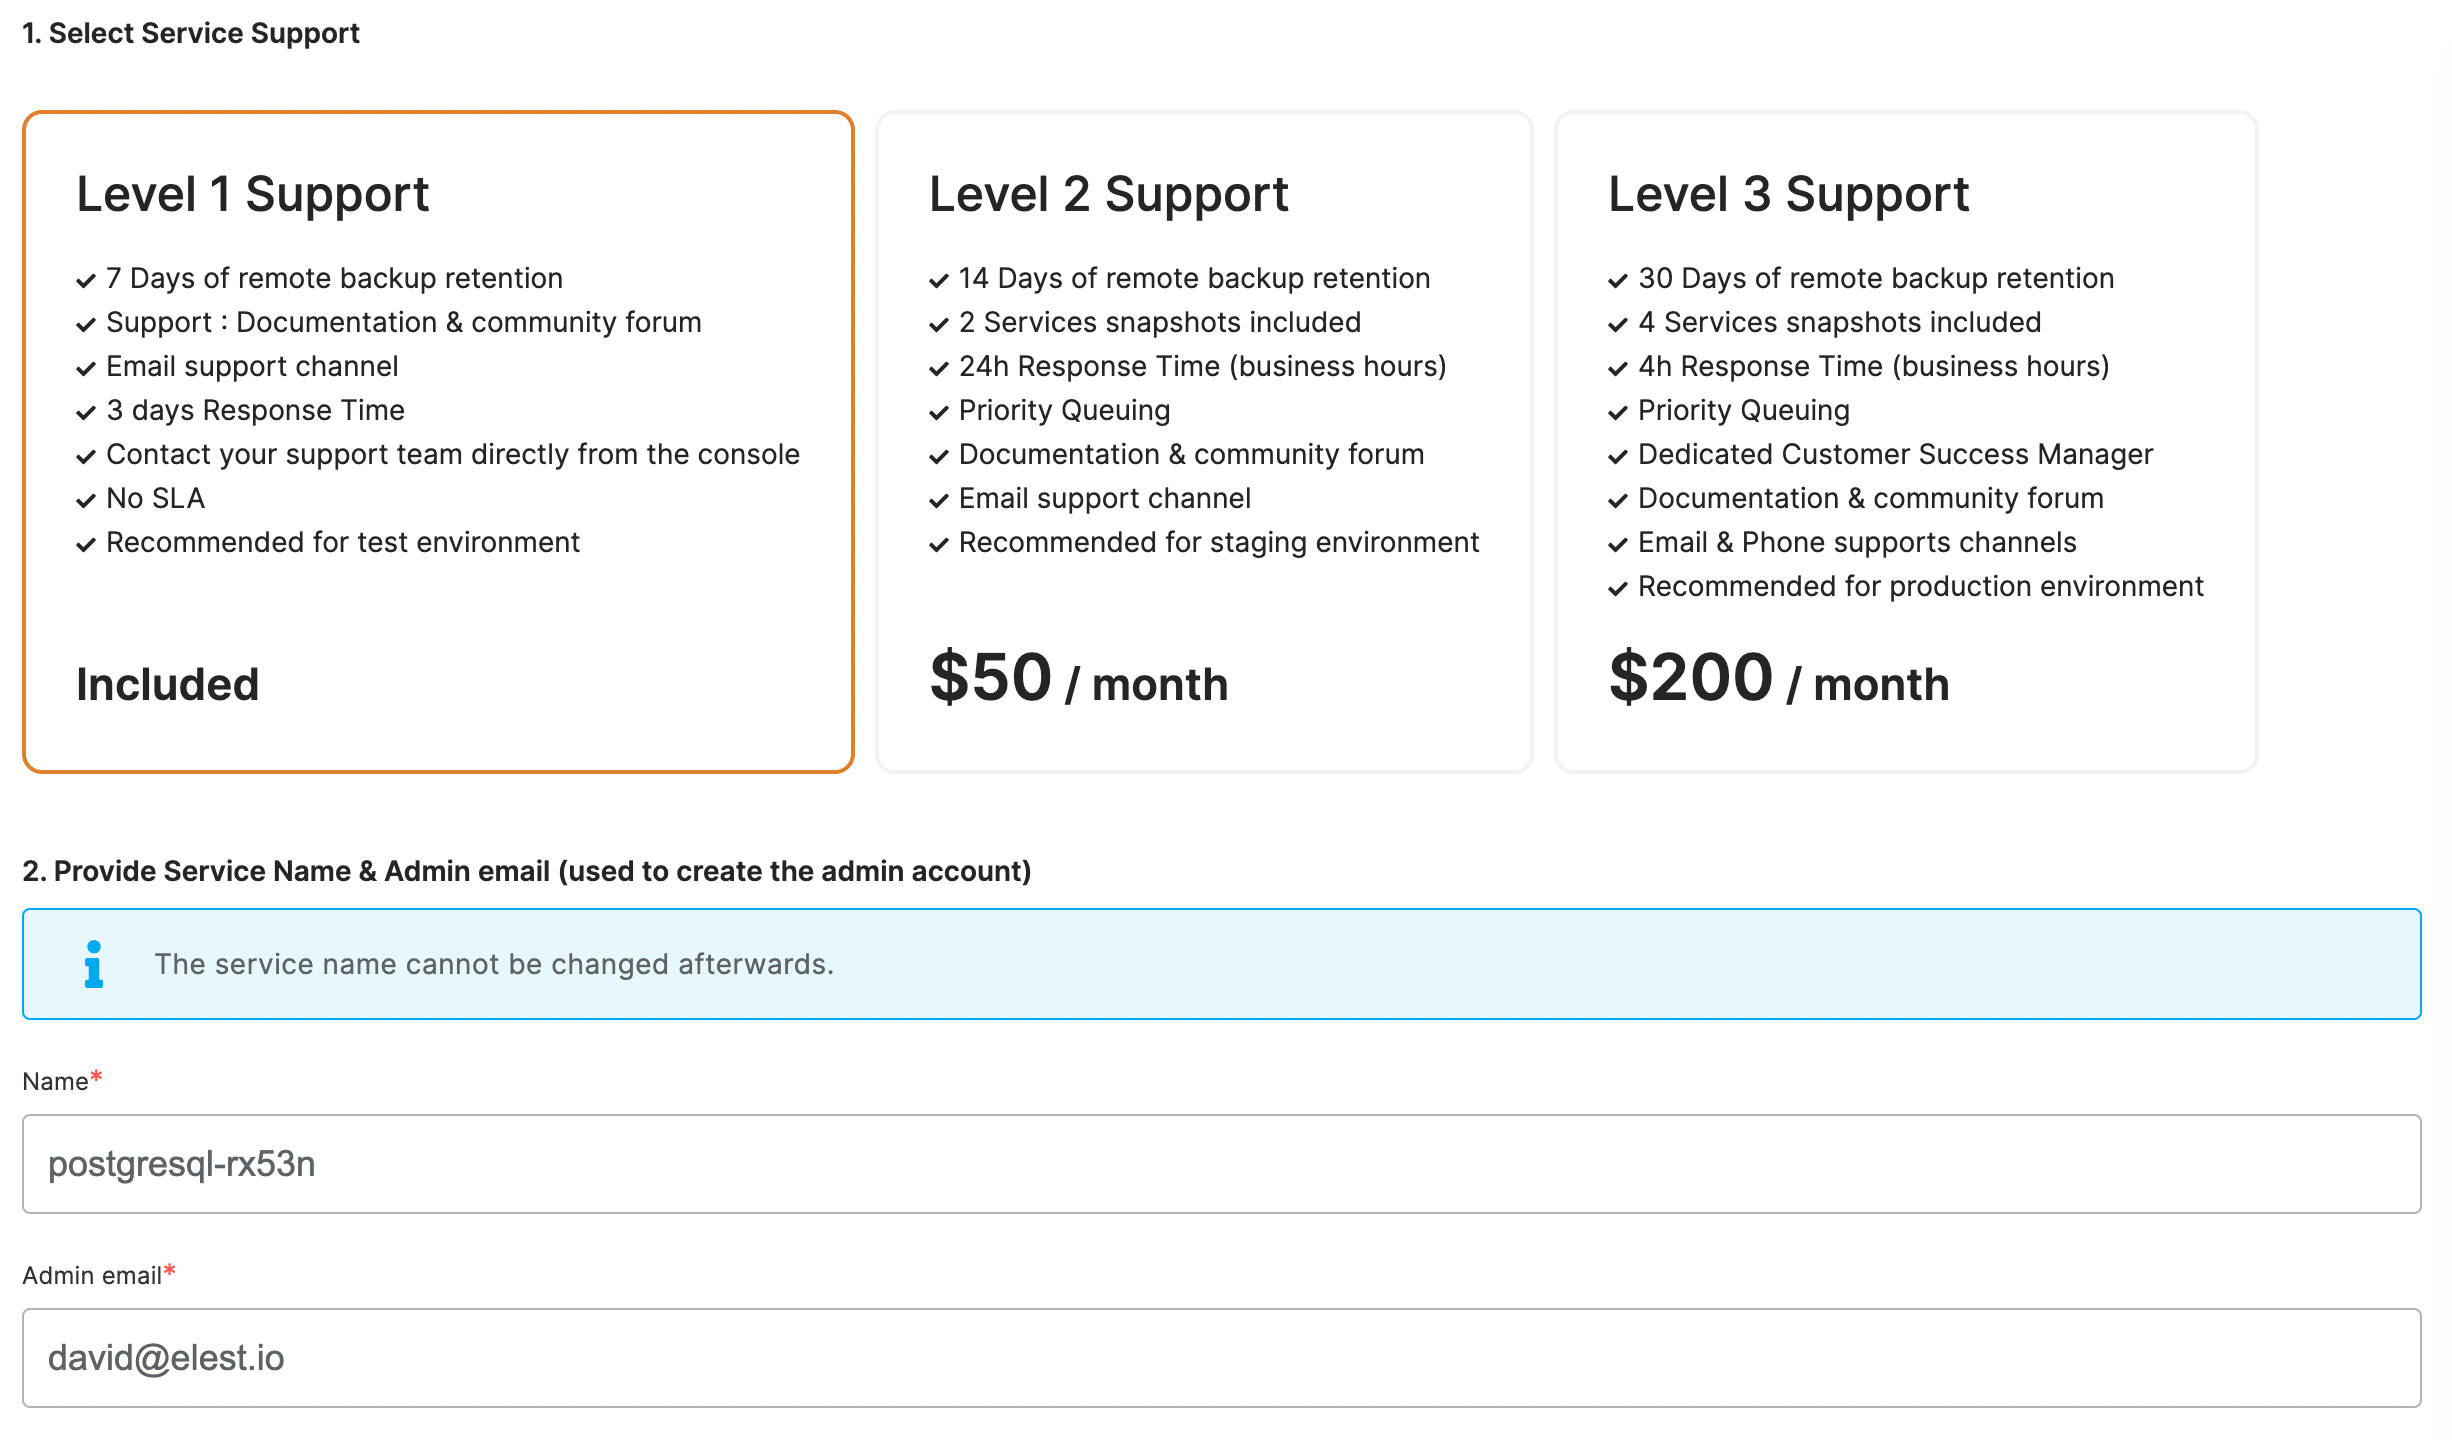
5. Set the support plans, and maintenance windows for OS & software updates and give a name to your new service
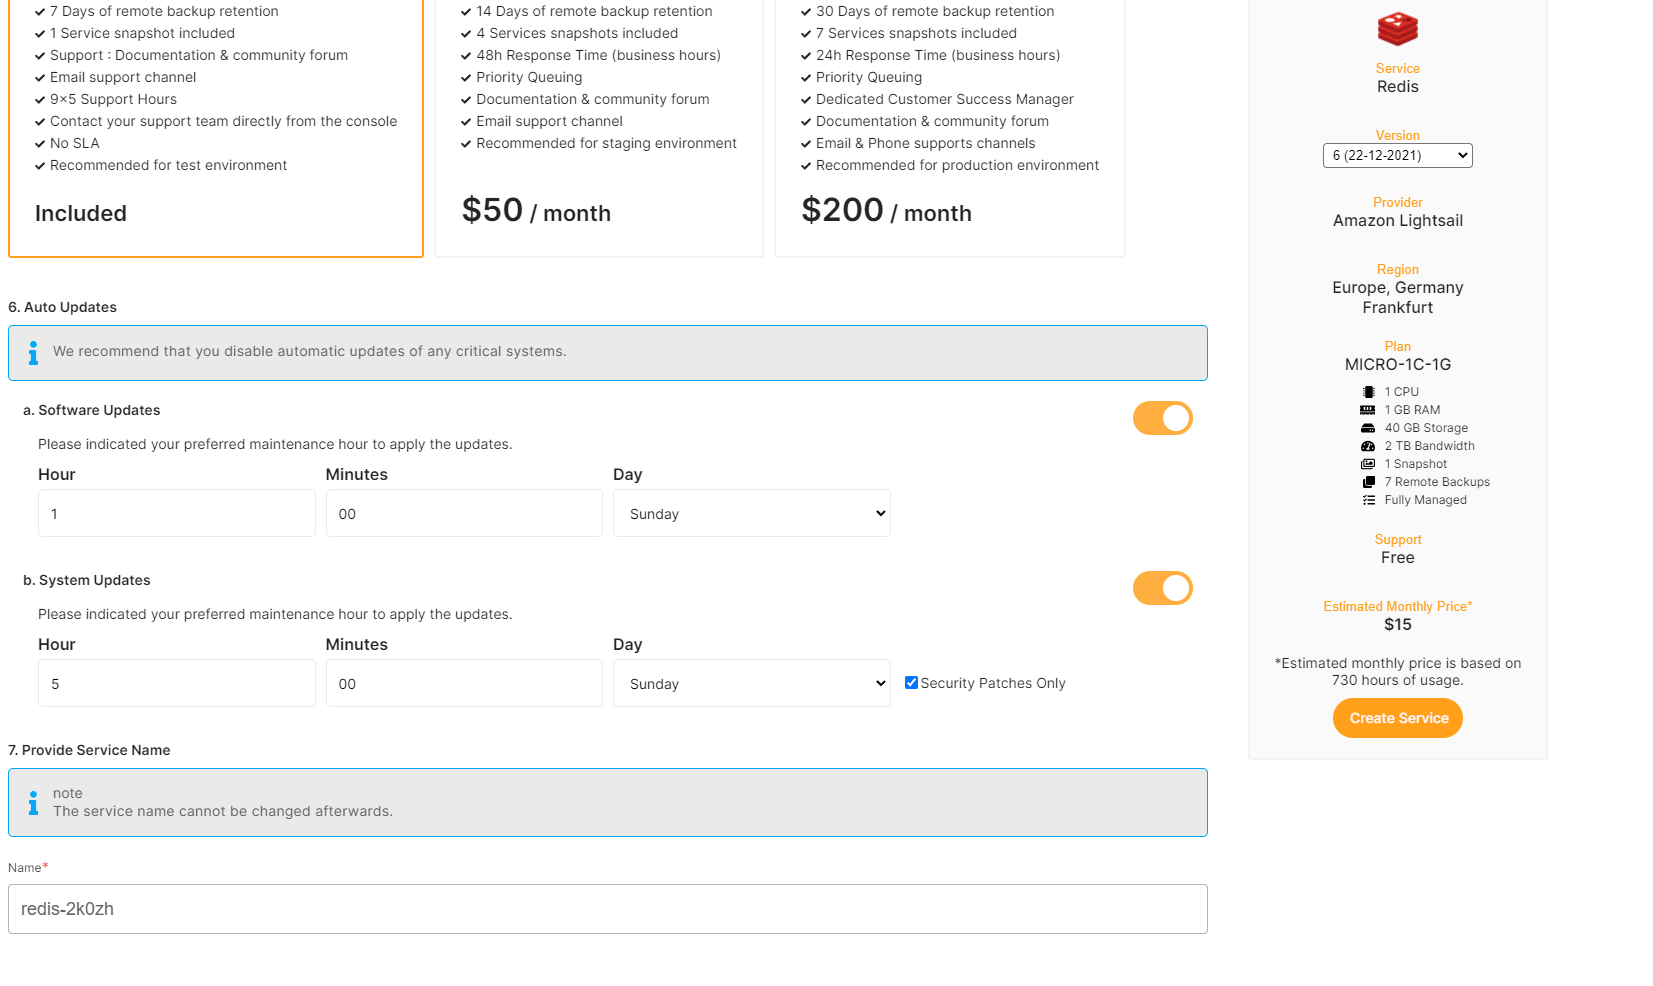
OS updates include updates to the Linux kernel, security patches, and other important maintenance to keep your instance running smoothly.
Software updates update the code of the open-source application itself. We respect semantic versioning, so we will only implement minor and patch updates, in order to avoid non-breaking changes.
Maintenance windows are specified in UTC
6. Click "Create Service" button on the right when you are ready to deploy
7. After a few seconds your new service will appear in the listit with astatus:different"Servicename,isyouincandeployment".customizeItit.shouldByonlydefault,takewe2-3configureminutesitbeforewith a dynamic unique name.

Step 7:
Click the Create volume button to create your service will be ready to use.volume.

Once
In a couple of seconds, your servicedesired isvolume readywas you will get an email with details about the deployment of your software.
The URL and credentials to access the web UI or database application are also available in the Service Overview
Get startedcreated on the elestio dashboard,🚀.
our