Deploy own docker-compose image using Elestio "Custom docker-compose"
This tutorial will walk you through the process of deploying your own custom Docker image to the Elestio cloud.
Use cases:
- Deploy one or multiple instances of stateful apps like Wordpress / Directus / MySQL / Redis / RabbitMQ / ...
- Deploy an internal service available only to your private network
- Deploy an application that was created elsewhere and published to a private Docker registry.
First,To openlearn more about the elestio CI/CD, go here.
If you're new, sign up for Elestio, otherwise, login to your existing account.
Deploy a custom docker-compose image to the Elestio dashboardcloud andusing click onthe CI/CD custom
1)docker-compose Selecttemplate.
Step app1:
Go to deployCI/CD from the left sidebar.
Step 2:
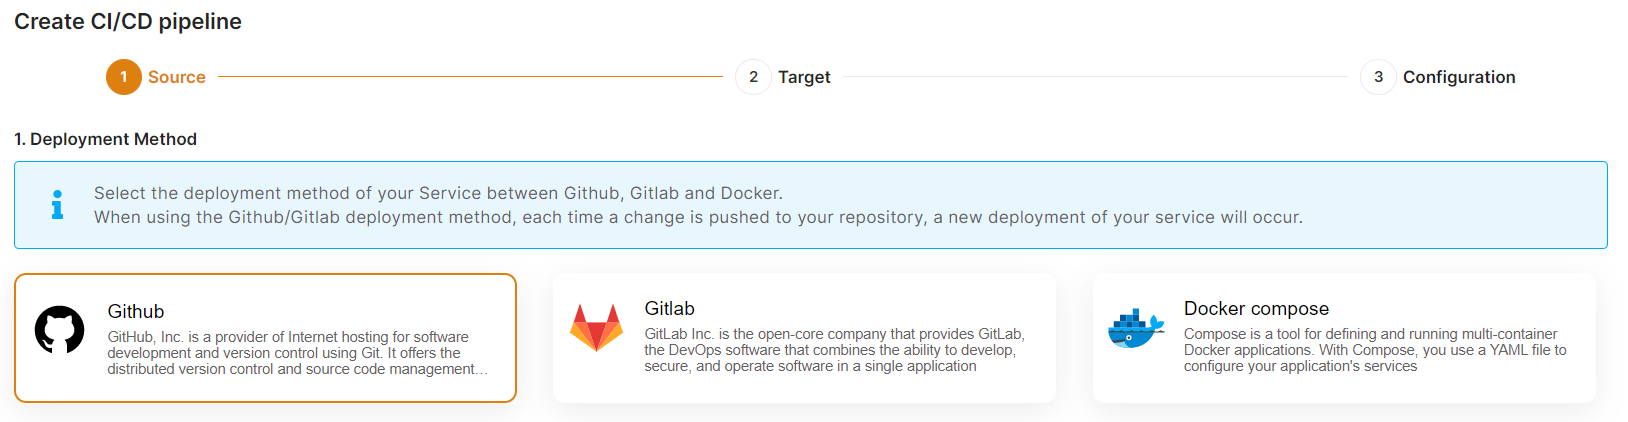
When youNow, select the Docker tocompose composeas the deployment method,source.
Step a3:
samples of applications thatHere you can
deploysee the most interesting and well-liked tech stacks' elestio templates.

FromNow, therefor clickdeploying oncustomer Githubdocker orimages, Gitlab,select Custom docker-compose template; otherwise, if you want to deploy from elestio example templates, select the template you want to deploy and you will be asked to provide authorization to list your projects in Elestio.
Then you will be able to browse Organizations & Repositories detected on your account. You can also usefollow the search to find directly your project to deploy. Once you found it, click on Import, then click on next.steps.
Now click the 2)Deploy button to proceed.
Step 4:
Choose Deployment Targets
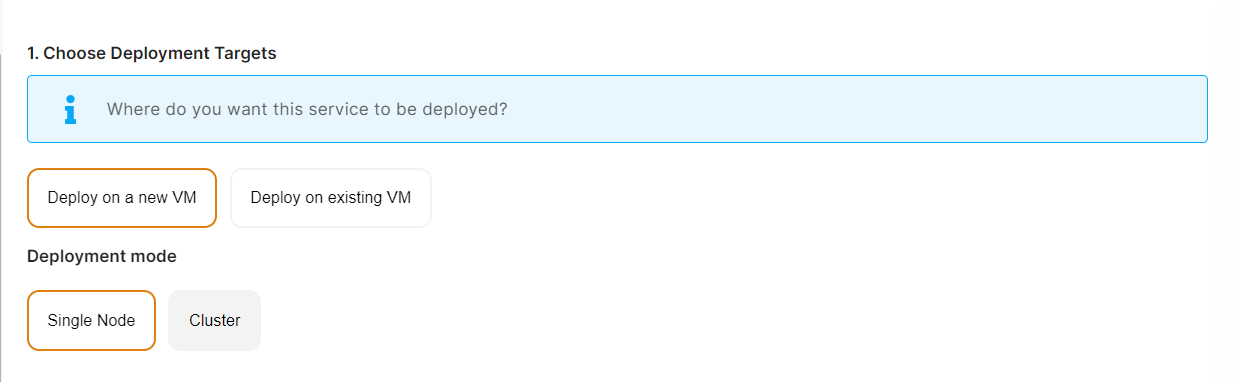
Elestio offers two types of deployment targets "Deploy on a new VM" and "Deploy on an existing VM".
You are allowed to set up n pipelines on each elestio CI/CD target/VM. According to the project configuration you select and the project you're deploying, the number of pipelines varies.
If you want to deploy these projects as a pipeline on a new Target/VM or don't have any installed targets, choose "Deploy on a new VM." If you already have any installed or previously configured CI/CD targets/VMs, choose "Deploy on an existing VM," and then choose the existing target from the targets dropdown.
Follow the steps below only if you select "Deploy on a new VM," otherwise click the next button to proceed.
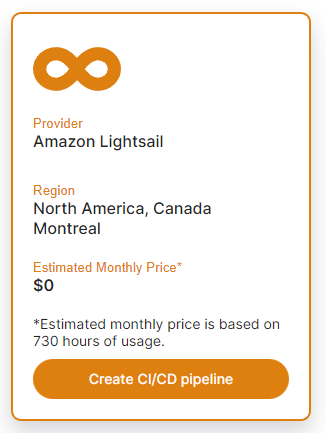
CI/CD Pipelines by Elestio are available with our 5 cloud partners (AWS Lightsail, Digital Ocean, Vultr, Linode & Hetzner) in 85 locations over 27 countries but also on any cloud (AWS, Azure, Google, Oracle, ...) and on-premise with BYOVM.

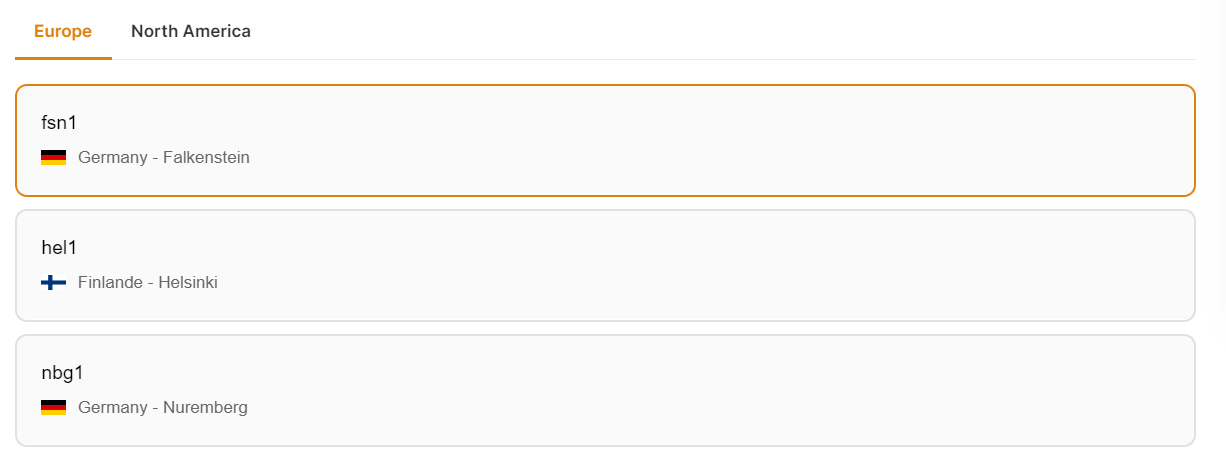
Here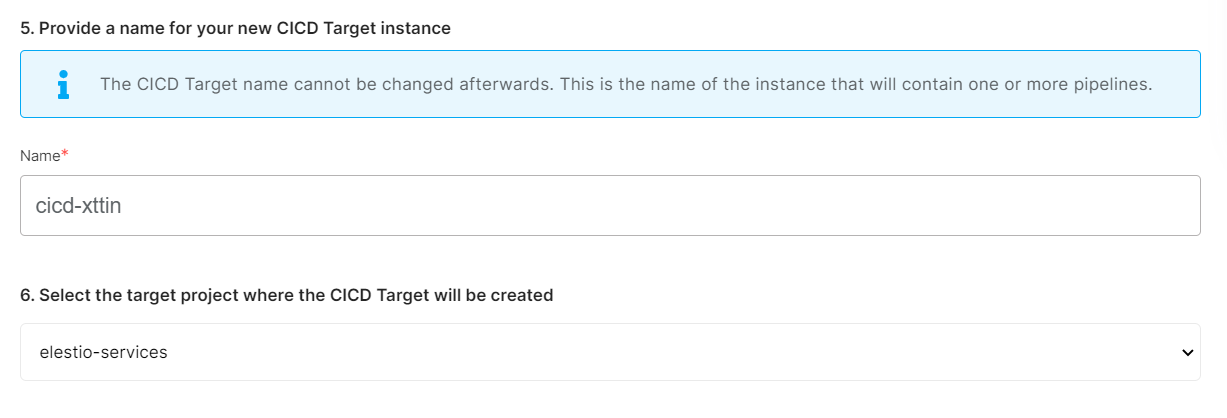
If you
havewant toindicate where the app should be deployed,deploy itcan bewith a"Newdifferentinfrastructure",nameinandthatacase,different project, you canselectcustomize it. By default, we configure it with a dynamic target name and the current project.
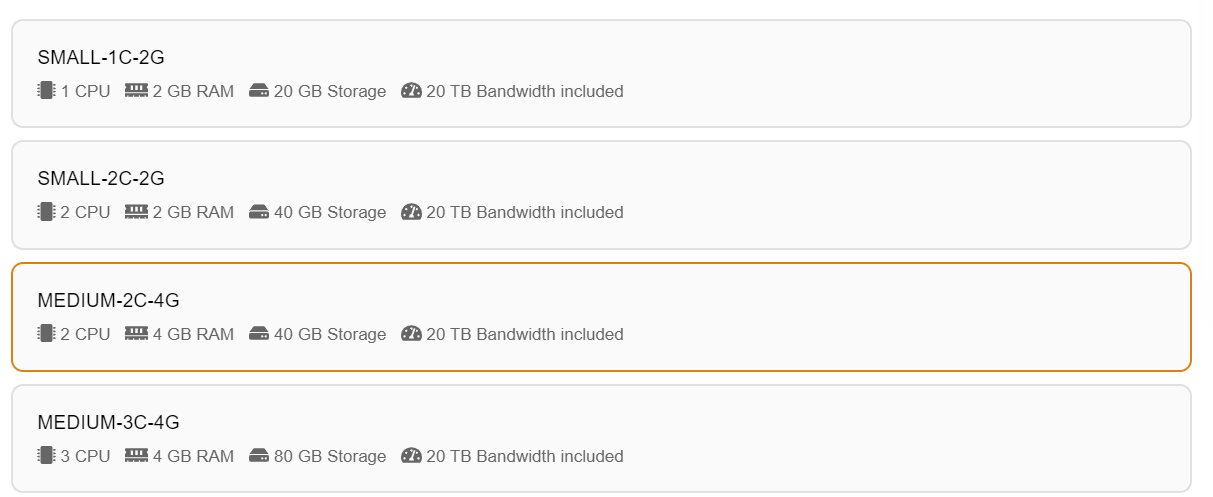
Step 5:
Configure your preferredProject provider/region/instancedocker size.image Orand another existing infrastructure, then you just have to pick it from the list.details.

You can write your docker image detailshere 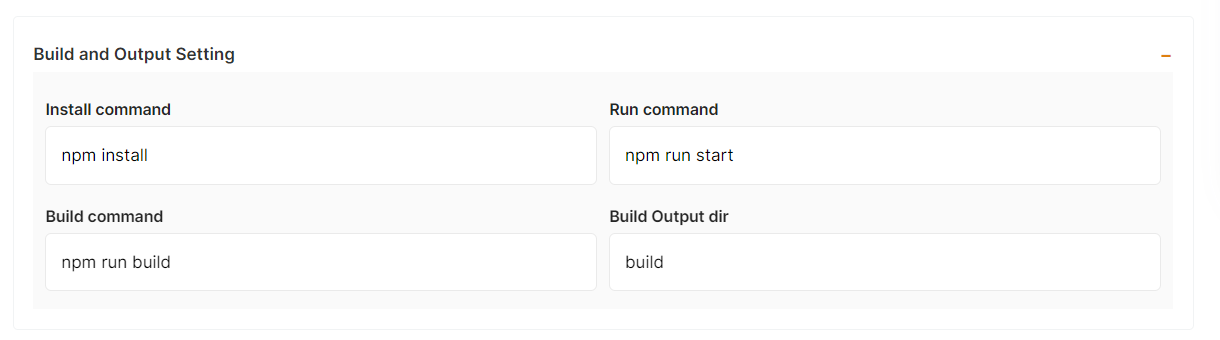
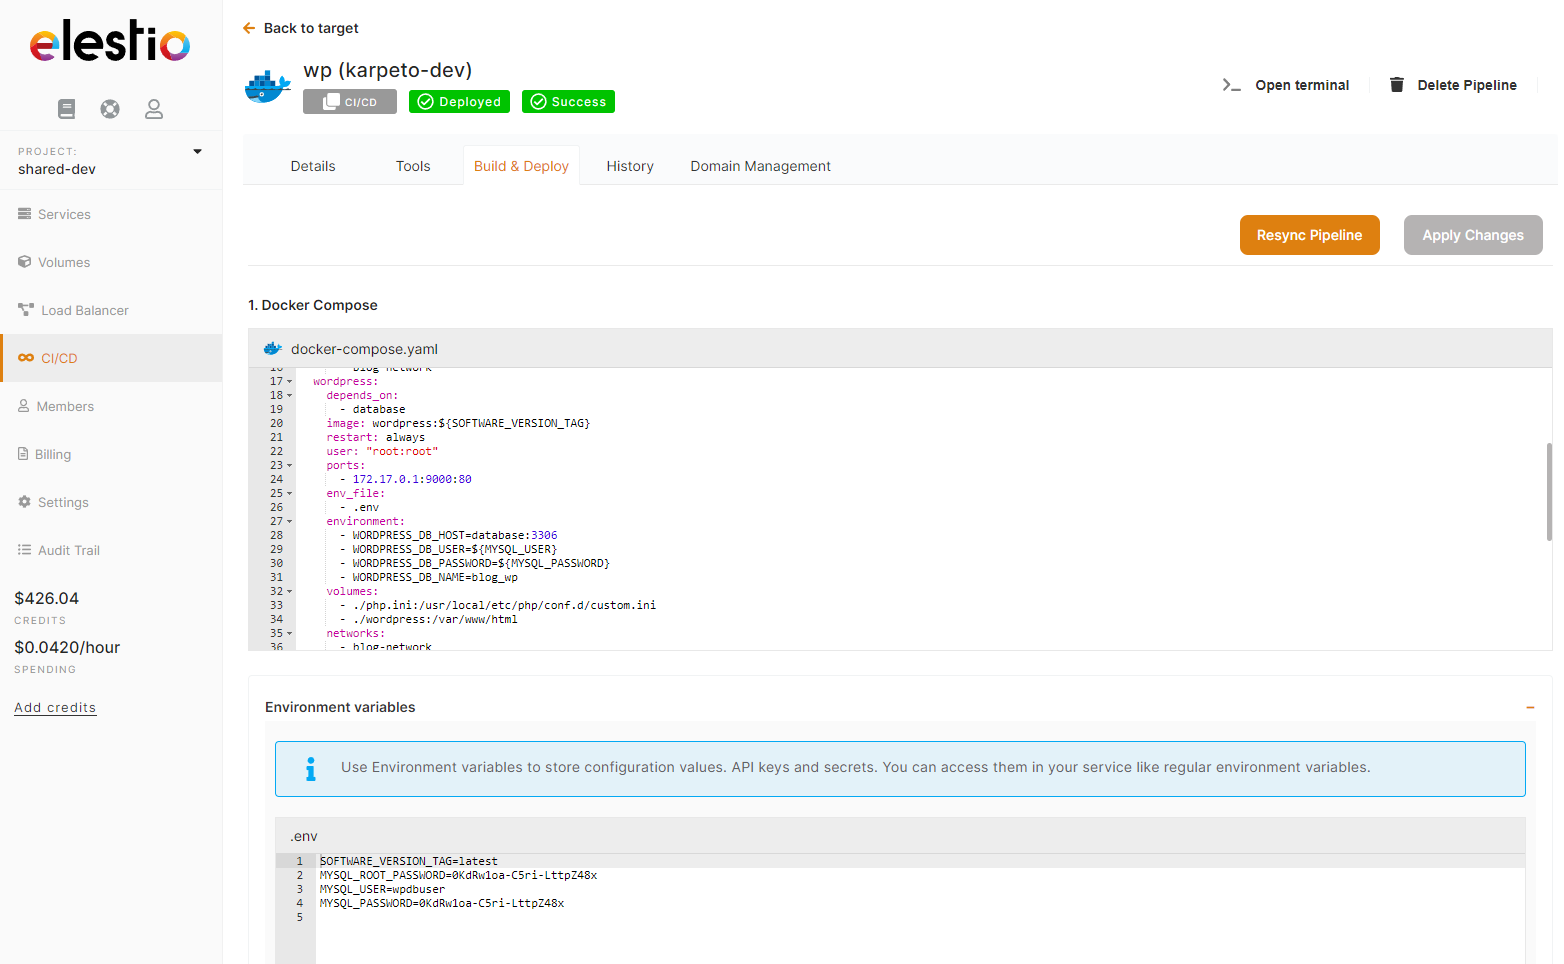
You can configure your project install, run, and build commands in the Build and output setting.

The configuration of life cycle scripts is always optional; they should only be used if you want to execute a specific command before and after building your project. Otherwise, leave them empty.
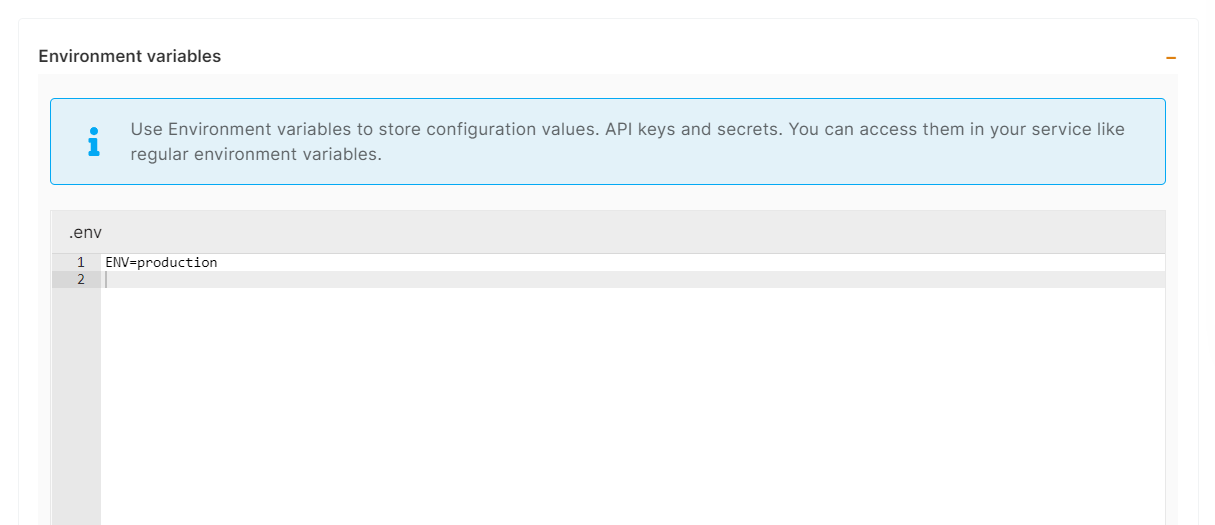
You can list all of your project's API keys and secrets here if they were saved in ENV
3) Configure your app
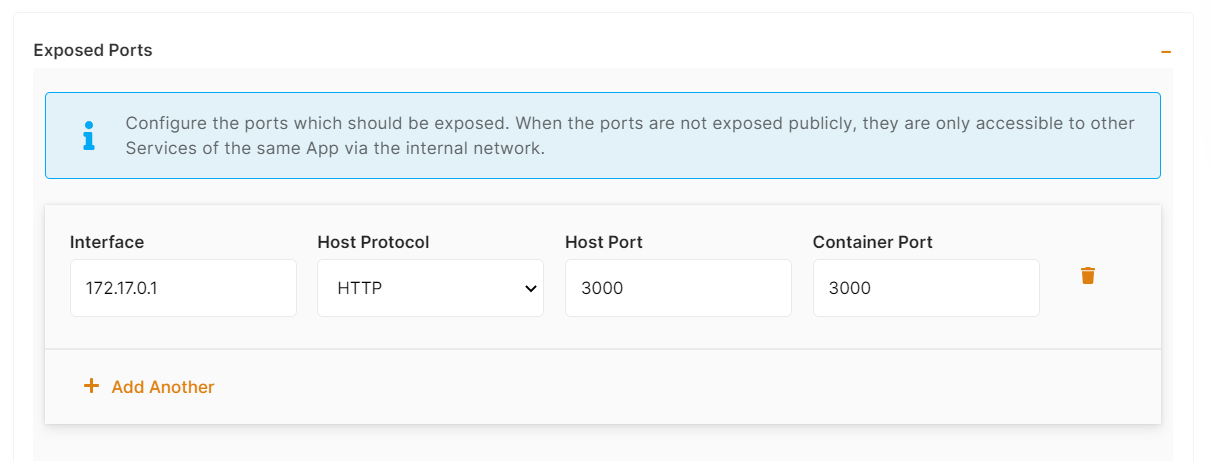
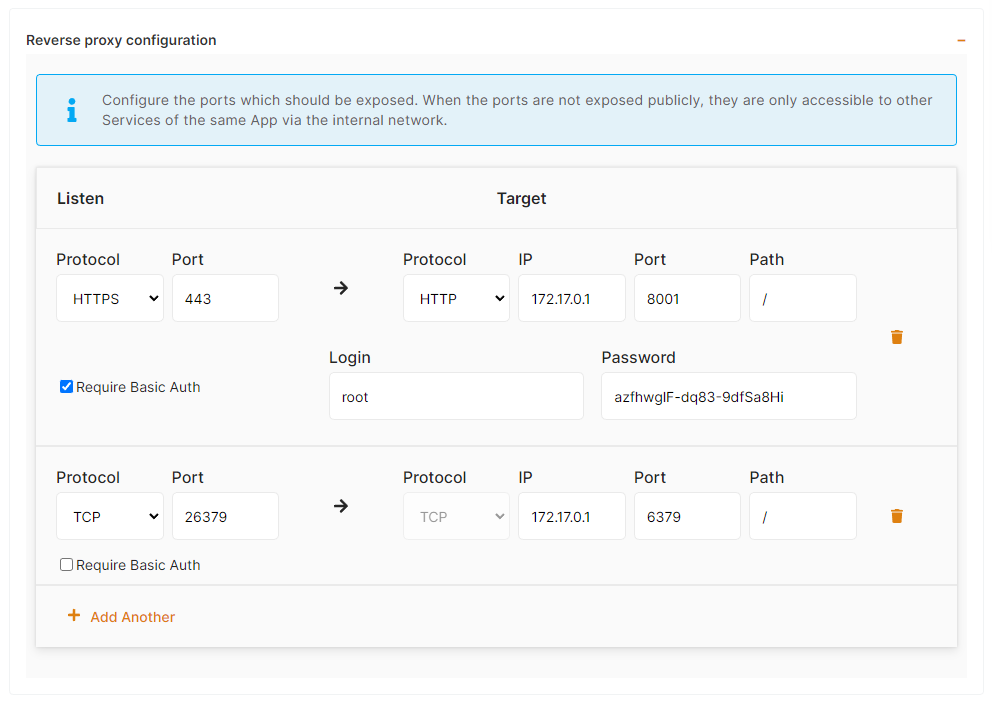
ThisThe final step is theto last step ofconfigure the processexposed where you can adjust the app settings, docker-compose, env vars,port and reverse proxy configuration.settings. You can specify the port on which your project will run here.
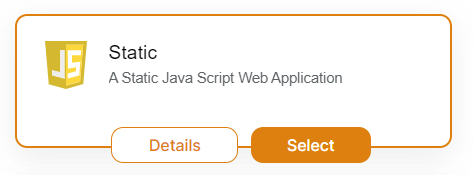
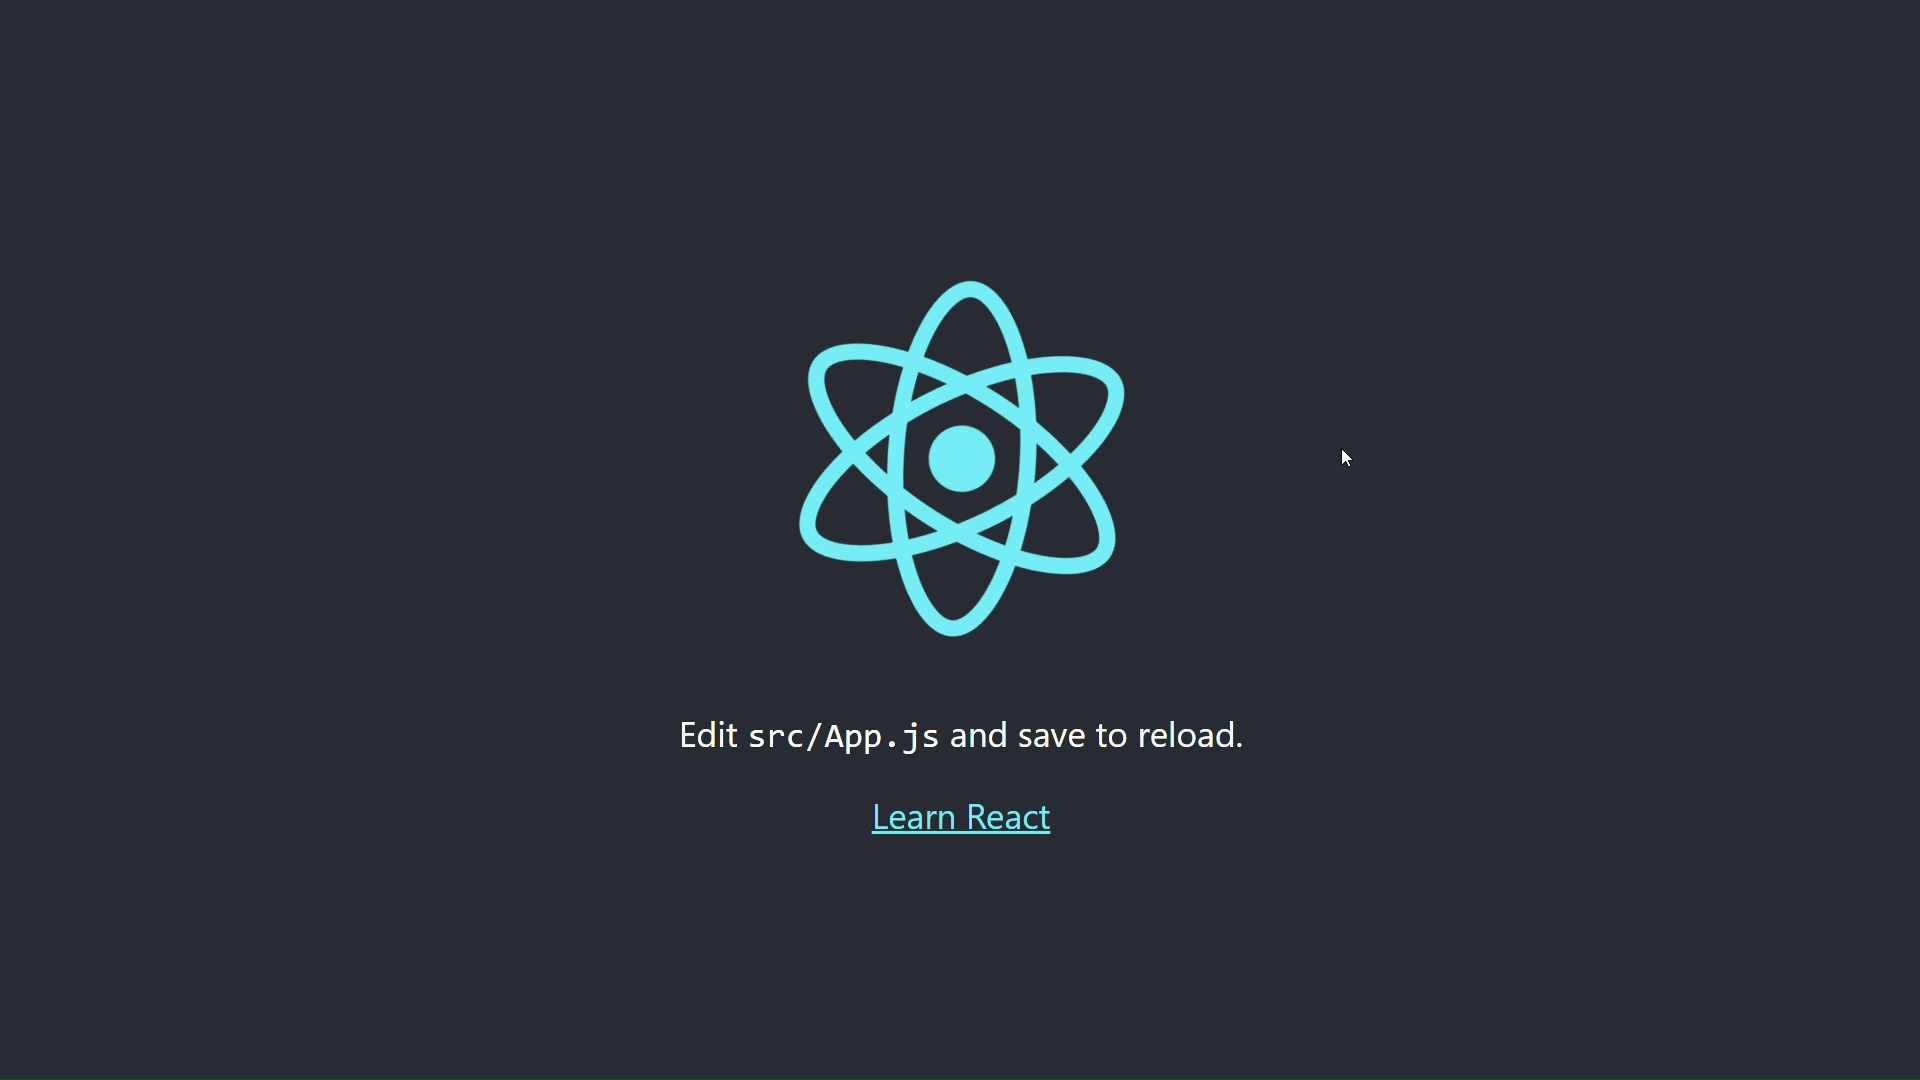
If your project includes elestio.yml, Elestio will auto-fill all of these fields. As in this tutorial, we're using our ReactJs elestio example, so you can see in the above images that all of our fields are auto-filled.
Refer to these links to learn how to create our own elestio.yml for the project.
A sample elestio.yml for ReactJs is shown below. check it out on github
config:
  runTime: "static"
  version: ""
  framework: ""
  buildCommand: ""
  buildDir: ""
  runCommand: ""
ports:
  - protocol: "HTTPS"
    targetProtocol: "HTTP"
    listeningPort: "443"
    targetPort: "3000"
    targetIP: "172.17.0.1"
    public: true
    path: "/"
    isAuth: false
    login: ""
    password: ""
exposedPorts:
  - protocol: "HTTP"
    hostPort: "3000"
    containerPort: "80"
    interface: "172.17.0.1"
Step 6:
Click the Create CI/CD pipeline button to deploy your pipeline.

a)
In Docker-composea stackcouple of moments, your application was successfully deployed on elestio 🚀.

b) Environment variables
In most cases, you will have to indicate configuration for your app through env vars. This is useful to pass various configurations to your app like database connection string, S3 bucket details, email address to use, and other global configurations.
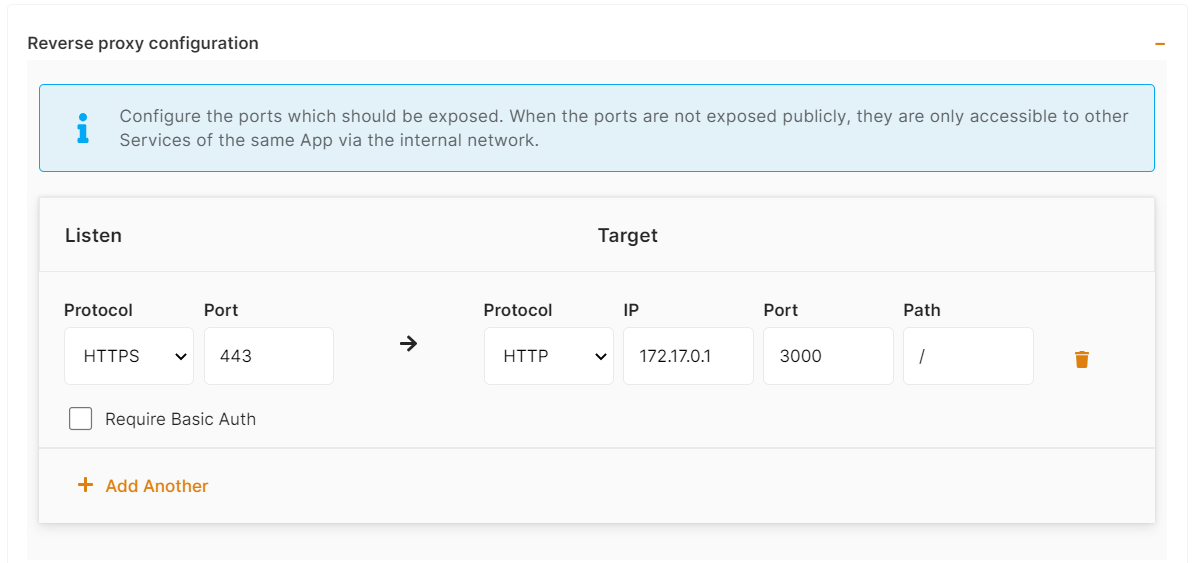
c) Reverse proxy
To make your app accessible on the internet, indicate in the target port the same thing you have configured on the host port in the docker-compose ports binding.
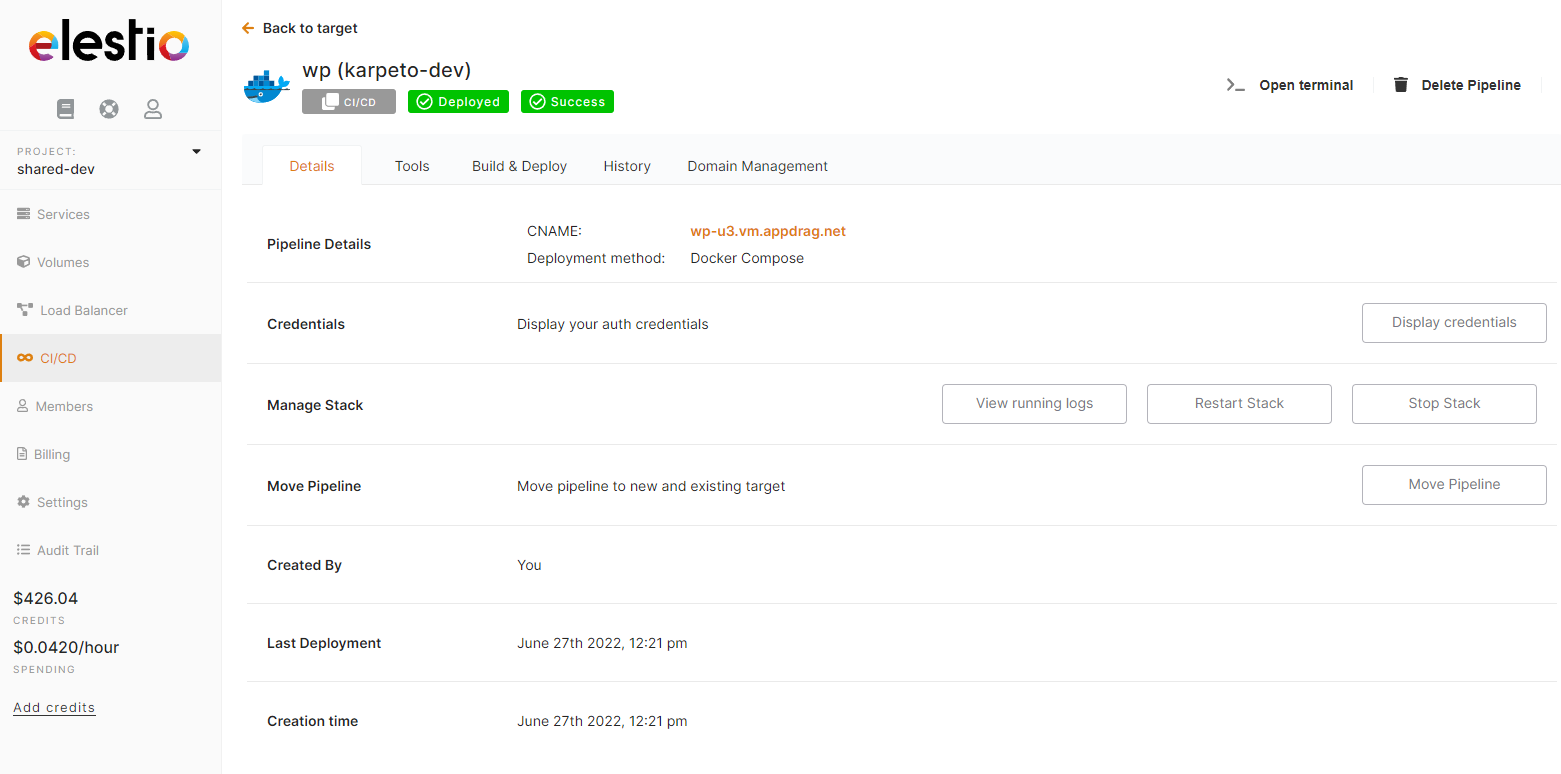
You can now view your deployed URL and access your application by going to desired application pipeline details.
Finally,Please clicklet onus "Createknow CI/CDby pipeline"contacting toour completesupport your deployment.
After a few minutes, your app should be accessible on the CI/CD pipeline url, you can find it in the dashboard overview of your pipeline. Your generated credentials are visible in the "Build & Deploy" tab in the env var section or reverseticketing proxy sectionsystem if you havegive activatedit basica authentication.shot and encounter any problems or if anything goes wrong.
Join us on