
Creating a Database
ClickHouse is a high-performance columnar database designed for real-time analytical processing. It’s known for its blazing speed, horizontal scalability, and efficient use of disk I/O. Proper setup is essential for taking advantage of ClickHouse’s full capabilities, including fault tolerance, secure access, and high query performance. This guide walks through various ways to run and connect to ClickHouse: using the ClickHouse CLI (clickhouse-client), Docker containers, and command-line tools for scripting and automation. Best practices are highlighted throughout to ensure robust deployments.
Creating using clickhouse-client
The ClickHouse command-line interface (clickhouse-client) is a built-in tool used to connect to and manage ClickHouse servers. It supports both local and remote connections and allows for SQL-based interaction with the database engine.
Connect to ClickHouse:
If you’re running ClickHouse locally (via package manager or Docker), you can start the CLI with:
clickhouse-clientFor remote connections, specify the hostname, port (default 9000), and user credentials:
clickhouse-client -h <host> --port <port> -u <username> --passwordOnce connected, you can run SQL queries directly from the shell.
Running ClickHouse Using Docker
Docker provides a fast, reproducible way to run ClickHouse in isolated environments. This is ideal for local development or self-contained production setups.
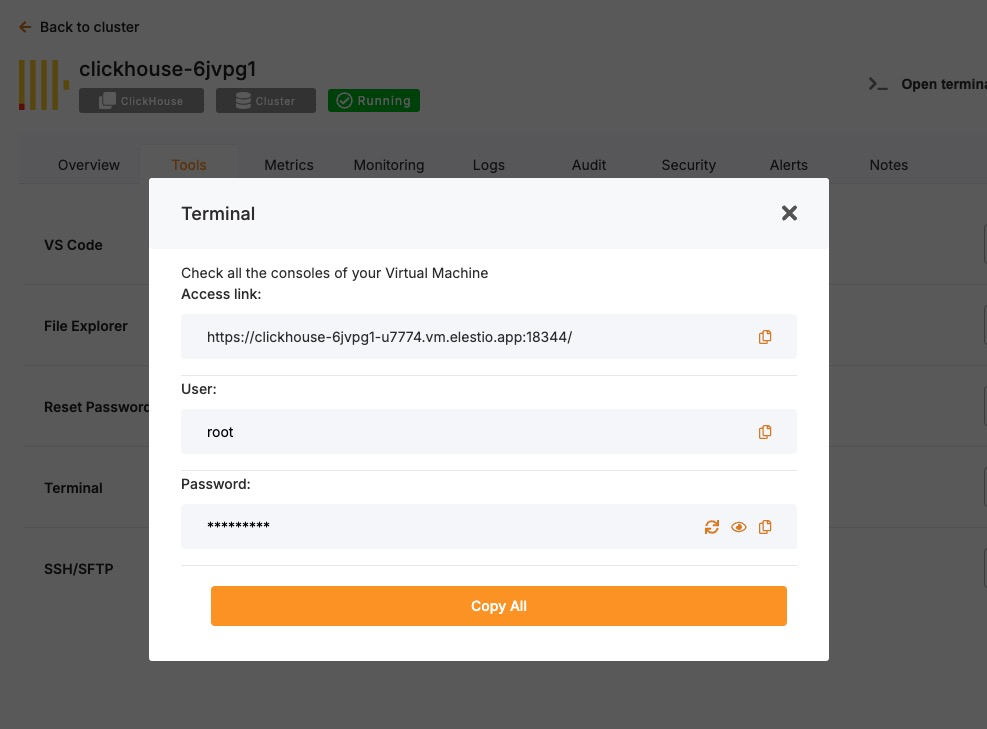
Access Elestio Terminal
If you’re using Elestio for ClickHouse hosting, log into the Elestio dashboard. Go to your ClickHouse service, then navigate to Tools > Terminal to open a pre-authenticated shell session.
Now change the directory:
cd /opt/app/Access the ClickHouse Container Shell
Elestio-managed services run on Docker Compose. Use this to enter the ClickHouse container:
docker-compose exec clickhouse bashAccess ClickHouse CLI from Inside the Container
Once inside the container, the clickhouse-client tool is available. Run it like this (add --password if needed):
clickhouse-client -u <user> --port <port> --passwordYou are now connected to the running ClickHouse instance inside the container.
Test Connectivity
Try creating a database and querying data to verify functionality:
CREATE DATABASE test_db;
CREATE TABLE test_db.test_table (id UInt32, message String) ENGINE = MergeTree() ORDER BY id;
INSERT INTO test_db.test_table VALUES (1, 'Hello ClickHouse');
SELECT * FROM test_db.test_table;
Expected Output:
1 Hello ClickHouseThis confirms read/write operations and query functionality.
Connecting Using clickhouse-client in Scripts
clickhouse-client can be used non-interactively for scripting, automation, and cron-based jobs.
For example, to insert data from a shell script:
echo "INSERT INTO test_db.test_table VALUES (2, 'Automated')" | \
clickhouse-client -h <host> -u <user> --password
This is useful for automated ETL jobs, health checks, or backup pipelines.
Best Practices for Setting Up ClickHouse
Use Clear Naming for Databases and Tables
Adopt consistent naming conventions for databases, tables, and columns. Use lowercase, underscore-separated names like:
user_events_2024
product_sales_agg
This improves clarity in multi-schema environments and helps with automation and maintenance scripts.
Choose the Right Engine and Indexing Strategy
ClickHouse supports various table engines like MergeTree, ReplacingMergeTree, and SummingMergeTree. Pick the engine that best matches your use case and define ORDER BY keys carefully to optimize performance.
Example:
CREATE TABLE logs (
  timestamp DateTime,
  service String,
  message String
) ENGINE = MergeTree()
ORDER BY (timestamp, service);
Inappropriate engine selection can lead to poor query performance or high disk usage.
Enable Authentication and Secure Access
Always configure user-level authentication and restrict access in production. Add users and passwords in users.xml or via SQL:
CREATE USER secure_user IDENTIFIED WITH plaintext_password BY 'strong_password';
GRANT ALL ON *.* TO secure_user;
Use TLS for encrypted connections by enabling SSL in the config.xml file:
<tcp_port_secure>9440</tcp_port_secure>
<openSSL>
  <server>
    <certificateFile>/etc/clickhouse-server/certs/server.crt</certificateFile>
    <privateKeyFile>/etc/clickhouse-server/certs/server.key</privateKeyFile>
  </server>
</openSSL>
Configure Data Persistence and Storage Paths
ClickHouse stores data on disk by default, but ensure proper mounting, storage separation, and backup routines.
In config.xml:
<path>/var/lib/clickhouse/</path>
<tmp_path>/var/lib/clickhouse/tmp/</tmp_path>
<user_files_path>/var/lib/clickhouse/user_files/</user_files_path>
Use RAID, SSDs, or networked volumes depending on your availability and performance needs.
Monitor and Tune Performance
Use built-in introspection tools like:
SELECT * FROM system.metrics;
SELECT * FROM system.query_log ORDER BY event_time DESC LIMIT 10;
SELECT * FROM system.parts;
For real-time observability, integrate with Grafana, Prometheus, or use ClickHouse Keeper metrics.
Also review:
-
system.mutations for long-running mutation jobs
-
system.errors for crash/debug info
-
system.replication_queue for sync issues in replicated tables
Common Issues and Their Solutions
|
Issue |
Cause |
Solution |
|---|---|---|
|
Authentication failure |
Wrong password or no user set |
Double-check credentials; use --password flag |
|
Cannot connect to localhost |
Service not running or incorrect port |
Ensure ClickHouse is running and check the port |
|
SSL/TLS handshake failed |
Incorrect certificate paths or permissions |
Verify file locations in config.xml and restart service |
|
Queries are slow |
Poor ORDER BY design or unoptimized table engine |
Reevaluate schema design and use indexes effectively |
|
Data lost after restart |
Misconfigured data path or ephemeral container |
Ensure proper disk volume mounts and storage persistence |