
How to secure your application with Cloudflare Tunnel
What is Cloudflare Tunnel?
Cloudflare Tunnel is a secure solution that connects your web applications to Cloudflare's global network without exposing your server's IP address or opening inbound ports. It creates an encrypted tunnel between your origin server and Cloudflare's edge, providing enhanced security and performance for your applications.
Why Use Cloudflare Tunnel?
Key Benefits:
Getting Started with Cloudflare Tunnel
Prerequisites
Step-by-Step Installation Guide
Step 1: Access Zero Trust Dashboard
Navigate to your Cloudflare dashboard and click on Zero Trust in the sidebar. This is where all tunnel management happens.
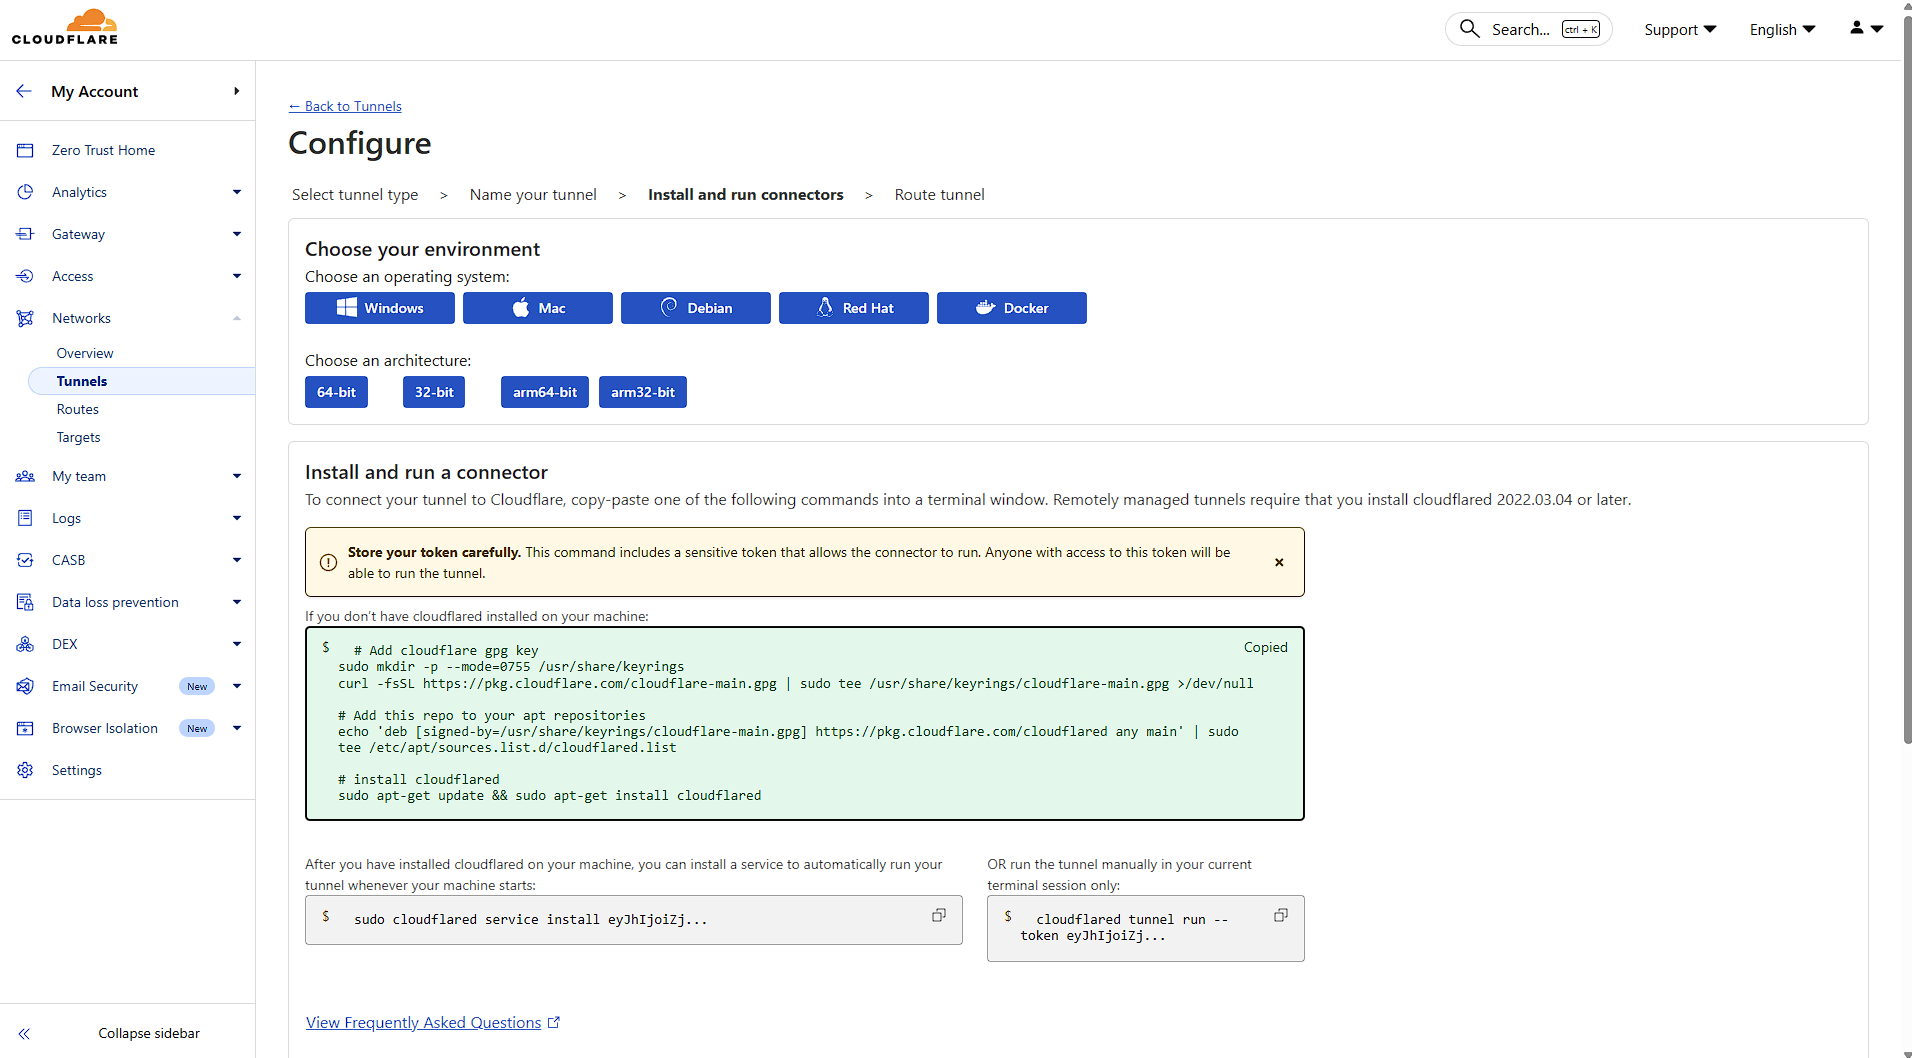
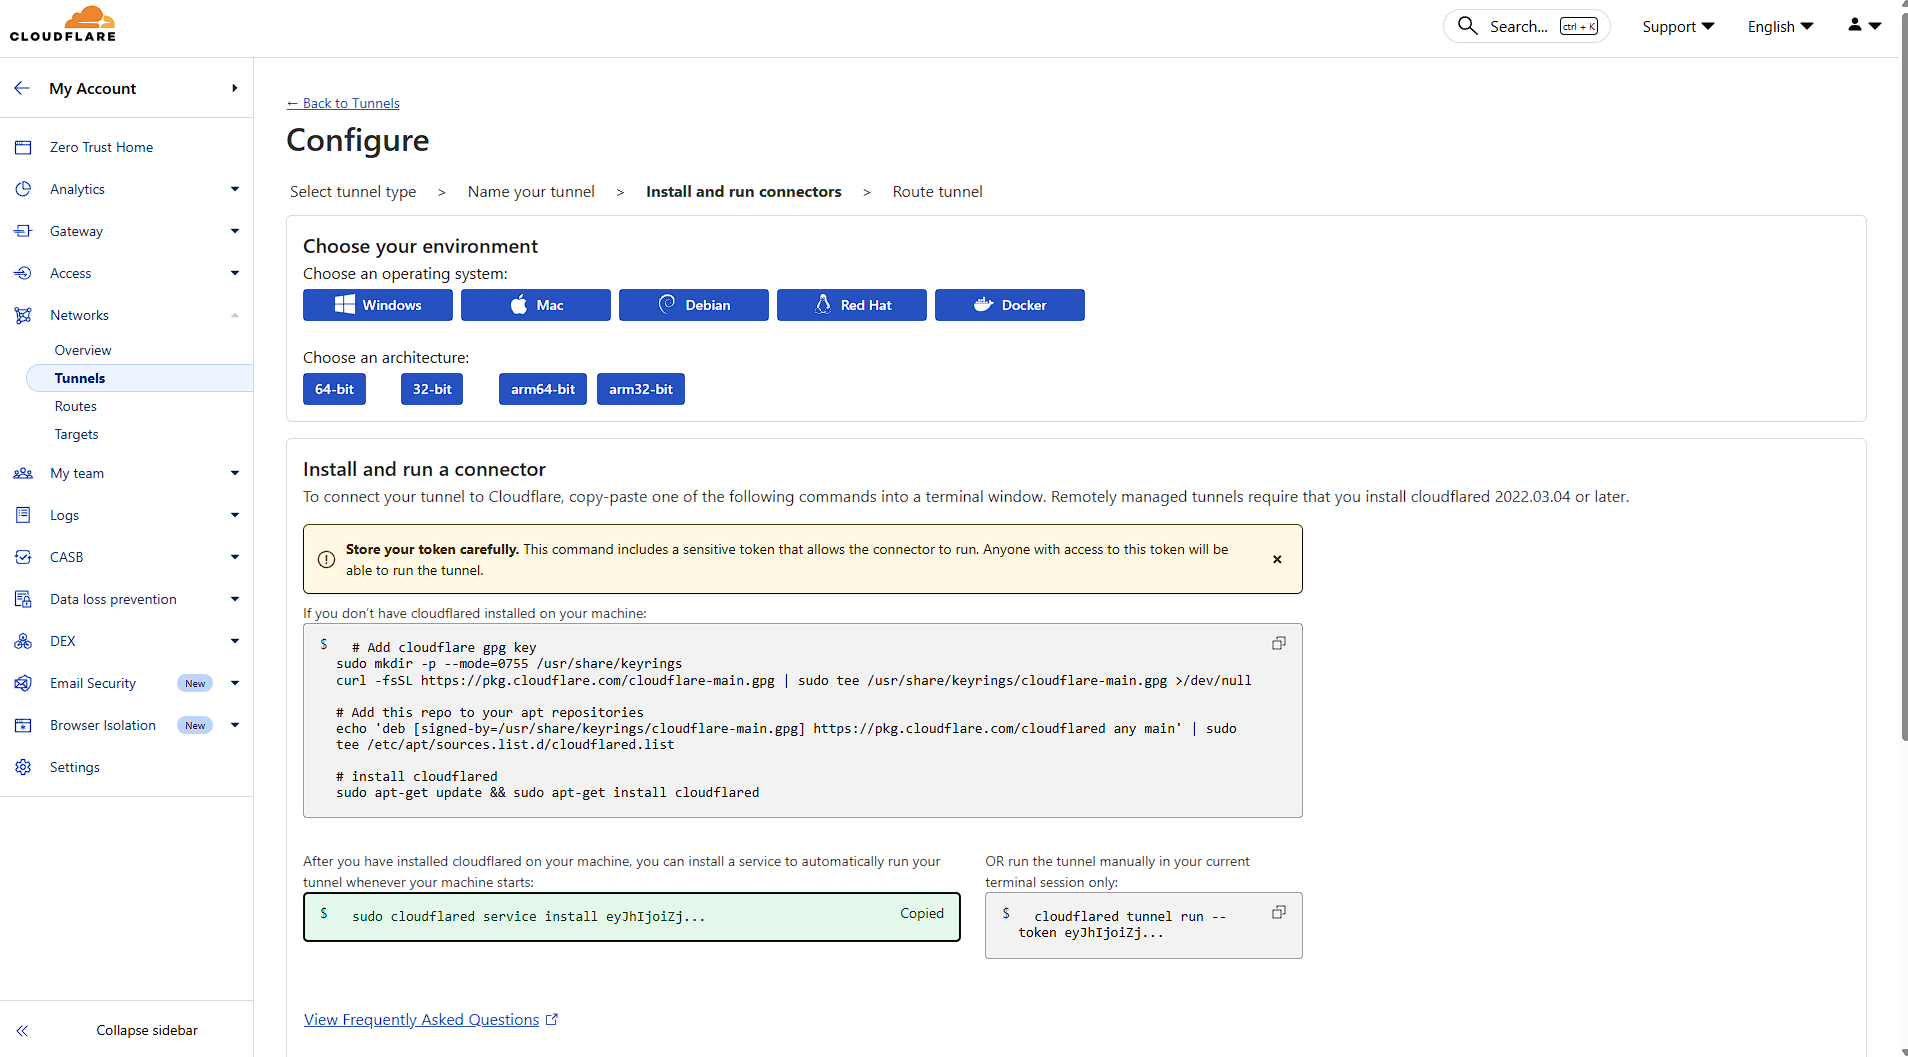
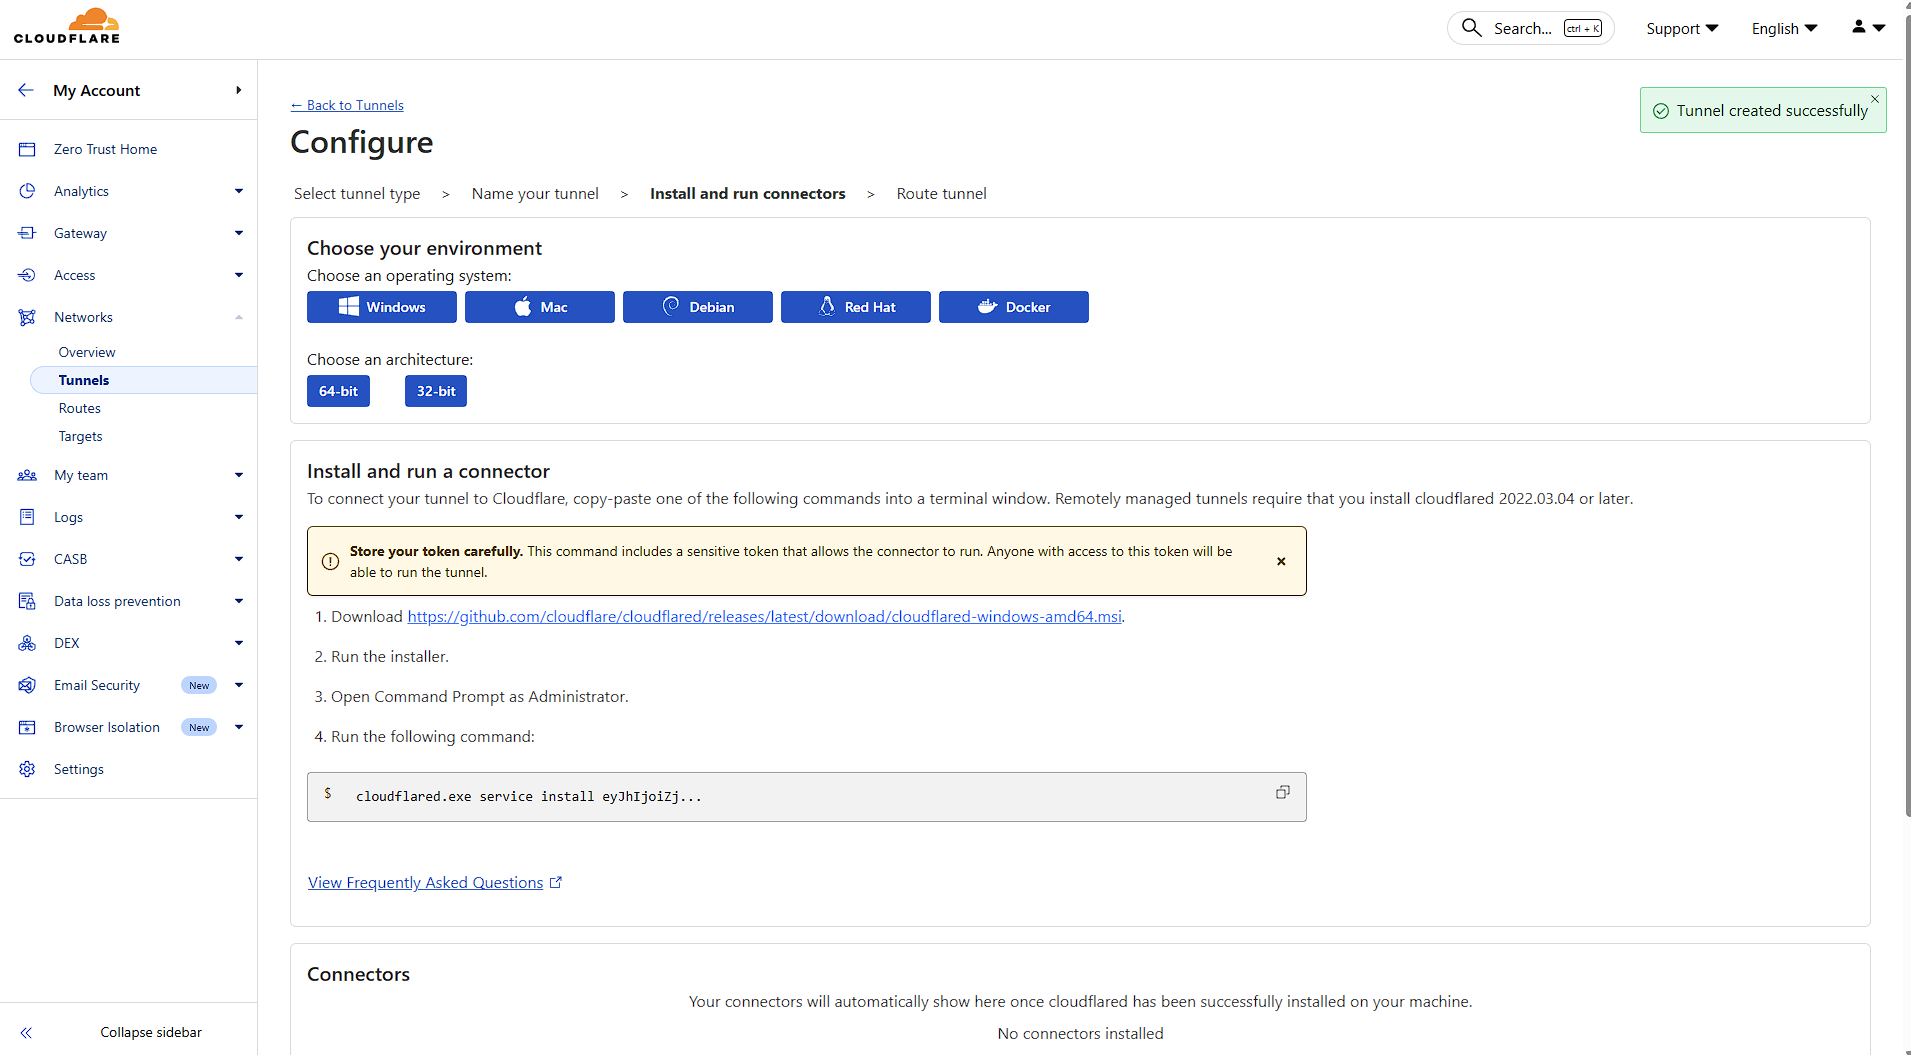
When installing Cloudflare on your Elestio service, make sure to select Debian as the operating system.
Next, open your Elestio Terminal. Once inside, install Cloudflare and set up the service to run your tunnel by copying and pasting the commands provided by Cloudflare.
Step 2: Navigate to Tunnels
Under the Networks section, click on Tunnels. This is your central hub for creating and managing all your tunnels.
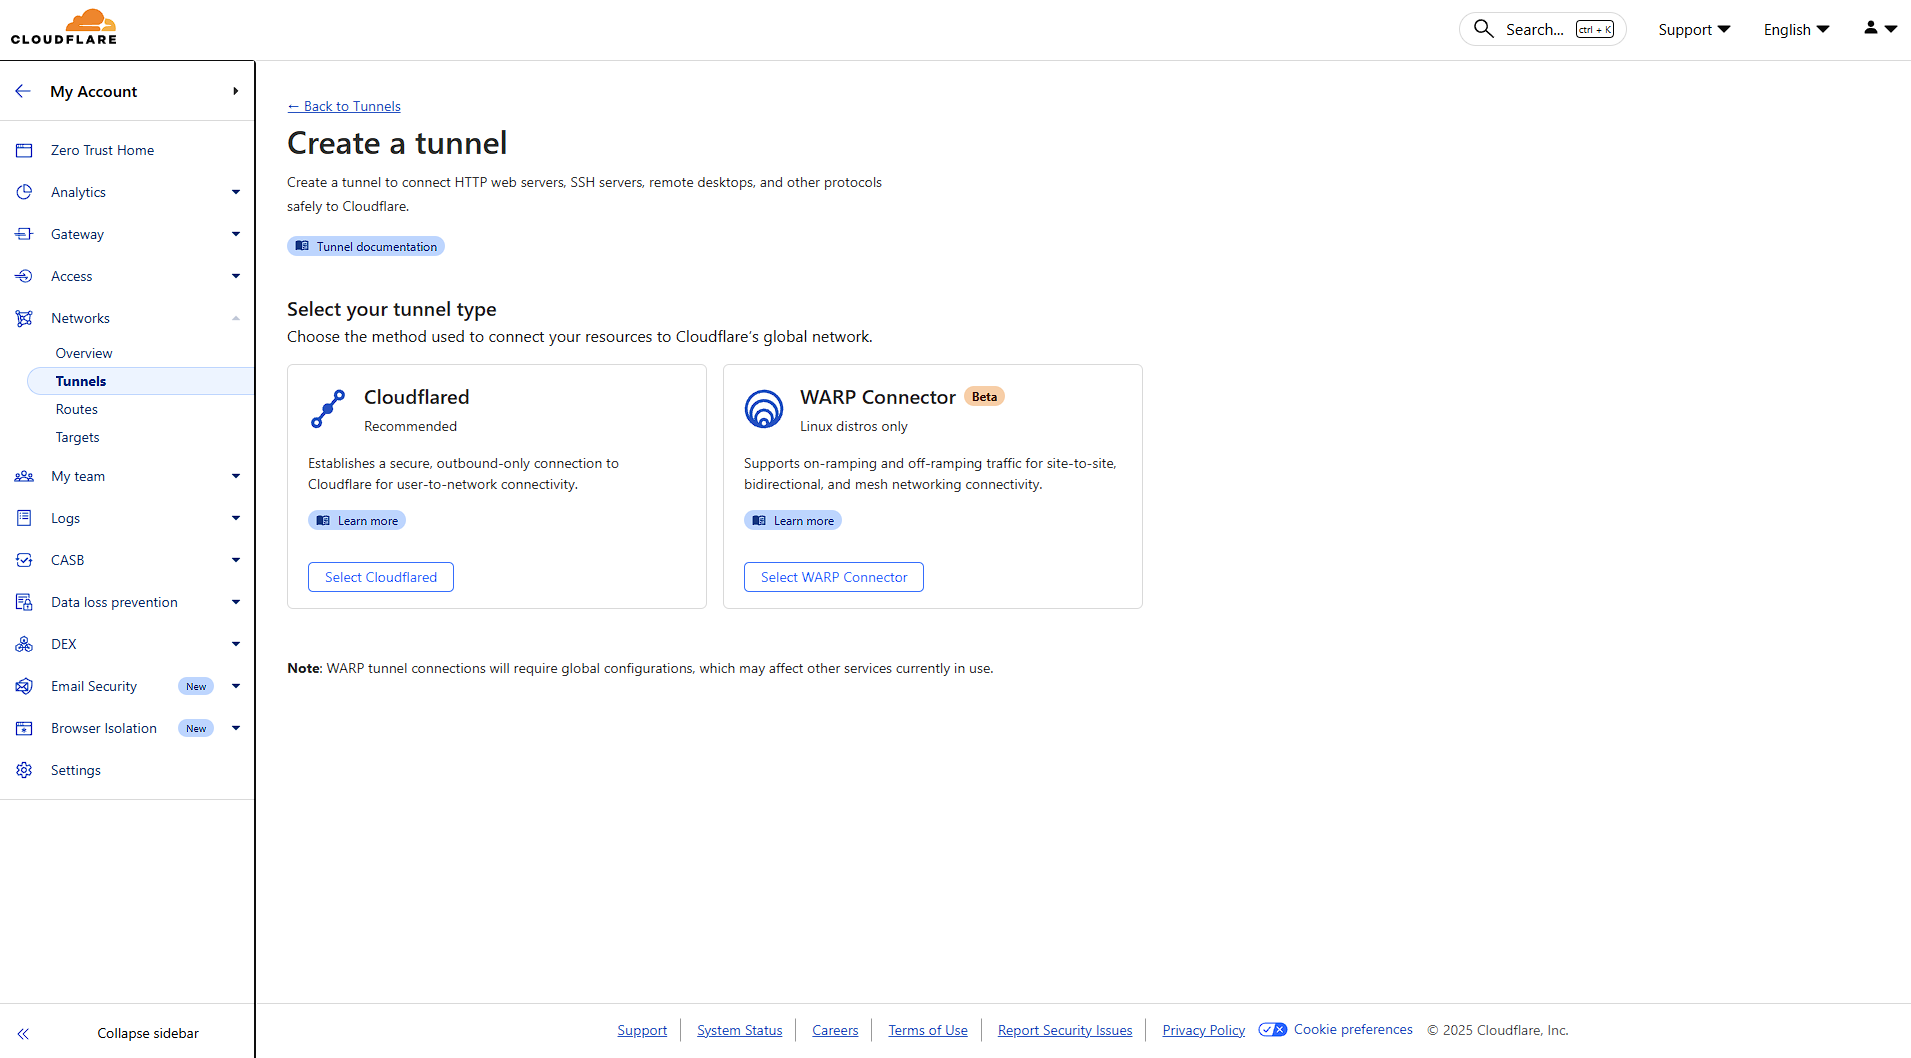
Click "Create a tunnel" to begin the setup process. You'll be presented with two options:
Select Cloudflared for this guide.
Choose a descriptive name for your tunnel. This helps you identify it later, especially if you manage multiple tunnels.
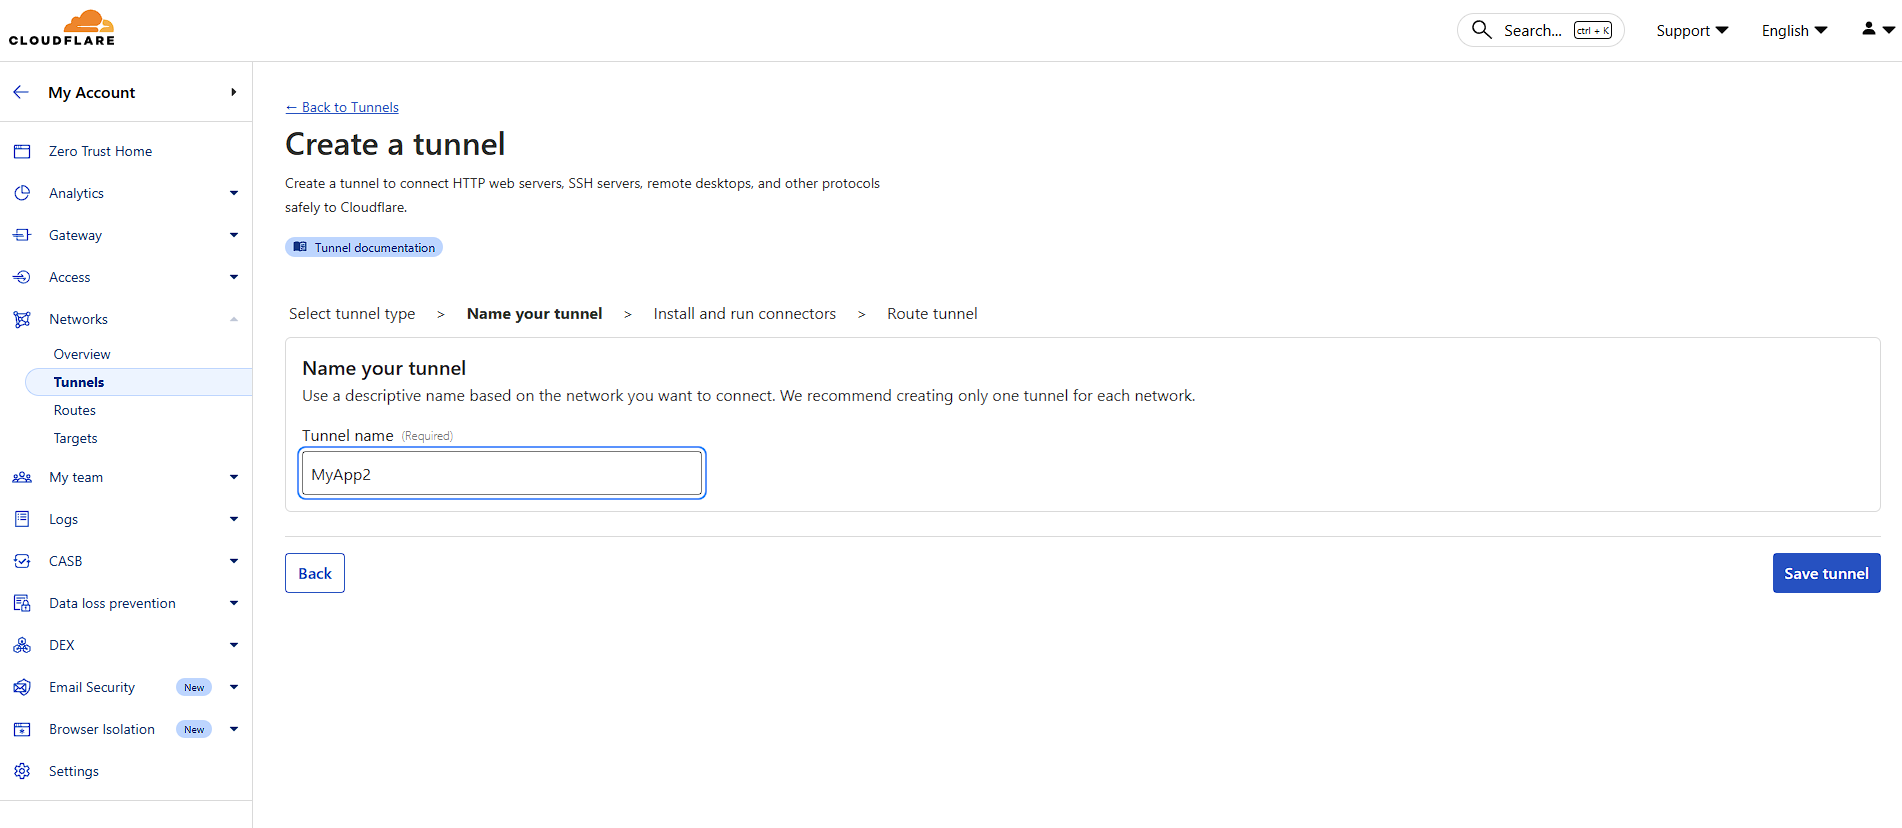
Click "Save tunnel" to proceed.
Step 3: Configure Your Application Route
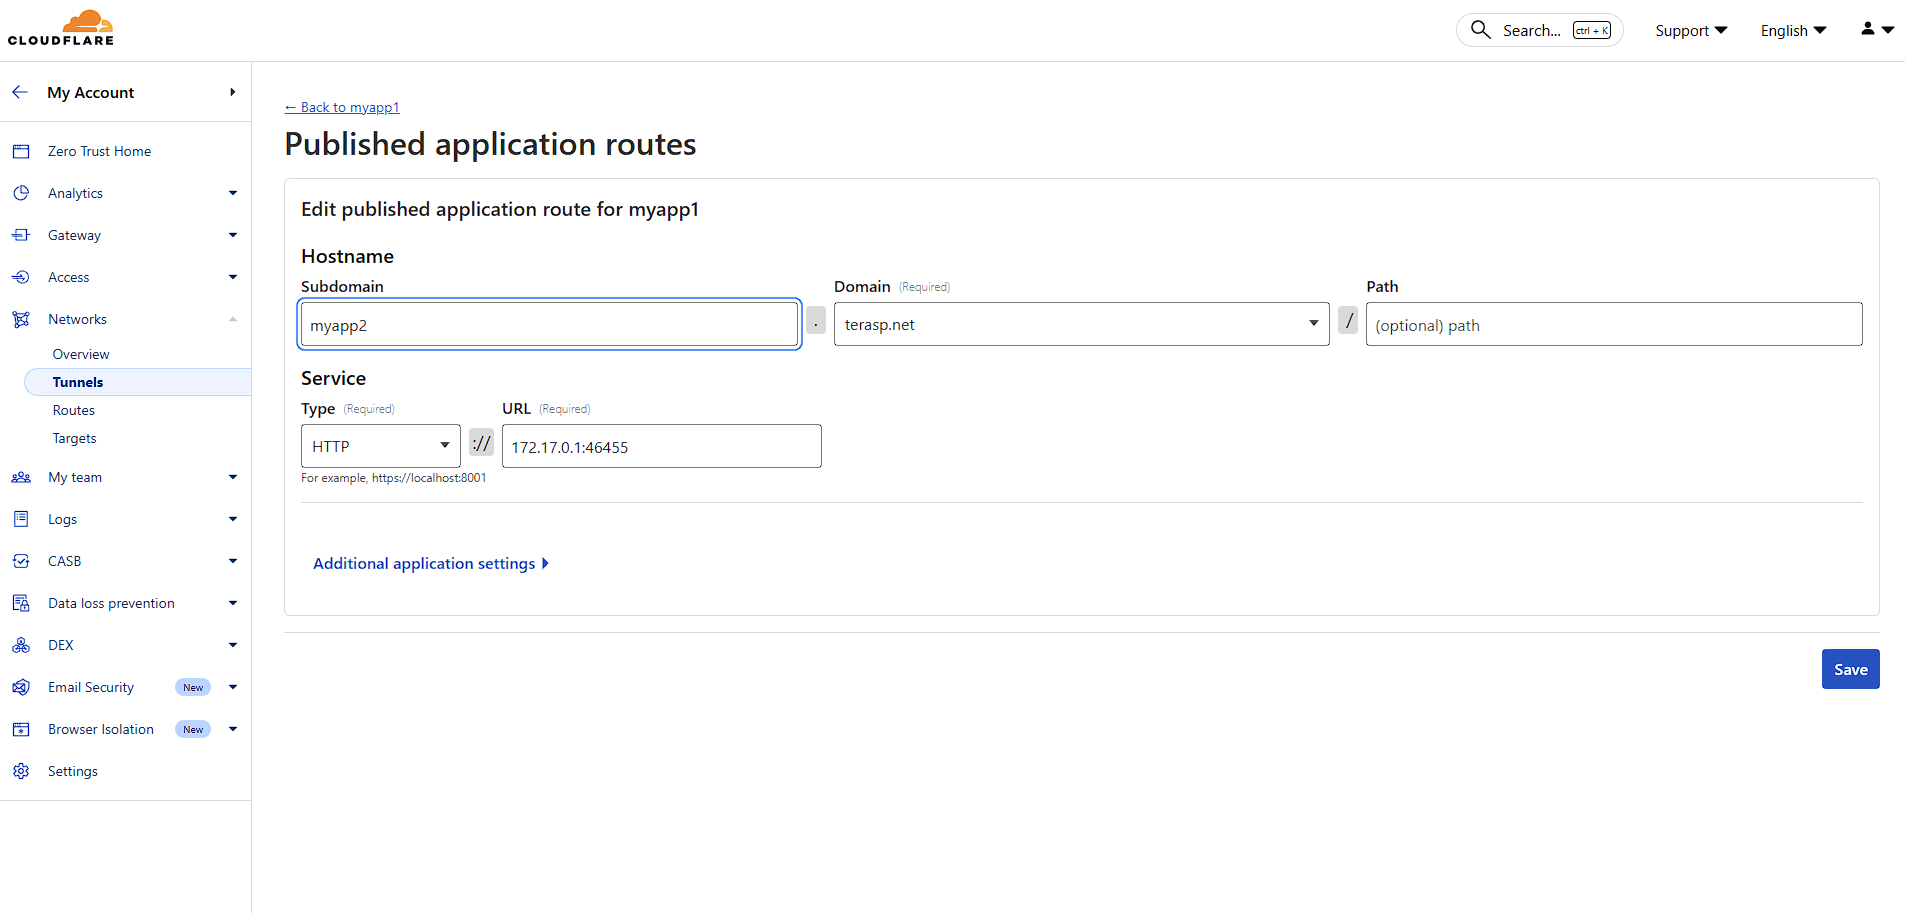
Hostname Configuration:
Service Configuration:
You can easily find the correct port by clicking Update Config in the Overview tab of your service, then checking the Ports section to see which port your application is bound to.
Click "Save" to finalize your configuration. Your tunnel is now active and routing traffic!
Cloudflare Tunnel revolutionizes how we expose applications to the internet. By eliminating the need for public IP addresses and open ports, it significantly reduces attack surface while providing enterprise-grade performance and security.
Combining Elestio's managed infrastructure with Cloudflare Tunnel gives you professional-grade deployment with minimal complexity - perfect for securing your applications, APIs, and services behind Cloudflare's global network.