Deploy own docker-compose image using Elestio Custom docker-compose
This tutorial will walk you through the process of deploying your own custom Docker image to the Elestio cloud. Use cases:
- Deploy one or multiple instances of stateful apps like Wordpress / Directus / MySQL / Redis / RabbitMQ / ...
- Deploy an internal service available only to your private network
- Deploy an application that was created elsewhere and published to a private Docker registry. To learn more about the elestio CI/CD, go here. If you're new, sign up for Elestio, otherwise, login to your existing account.
Deploy a custom docker-compose image to the Elestio cloud using the CI/CD custom docker-compose template.
Step 1:
Go to CI/CD from the left sidebar.
Step 2:
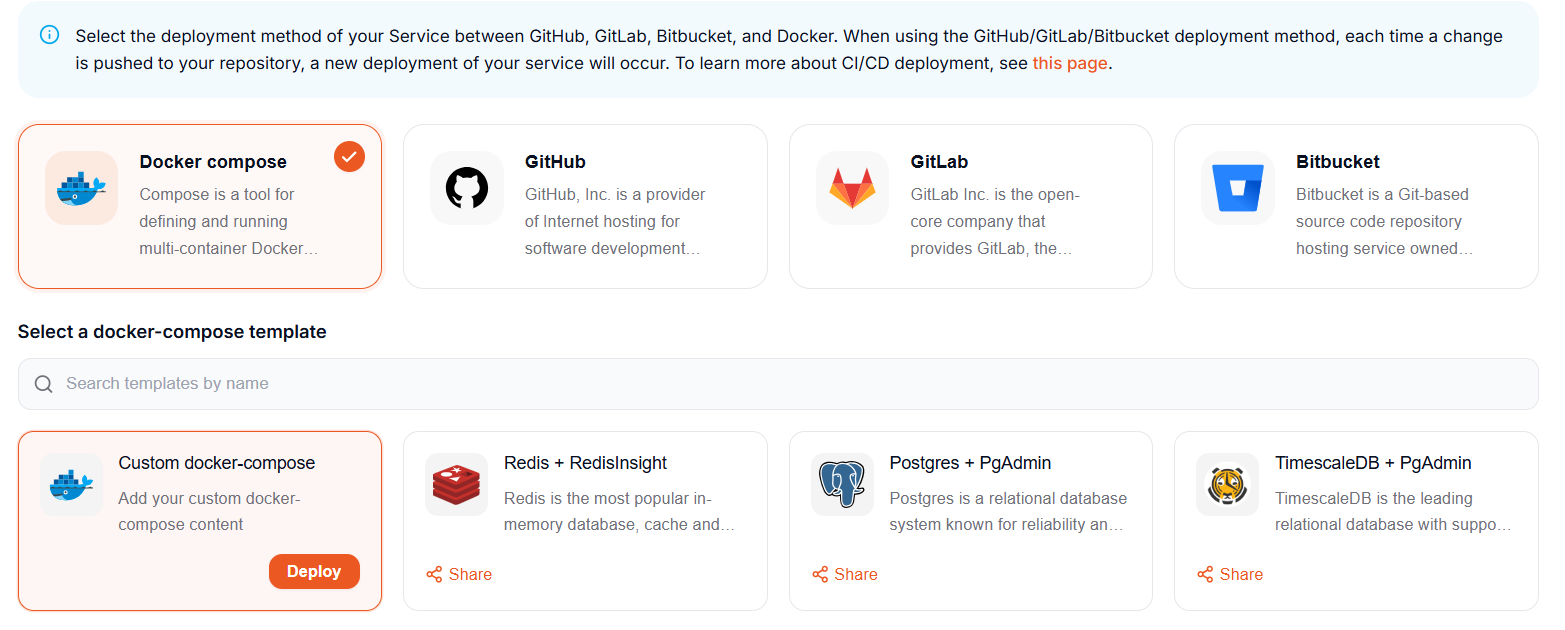
Now, select the Docker compose as the deployment source.
Step 3:
Here you can see the most interesting and well-liked tech stacks' elestio templates.
Now, for deploying customer docker images, select Custom docker-compose template; otherwise, if you want to deploy from elestio example templates, select the template you want to deploy and follow the steps.
Now click the ***Deploy ***button to proceed.
Step 4:
Choose Deployment Targets
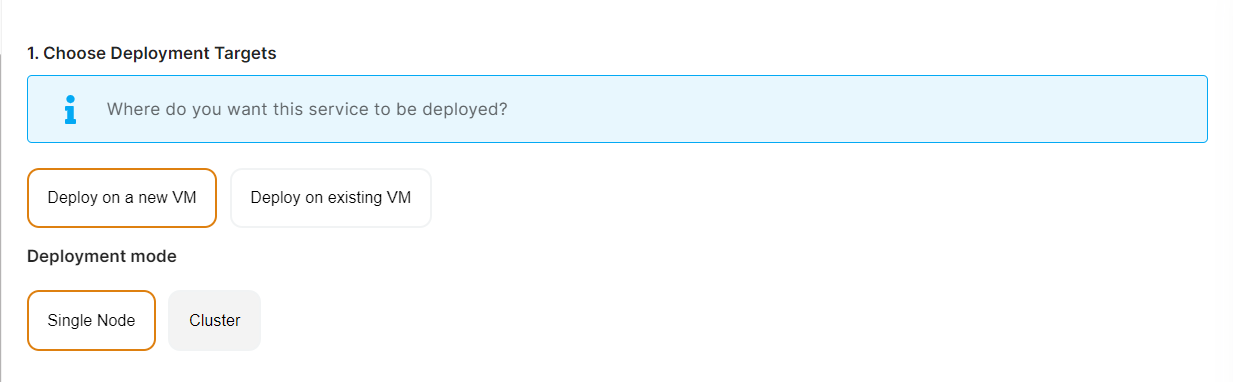 Elestio offers two types of deployment targets "Deploy on a new VM" and "Deploy on an existing VM".
You are allowed to set up n pipelines on each elestio CI/CD target/VM. According to the project configuration you select and the project you're deploying, the number of pipelines varies.
If you want to deploy these projects as a pipeline on a new Target/VM or don't have any installed targets, choose "Deploy on a new VM." If you already have any installed or previously configured CI/CD targets/VMs, choose "Deploy on an existing VM," and then choose the existing target from the targets dropdown.
Follow the steps below only if you select "Deploy on a new VM," otherwise click the next button to proceed.
CI/CD Pipelines by Elestio are available with our 5 cloud partners (AWS Lightsail, Digital Ocean, Vultr, Linode & Hetzner) in 85 locations over 27 countries but also on any cloud (AWS, Azure, Google, Oracle, ...) and on-premise with BYOVM.
Elestio offers two types of deployment targets "Deploy on a new VM" and "Deploy on an existing VM".
You are allowed to set up n pipelines on each elestio CI/CD target/VM. According to the project configuration you select and the project you're deploying, the number of pipelines varies.
If you want to deploy these projects as a pipeline on a new Target/VM or don't have any installed targets, choose "Deploy on a new VM." If you already have any installed or previously configured CI/CD targets/VMs, choose "Deploy on an existing VM," and then choose the existing target from the targets dropdown.
Follow the steps below only if you select "Deploy on a new VM," otherwise click the next button to proceed.
CI/CD Pipelines by Elestio are available with our 5 cloud partners (AWS Lightsail, Digital Ocean, Vultr, Linode & Hetzner) in 85 locations over 27 countries but also on any cloud (AWS, Azure, Google, Oracle, ...) and on-premise with BYOVM.
- Select Service Cloud Provider

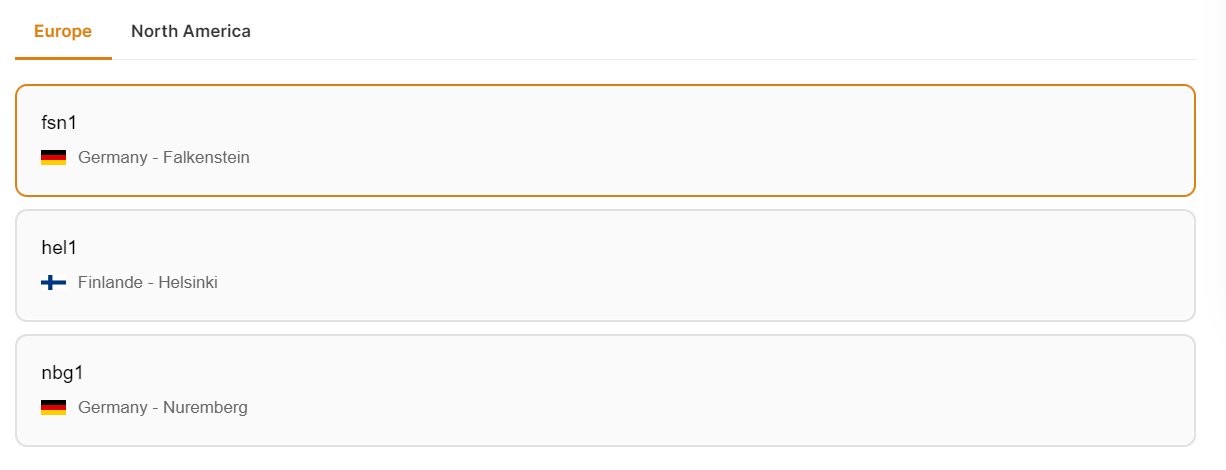
- Select Service Cloud Region
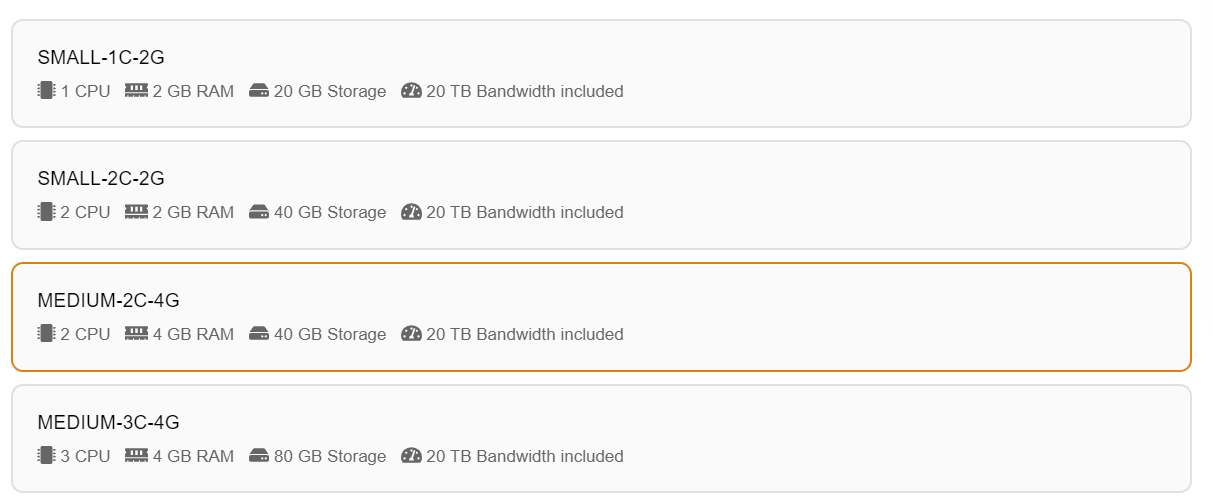
- Select Service Plan
- Now Customize the target name and project (where the CICD Target will be created).
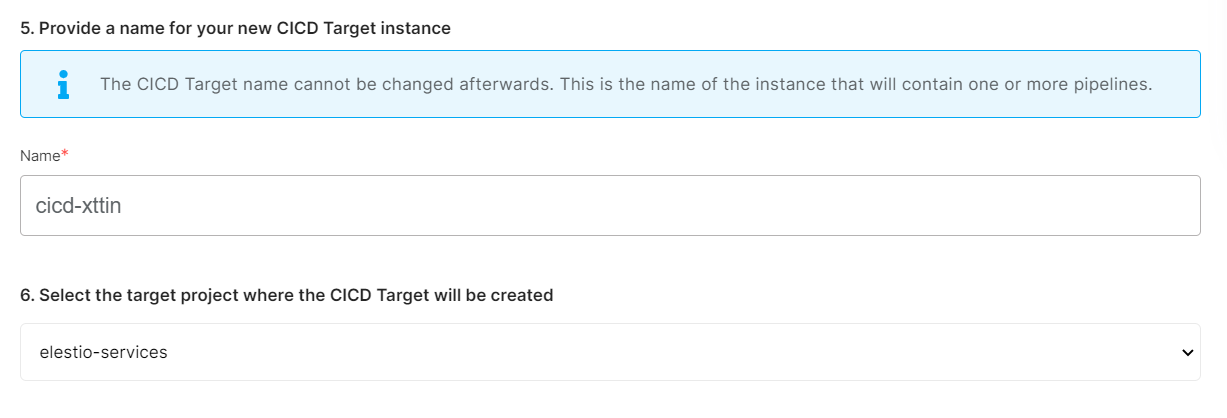
If you want to deploy it with a different name and a different project, you can customize it. By default, we configure it with a dynamic target name and the current project.
Step 5:
Configure your Project docker image and other details.
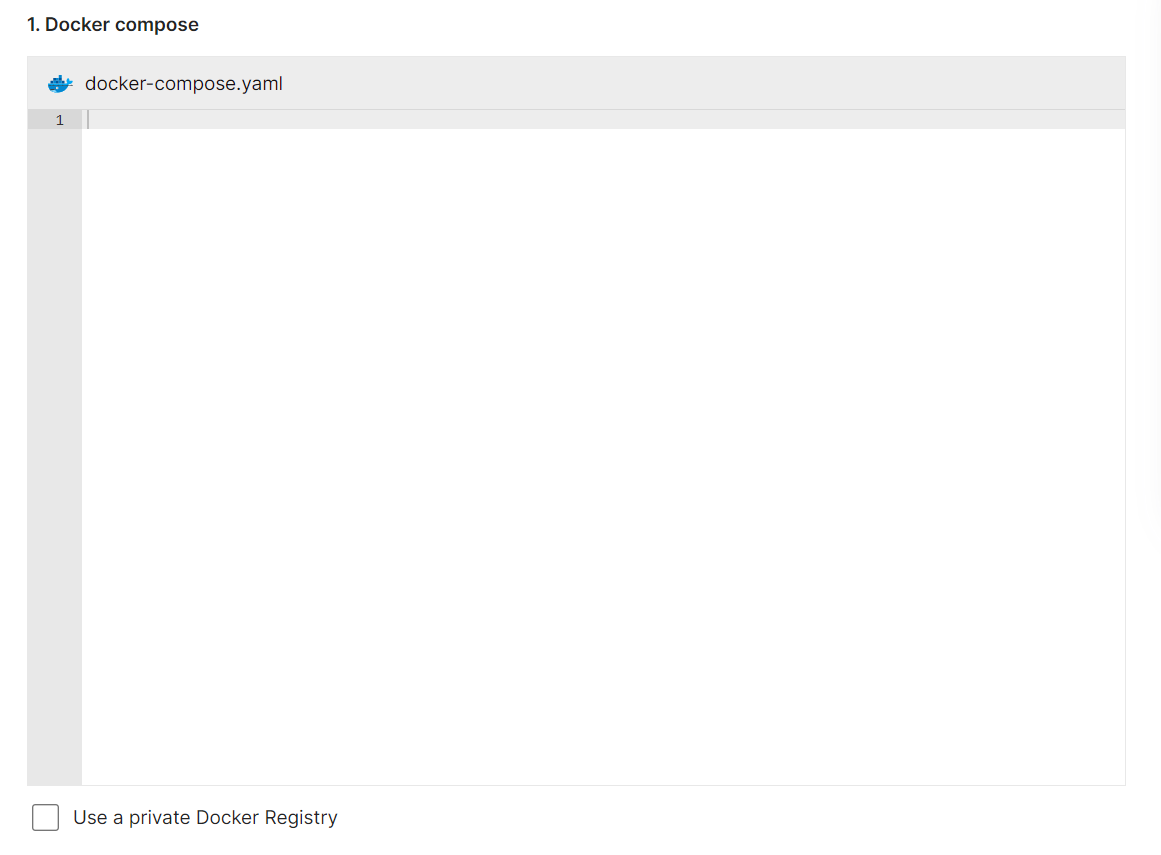 Here, you can enter the information for your Docker image, and if your registry is private, you can configure registry credentials by checking the appropriate box Use a private Docker registry.
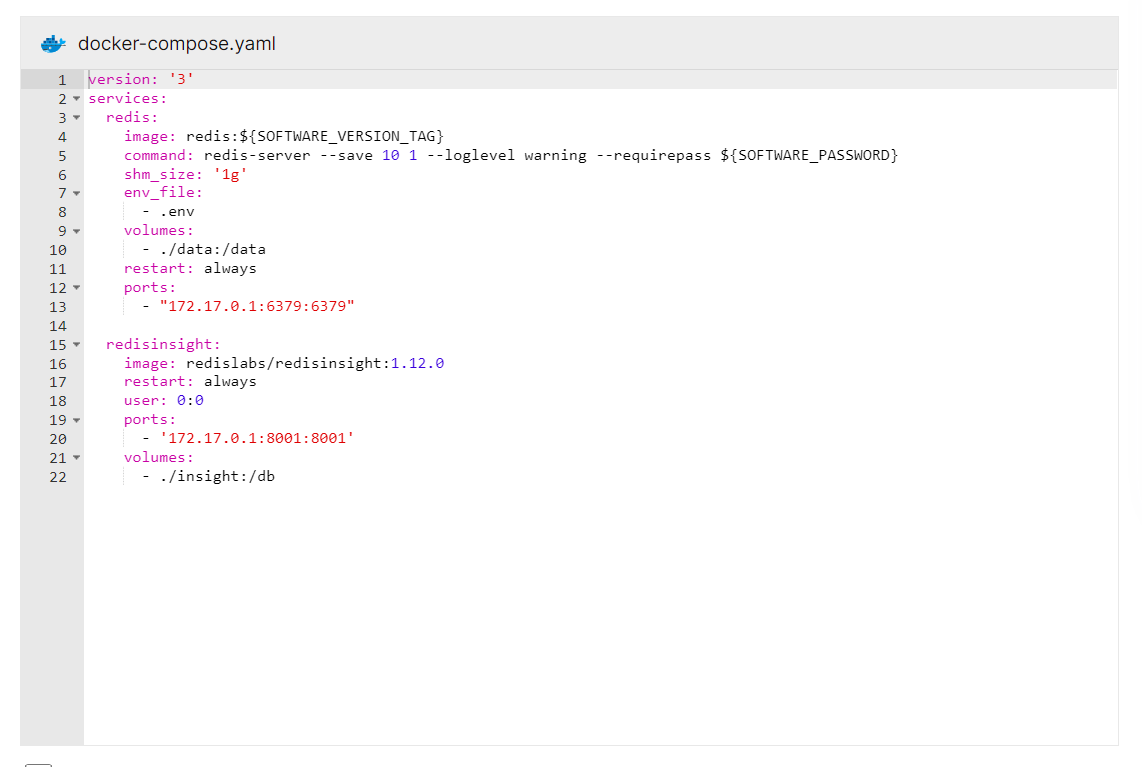 Similar to these, you can configure your docker image. I create the configuration for the Redis app docker image.
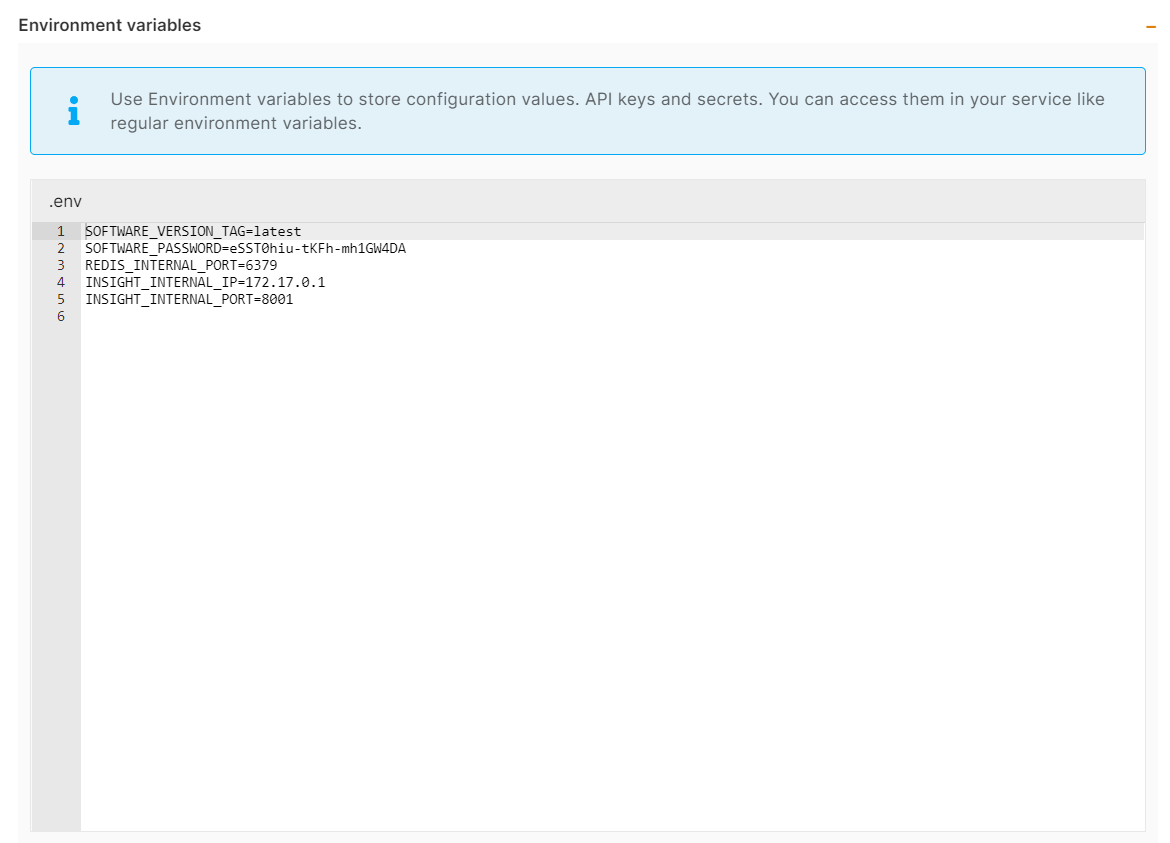 You can list all of your project's API keys and secrets here if they were saved in ENV
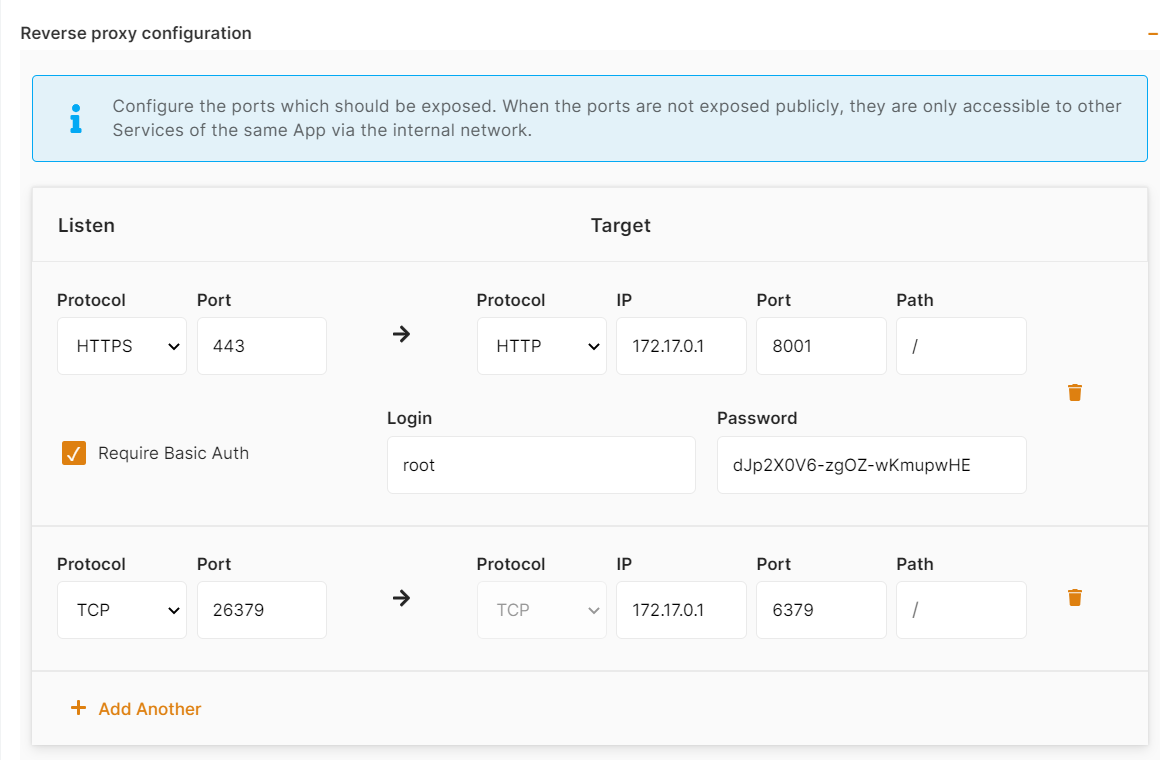 The final step is to configure the reverse proxy settings. You can specify the port on which your project will run here.
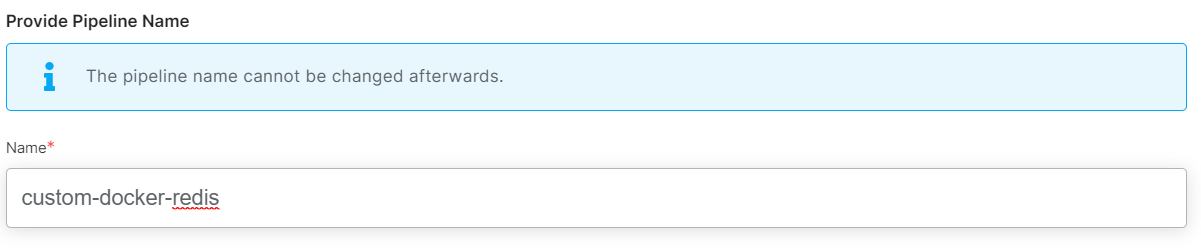 Your pipeline name will be filled in automatically by Elestio, but you are free to use another name for it in this context.
Step 6:
Click the ***Create CI/CD pipeline ***button to deploy your pipeline.
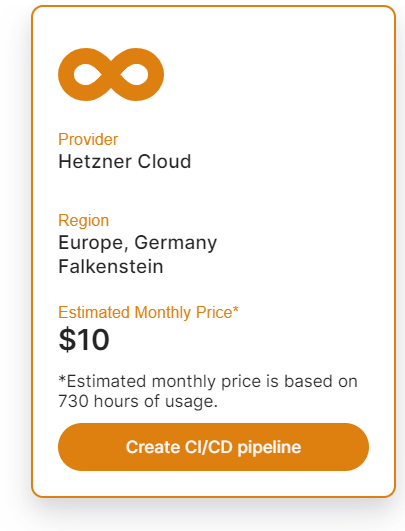 In a couple of moments, your application was successfully deployed on elestio 🚀.
Please let us know by contacting our support email or ticketing system if you give it a shot and encounter any problems or if anything goes wrong.
Join us on discord to know more.
In a couple of moments, your application was successfully deployed on elestio 🚀.
Please let us know by contacting our support email or ticketing system if you give it a shot and encounter any problems or if anything goes wrong.
Join us on discord to know more.