BYOVM (Bring Your Own VM)
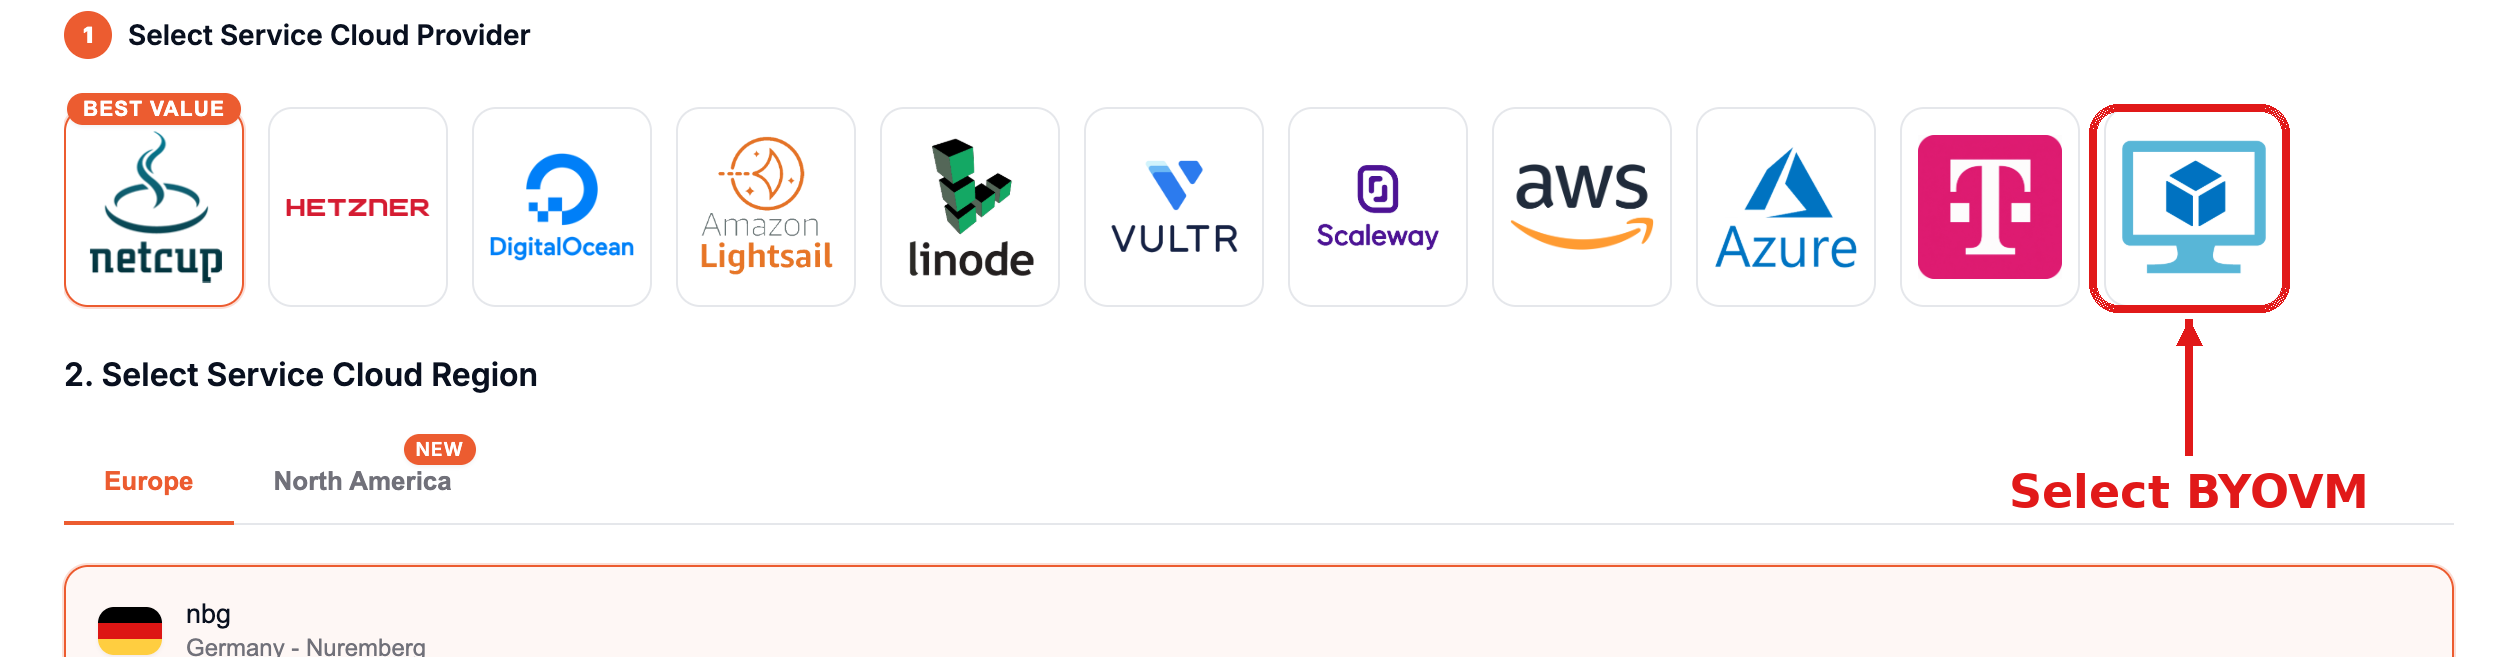
You can also deploy into your own cloud account from any cloud provider (Azure, GCP, Alibaba, Oracle, etc.) or from a VM hosted on-premise. In these instances, you are responsible for the relationship with your provider while we take care of the management side of things.
Pricing
Pricing is based on the specification of the VM you are connecting:
$5 per vCPU + $2.5 per GB of RAM + $0.25 per 10GB of disk.
Example: if you are connecting a VM with 2 vCPU + 4GB RAM + 40GB Disk, the cost per month will be: (5×2) + (2.5×4) + (0.25×4) = ~$21/mo
Price per hour is then calculated like this: $21/730h = $0.02876/h
You can create one BYOVM service for free. To be eligible the VM you connect must have no more than 2 vCPU, max 4 GB of RAM and max 80 GB of storage.
General BYOVM Setup
Prerequisites
- A Linux VM (Ubuntu 20.04+ recommended) from any cloud provider
- Root or sudo access to the VM
- Public IP address
- Open firewall ports (see requirements below)
Firewall Requirements
Minimum ports required:
- TCP: 22, 80, 443 - Basic SSH, HTTP, and HTTPS
- TCP: 18345, 18374, 18445 - Elestio tools (File Explorer, VS Code, web terminal)
- UDP: 4242 - Global private IP network (optional)
Alternative (easier setup):
- All TCP ports 0-65535 - Allow all TCP traffic
- UDP port 4242 - For private networking
VM Requirements
- OS: Ubuntu 20.04 LTS or later
- Minimum: 1 vCPU, 1GB RAM, 20GB disk
- Network: Public IP with internet access
- Access: SSH root access during setup
Basic Setup Steps
- Create VM on your preferred cloud provider
- Configure networking and open required ports
- Add Elestio SSH key for deployment access
- Test connectivity through Elestio dashboard
- Deploy service once VM is verified
AWS EC2 Setup (Detailed)
Video Tutorial
Step-by-Step AWS EC2 Setup
1. Launch EC2 Instance
- Go to AWS EC2 Console
- Click "Launch instances"
- Select Ubuntu 20.04 LTS from the AMI list
2. Choose Instance Configuration
- Instance Type: Select based on needs (t3.medium is a good starting point)
- Network: Use default VPC settings
- Storage: Configure at least 20GB
- Tags: Optional, add tags as needed
3. Configure Security Group
Create security group rules:
- All TCP, ports 0-65535, source: 0.0.0.0/0
- Custom UDP, port 4242, source: 0.0.0.0/0
Alternative minimal setup:
- SSH (22), HTTP (80), HTTPS (443) - Basic access
- Custom TCP 18345, 18374, 18445 - Elestio tools
- Custom UDP 4242 - Private networking
4. Launch and Connect
- Launch the instance
- Create or select an SSH key pair
- Wait for instance to be running
Allocate and attach an Elastic IP address to prevent IP changes when stopping/starting the instance. AWS Elastic IP Console
5. Add Elestio SSH Key
- Connect to your instance via AWS console
- Change username to root
- Run this command to add Elestio's deployment key:
sudo mkdir -p /root/.ssh/ && sudo echo "ssh-rsa AAAAB3NzaC1yc2EAAAABJQAAAQEAmAlfBn8fy00sHq4DV2lUDNJ73XNwCtSDgHAAEjVt8lVcPOyb+drHK7TmHtF6mIhax/qeFdS/27bqmuu2/+QyXuvG98WL47cJinVkuUNR1bqKfpjwvlGtPkVQTiz2aN9ktY8+RaKoJUg6YrL23wiRgqibRuRYJgG1tIx7O4pUAK8XPsIVw2kvTuaVWu+iQq968KozJP8t1C6U8eqwbV2H8xpMLAsuIA82S1vGkqx42TBLo8XOgQo1ZIoY4dsO+ElvJZ5sqxAg4GB57OIgpaav/2SkKau6Oh4ndkKTJms5kTc2wUm96VVea2eOrOL0TPNQOhb1uy2MgxS9LLFxm2psmQ== elestio-prod-key" >> /root/.ssh/authorized_keys
This is a temporary key used only for the deployment phase. It's automatically removed from the VM after deployment completes.
6. Create BYOVM Service
- Go to Elestio Dashboard
- Select BYOVM as provider
- Enter provider name, region name, and public IP
- Click "Test my VM" to verify connectivity
- Review pricing (first BYOVM is free!)
- Click "Create service"
Your service will be deployed in less than 3 minutes!
Beta AWS UI (Alternative Method)
For the newer AWS interface:
Video Tutorial
Quick Steps for Beta UI
- Launch Instance → Select Ubuntu 20.04
- Instance Type → Choose appropriate size
- Network Settings → Check SSH, HTTP, HTTPS boxes
- Storage → Set minimum 20GB
- Launch → Create/select key pair
- Security Groups → Add rules for all TCP and UDP 4242
- Connect → Add Elestio SSH key (same command as above)
- Create Service → Use Elestio dashboard
What Elestio Manages
Once your BYOVM is connected, Elestio handles:
- Backups - Automated backup scheduling
- Monitoring/Alerts - 24/7 system monitoring
- OS Updates - Security patches and updates
- Software Updates - Application maintenance
- Security - Firewall and security configuration
Supported Cloud Providers
BYOVM works with any cloud provider that offers Linux VMs:
- Microsoft Azure
- Google Cloud Platform (GCP)
- Alibaba Cloud
- Oracle Cloud
- IBM Cloud
- On-premise servers
- Dedicated servers
- Any VPS provider
Best Practices
- Use Elastic/Static IPs - Prevent IP changes
- Regular snapshots - Create VM snapshots before major changes
- Monitor costs - Track your cloud provider billing
- Security groups - Properly configure firewalls
- Instance sizing - Right-size for your workload to optimize costs
Troubleshooting
Connection Issues
- Verify VM is running and accessible
- Check firewall/security group settings
- Ensure SSH key was added correctly
- Confirm public IP is correct
Deployment Failures
- Check VM has sufficient resources
- Verify internet connectivity from VM
- Ensure ports are properly opened
- Review Elestio dashboard logs
Cost Optimization
- Right-size your VMs based on actual usage
- Use spot/preemptible instances where appropriate
- Monitor and optimize storage usage
- Consider reserved instances for long-term workloads