Bring Your Own AWS Account (BYOAWS)
Run Elestio services inside your own AWS account. You keep direct AWS billing, full AWS integration, and your compliance setup, while Elestio manages the service.
To start, open the Elestio Dashboard, go to Services, and click Create a new service.
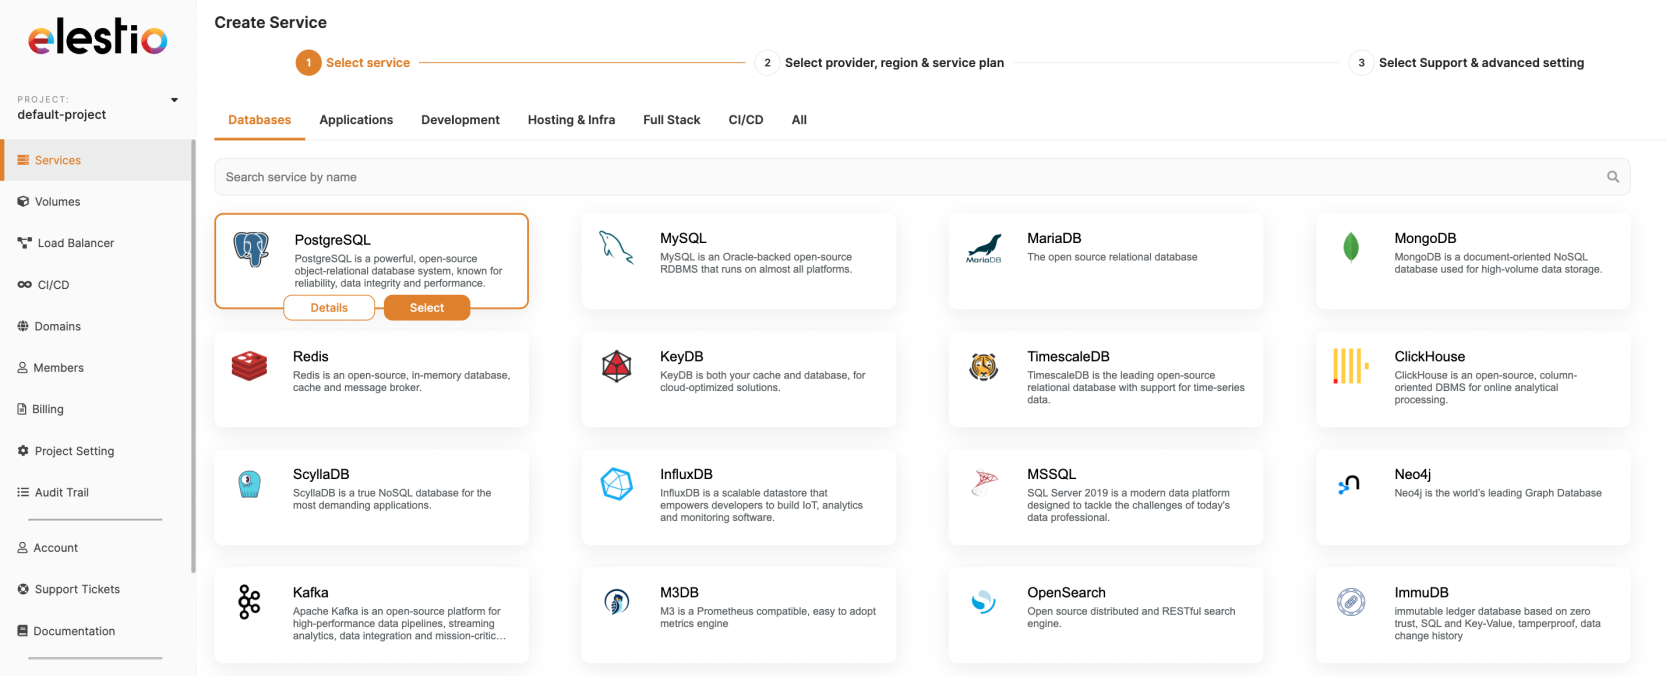
Step 1: Choose a template
Pick the software to deploy, then click Select. Click Details to learn more about a template first.
Browse the full catalog on the managed services page.
Step 2: Select AWS as your provider
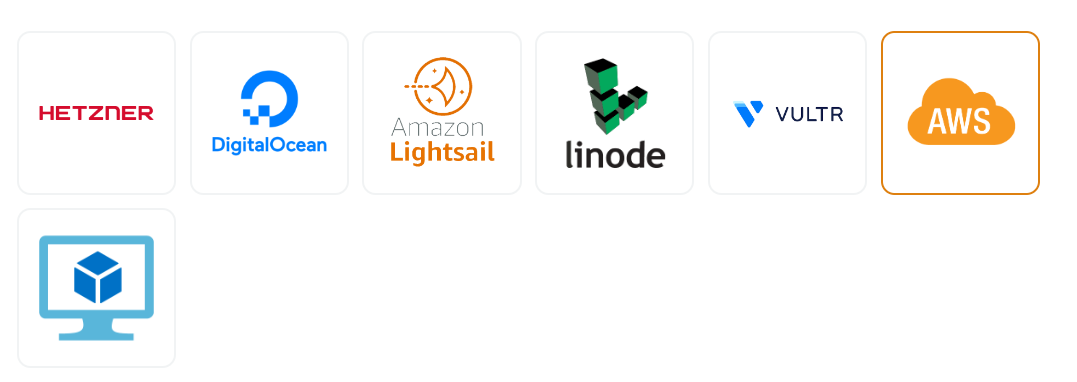
Elestio offers several cloud providers plus Bring Your Own VM. Choose AWS from the list.
Hetzner, Netcup, DigitalOcean, LightSail, Linode, and Vultr services run on Elestio accounts. AWS is bring-your-own, so every service is deployed inside your AWS account.
Step 3: Connect your AWS account
Connect AWS to Elestio using Access key and Secret key.
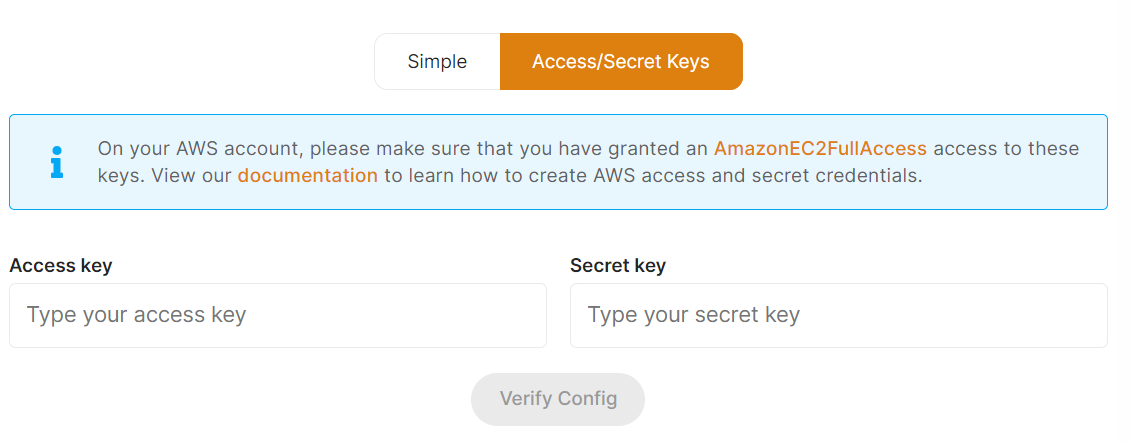
See AWS setup to create your AWS access and secret keys.
Enter your AmazonEC2FullAccess access key and secret key, then click Verify to validate them.
You can update your AWS keys anytime from Project Settings in the left sidebar. See Projects and Teams for details.
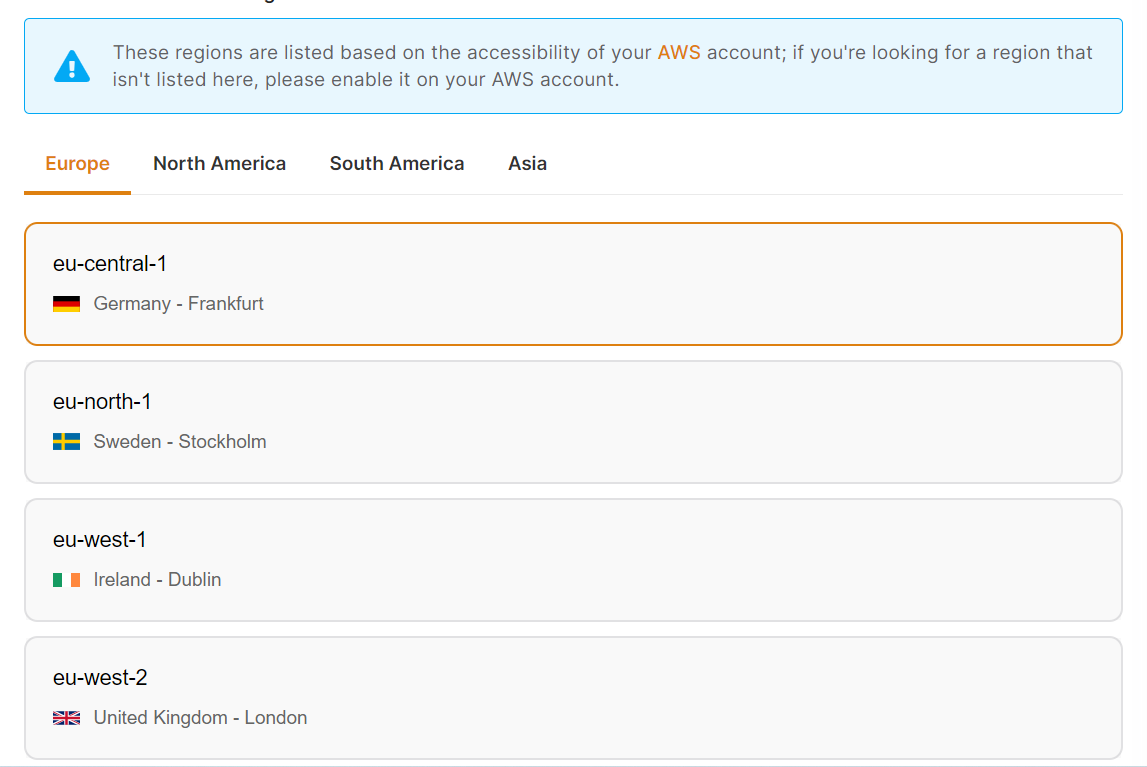
Step 4: Select a region
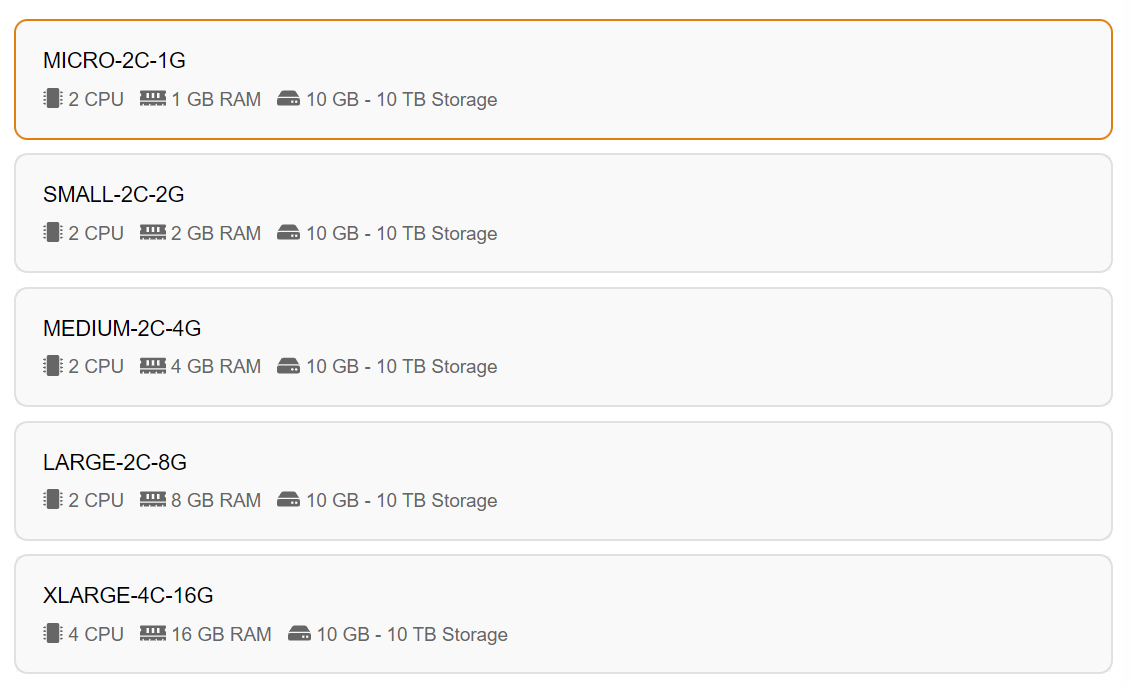
Step 5: Select a plan
See the full list of AWS EC2 plans we support.
Step 6: Choose disk size
The default is 20 GB. You can set anything between 10 GB and 10 TB.

You can resize the disk after deployment from Update Volume in the Main volume section. See the volumes guide for details.
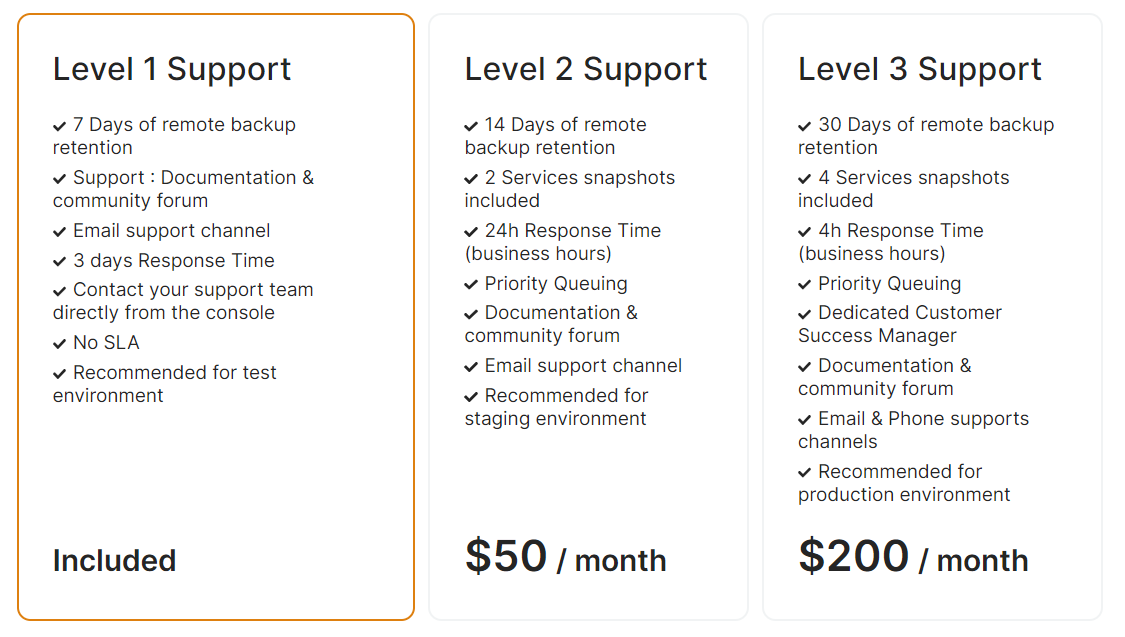
Step 7: Select support
Step 8: Name your service
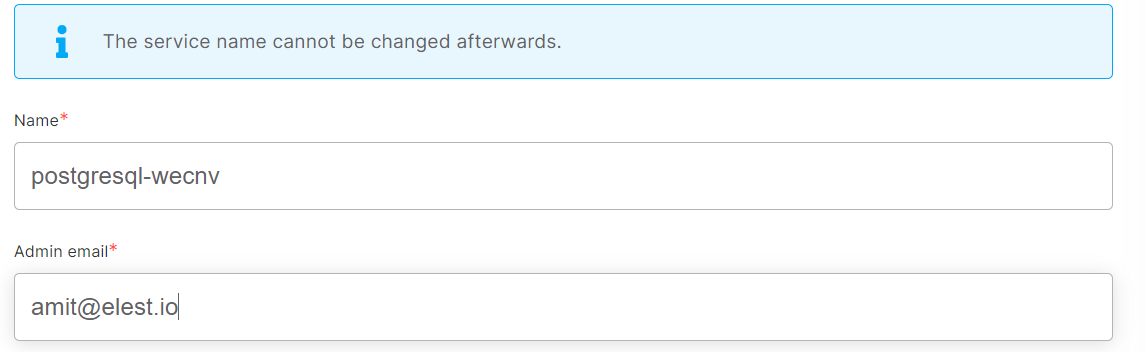
The service name and admin email are prefilled. Change either as needed.
Step 9: Advanced configuration
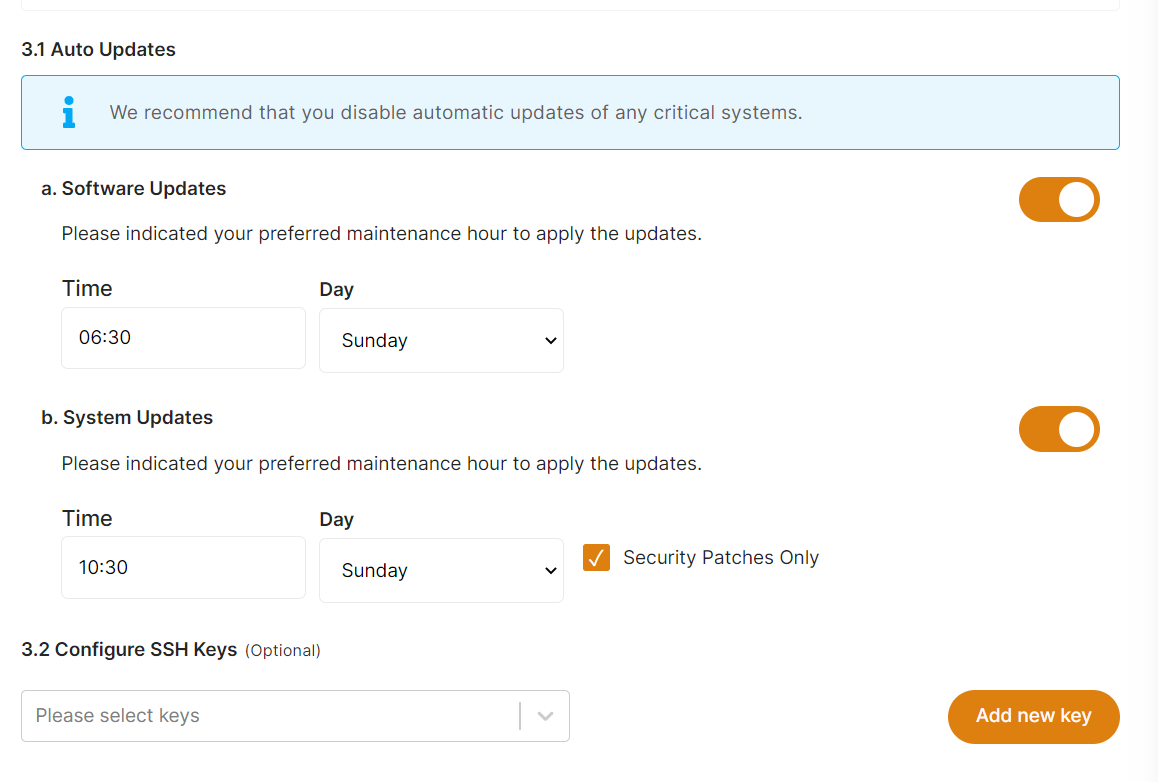
Every setting is prefilled. Adjust the update schedule and maintenance window to suit your needs.
OS updates cover the kernel and security patches. Software updates follow semantic versioning (minor and patch only). All maintenance window times are in UTC.
Step 10: Deploy
Click Create Service to deploy.
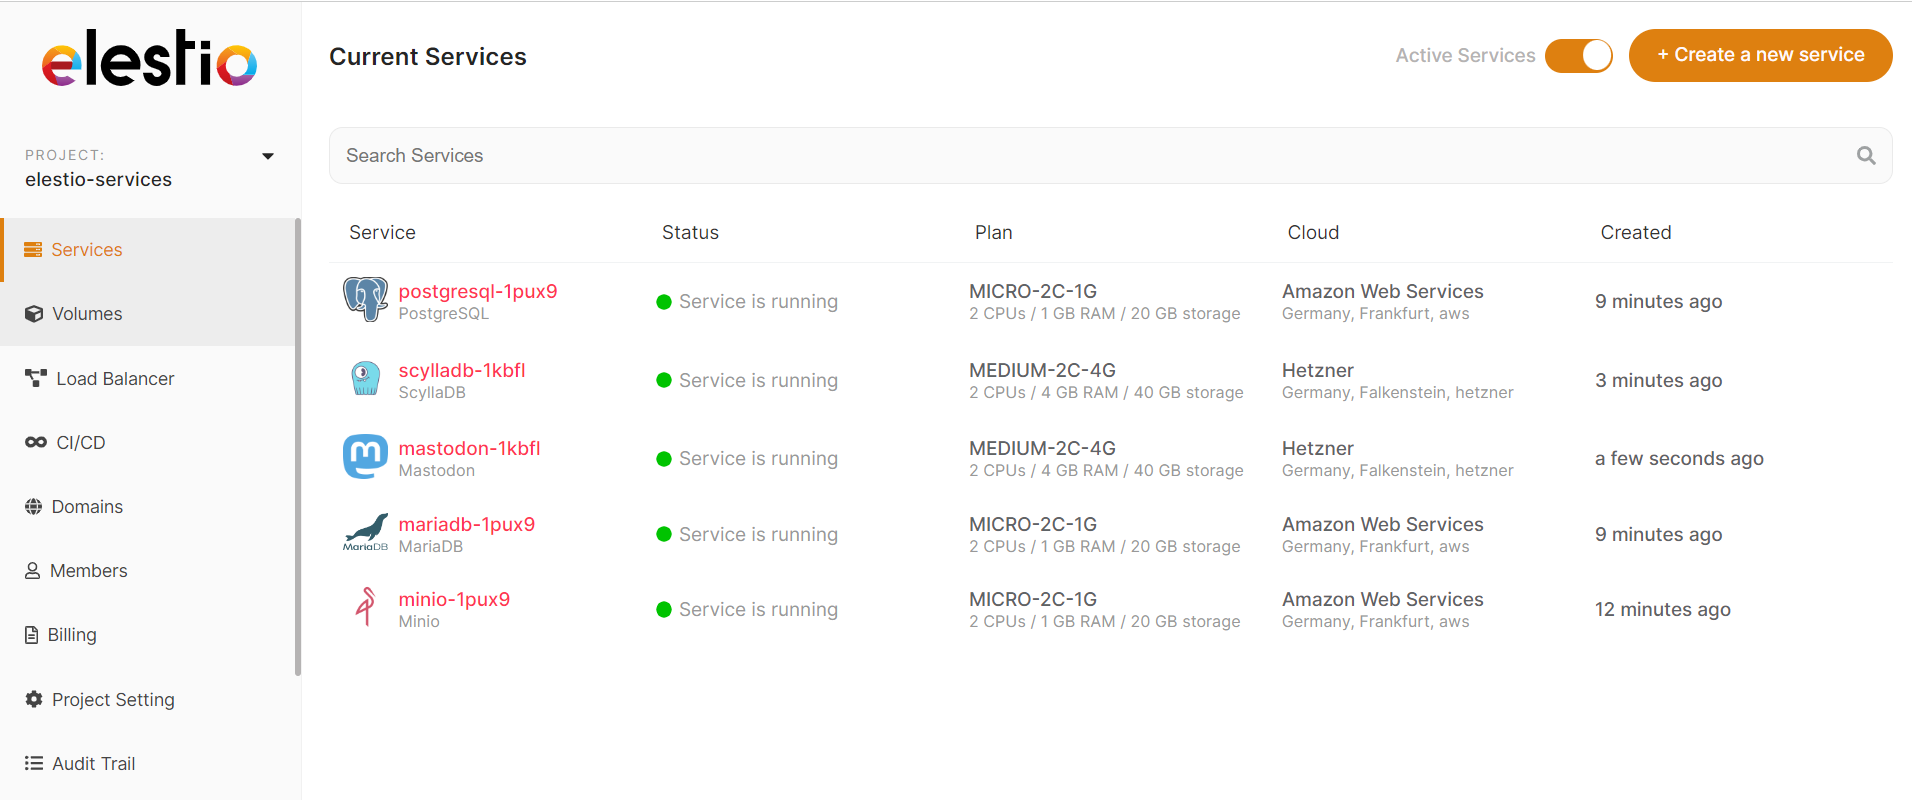
Your service appears with the status Service is in deployment and is ready in 2 to 3 minutes.
What happens next
- You receive an email once the service is ready.
- The access URL and credentials arrive by email and are also in the Service Overview.
Why BYOAWS
- Direct AWS billing — All AWS costs go to your AWS account.
- Full AWS integration — Access every AWS feature and service.
- Enterprise features — Reserved instances, AWS credits, and enterprise support.
- Compliance — Meet your organization AWS compliance requirements.
- Cost optimization — Use your existing AWS agreements and pricing.
Open the dashboard to deploy into your AWS account.