Creating a Realm in Keycloak
A realm in Keycloak is the top-level container for managing users, roles, groups, identity providers, and applications. It provides complete logical isolation, making it ideal for multi-tenant systems or staging/production splits. This guide explains different ways to create a realm via the Admin Console, REST API, and Docker CLI while covering permissions, best practices, and troubleshooting.
Creating a Realm via Keycloak Admin Console
The Admin Console is the most straightforward way to create and manage realms using a web-based UI.
Access the Admin Console
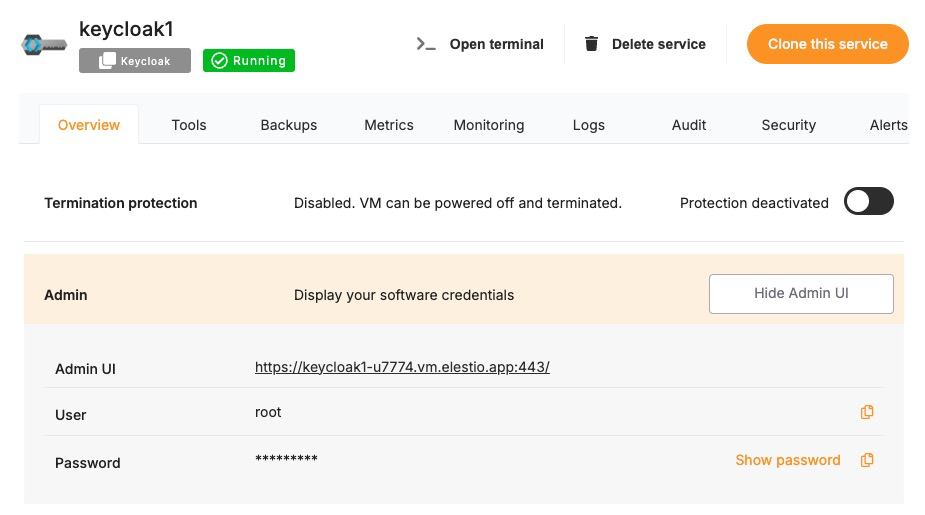
Log in to your Keycloak Admin Console:
http://<your-keycloak-domain>/admin/Use the admin account created during setup or one with realm management privileges.
Create a New Realm
-
Click the realm dropdown in the top-left corner (default is master).
-
Click Create Realm.
-
Enter the following details:
-
Realm Name: A unique name like customer-portal or internal-tools.
-
Display Name: Optional friendly name shown on login screens.
-
-
Click Create.
Configure Realm Settings
Once created, you can adjust behavior by navigating to
-
Realm Settings > Login: Enable email verification, OTP, remember-me, etc.
-
Realm Settings > Themes: Set custom themes for login and account pages
Creating a Realm via Keycloak REST API
For automation and CI/CD pipelines, use the Admin REST API.
Get Access Token
Use the master realm or a privileged realm with an admin user.
curl -X POST "https://<keycloak-domain>/realms/master/protocol/openid-connect/token" \
  -H "Content-Type: application/x-www-form-urlencoded" \
  -d "username=admin" \
  -d "password=admin-password" \
  -d "grant_type=password" \
  -d "client_id=admin-cli"
Save the access_token from the response.
Create the Realm
curl -X POST "https://<keycloak-domain>/admin/realms" \
  -H "Content-Type: application/json" \
  -H "Authorization: Bearer <access_token>" \
  -d '{
    "realm": "newrealm",
    "enabled": true,
    "displayName": "New Realm"
  }'
This creates a new realm called newrealm with default settings.
Creating a Realm via Docker CLI
If Keycloak is running inside a Docker container:
Access the Container
docker exec -it keycloak bashCreate Realm Using Import File
-
Create a JSON realm file (e.g., myrealm.json):
{
  "realm": "myrealm",
  "enabled": true
}-
Run Keycloak with the import flag:
kc.sh import --file /opt/keycloak/data/import/myrealm.jsonOr via Docker:
docker run -v $PWD:/opt/keycloak/data/import \
  quay.io/keycloak/keycloak:latest \
  import --file /opt/keycloak/data/import/myrealm.json
Required Permissions for Realm Creation
-
Users must have manage-realm or admin roles in the master realm.
-
If using the REST API, token must be obtained using admin-cli.
To grant permissions:
# From master realm
Users > admin > Role Mappings > Realm Roles > Assign 'admin'
Best Practices for Creating Realms
- Use Descriptive Realm Names: Avoid generic names like test or default. Use environment- or tenant-specific names like dev-project-x, production-client123.
- Enable Login Hardening Features: Under Realm Settings > Login:
-
Enable email verification
-
Disable user registration (unless required)
-
Enable OTP for 2FA
-
- Use Theme Branding: Upload and assign a custom login theme under Themes to reflect client or environment branding.
- Automate via REST or Terraform: For CI/CD deployments, automate realm provisioning using REST API or tools like Terraform (mrparkers/keycloak provider).
Common Issues and Troubleshooting
|
Issue |
Possible Cause |
Solution |
|---|---|---|
|
403 Forbidden when creating via API |
Access token lacks permission |
Ensure token is generated from a user with admin role in master realm |
|
Realm already exists |
Attempting to recreate an existing realm |
Use a different realm name or delete existing one before re-creating |
|
Realm not listed in dropdown |
Misconfiguration or missing role |
Refresh UI or check admin user’s permissions |
|
Docker import doesn’t create realm |
File format error or wrong path |
Ensure JSON is valid and mounted correctly in /opt/keycloak/data/import |
|
Login page shows default theme |
Custom theme not set |
Go to Realm Settings > Themes and set your theme manually |

