
Creating a Database
Valkey is a high-performance fork of Redis that emphasizes open governance and continued compatibility while introducing community-driven enhancements. Setting up Valkey correctly is essential for achieving low-latency performance and ensuring durability in modern applications. This guide walks through various methods to run and connect to Valkey: using the Valkey CLI, running inside Docker containers, and integrating with scripting workflows. It also outlines best practices to follow during configuration and operation.
Creating Using valkey-cli
Valkey provides a built-in command-line interface tool called valkey-cli. It allows direct interaction with a Valkey server and supports both local and remote connections. All standard Redis-compatible commands can be executed through this tool, along with any features supported by Valkey.
Connect to Valkey
If you have a local Valkey instance running, either from a package manager or inside Docker, you can start the CLI with no extra arguments:
valkey-cliTo connect to a remote Valkey instance, provide the host, port, and authentication details if configured:
valkey-cli -h <host> -p <port> -a <password>After executing the command, you will be placed in the Valkey shell, where you can interactively issue commands.
Running Valkey Using Docker
Valkey can be containerized using Docker to ensure consistent environments across local development, testing, and production systems. This is a convenient way to isolate dependencies and manage deployment configurations.
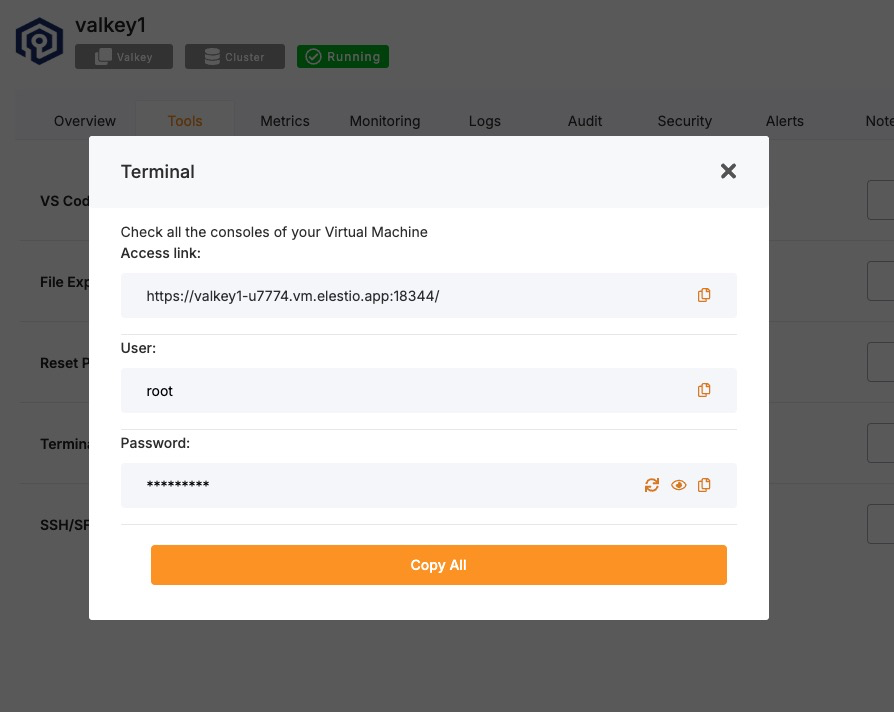
Access Elestio Terminal
If you are using Elestio to host your Valkey service, log in to the Elestio dashboard. Navigate to your Valkey instance, then open Tools > Terminal. This will provide a browser-based shell within the server environment that has access to your containerized services.
Once inside the terminal, switch to the application directory:
cd /opt/app/Access the Valkey Container Shell
Elestio services use Docker Compose for container orchestration. To enter the Valkey container and interact with its runtime environment, use the following command:
docker-compose exec valkey bashThis starts a bash session inside the running Valkey container.
Access Valkey CLI from Within the Container
The valkey-cli tool is available within the container and can be used to run commands directly against the Valkey server. If authentication is required, supply the password using the -a flag:
valkey-cli -a <password>You’ll now be connected to the Valkey instance running inside the container.
Test Connectivity
To confirm the Valkey instance is functional, run a test by setting and retrieving a key:
set testkey "Hello Valkey"
get testkey
Expected output:
"Hello Valkey"This confirms that read/write operations are working correctly inside the containerized Valkey environment.
Connecting Using valkey-cli in Scripts
The valkey-cli command can also be used non-interactively, which is useful for shell scripts, cron jobs, or CI/CD workflows that require interaction with the Valkey server.
To set a key via a script:
valkey-cli -h <host> -p <port> -a <password> SET example_key "example_value"This will set the specified key in a single command without launching the interactive shell.
Best Practices for Setting Up Valkey
Use Meaningful Key Naming Conventions
To ensure readability and manageability, adopt consistent naming conventions. Use namespaces separated by colons to logically group related keys:
user:1001:profile
session:2025:token
This simplifies debugging, metric tracking, and migration efforts.
Follow Consistent Data Structures
Valkey supports Redis-compatible data structures including strings, hashes, sets, sorted sets, lists, and streams. Always choose the most efficient type based on access patterns and data lifecycle. For example, hashes are ideal for storing grouped attributes, while sets work well for unique lists.
Inconsistent structure usage can lead to inefficient memory use and unexpected command behavior.
Enable Authentication and TLS
Security should not be overlooked in production systems. Always configure a strong password using the requirepass directive in valkey.conf. Additionally, enable TLS for encrypted traffic if the database is accessible over the internet or across networks.
Example valkey.conf settings:
requirepass strong_secure_password
tls-port 6379
tls-cert-file /etc/ssl/certs/cert.pem
tls-key-file /etc/ssl/private/key.pem
These settings help secure both access and data transmission.
Configure Persistence Options
Valkey supports both Redis-style persistence mechanisms: RDB snapshots and AOF logging. These ensure data durability in the event of process restarts or hardware failure.
Recommended settings in valkey.conf:
save 900 1
appendonly yes
appendfsync everysec
Use AOF for greater durability, RDB for faster restarts, or both for a balanced setup.
Monitor and Tune Performance
Monitor performance using built-in Valkey commands like INFO, MONITOR, and SLOWLOG. These provide insights into memory usage, command execution times, and system health. You can also integrate external monitoring tools like Prometheus, RedisInsight, or Grafana for real-time visualization.
Proper monitoring allows you to proactively tune memory limits, max clients, and replication settings.
Common Issues and Their Solutions
|
Issue |
Cause |
Solution |
|---|---|---|
|
NOAUTH Authentication required |
Connecting to an instance that requires a password without one |
Use the -a flag or send the AUTH command before other commands |
|
ERR Client sent AUTH, but no password is set |
Authentication is attempted on a server that does not require it |
Remove the -a option or check the requirepass directive |
|
Cannot connect to Valkey on ‘localhost’ |
The server is not running or bound to another address/port |
Check service status and inspect valkey.conf and Docker port mappings |
|
Docker Valkey container refuses connections |
Network misconfiguration or the container is still initializing |
Use docker-compose logs valkey and verify exposed ports |
|
Data not persisted after restart |
Persistence settings are disabled |
Enable RDB and/or AOF in the configuration file |