Migrate Jenkins Pipeline to Elestio
This migration document focuses on the migration of Jenkins CI/CD pipelines to Elestio. Jenkins is one of our fully supported services. Find the complete software list here
This document provides a step-by-step guide for migrating your existing Jenkins pipelines to Elestio. Elestio is designed to enhance performance, scalability, and overall system efficiency. Before you begin the migration process, make sure to check the prerequisites.
Prerequisites
- Create an account on Elestio
- Log in to your Jenkins admin dashboard account on the server where your current Jenkins is deployed
- Make sure the UI for the application is working fine and there are no critical errors detected in the application logs. If found otherwise please feel free to create a support ticket
- When deploying the service on Elestio, use the same software version as your present service, or your data migration will fail.
Step 1: Configuring Jenkins Server on Elestio
- Login to your Elestio account
- Go to Create Services and select "Jenkins"
- Select the Cloud Service provider, region, and service plan and click Next.
- Select the service support, name your Jenkins instance on Elestio, and click on "Create service", this will create an instance of Jenkins on VMs on the cloud you chose.
- After deployment is ready, head over to the email linked to your account or the one you added while setting up the instance.
- The email should contain all the details including the dashboard link and the initial password required to access the admin UI.
- The email should be something like this
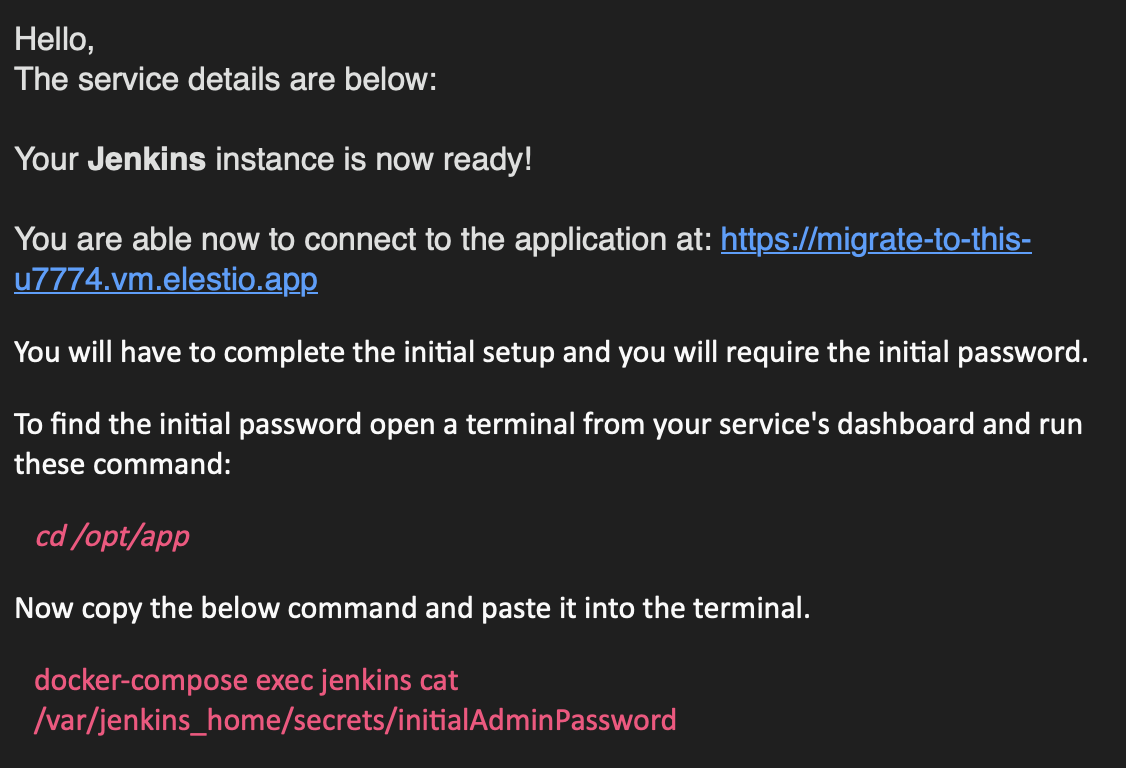
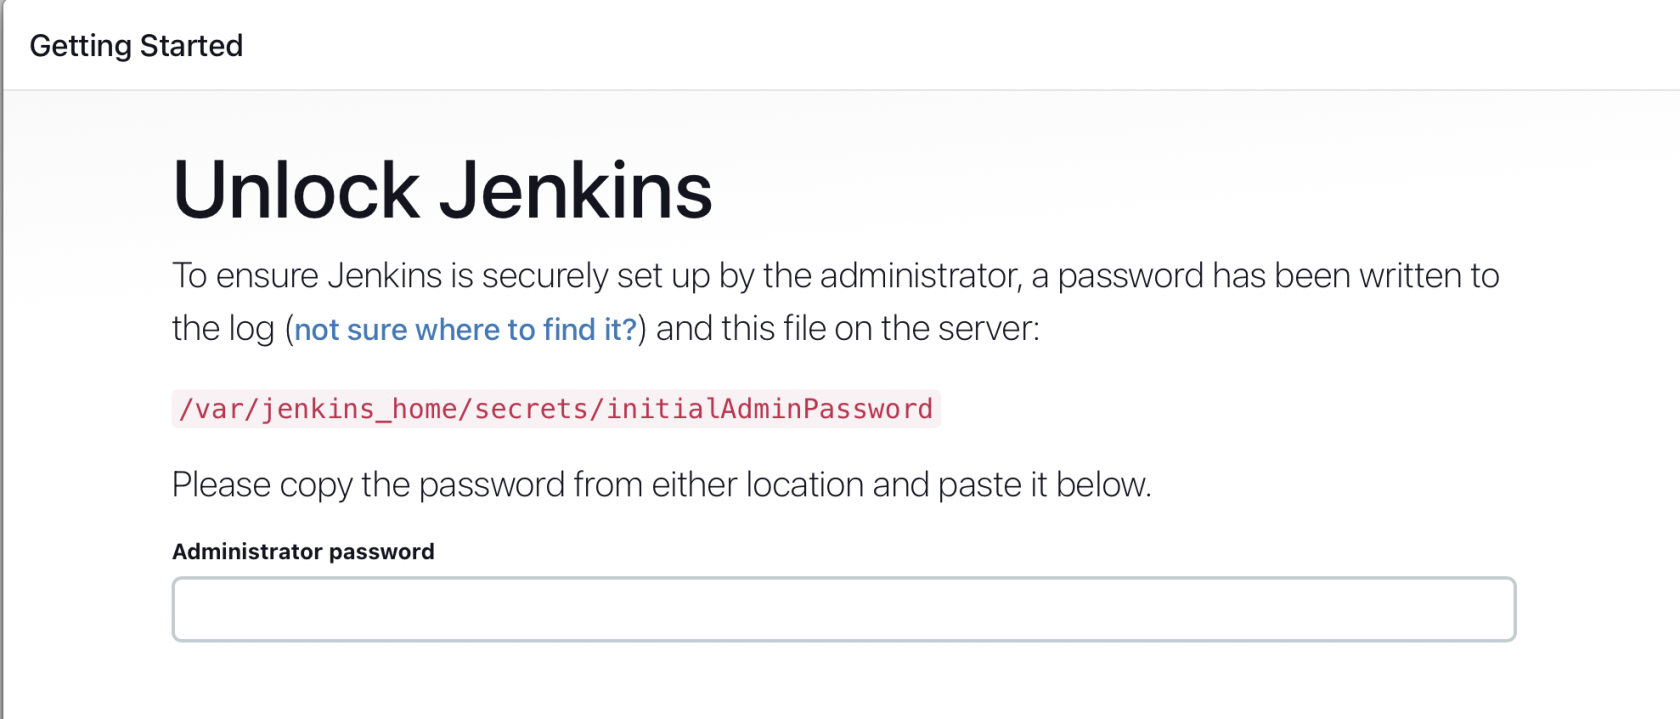
- Copy the password with the instructions given in the email and paste it into the dashboard window here
Step 2: Installing Job Import Plugin
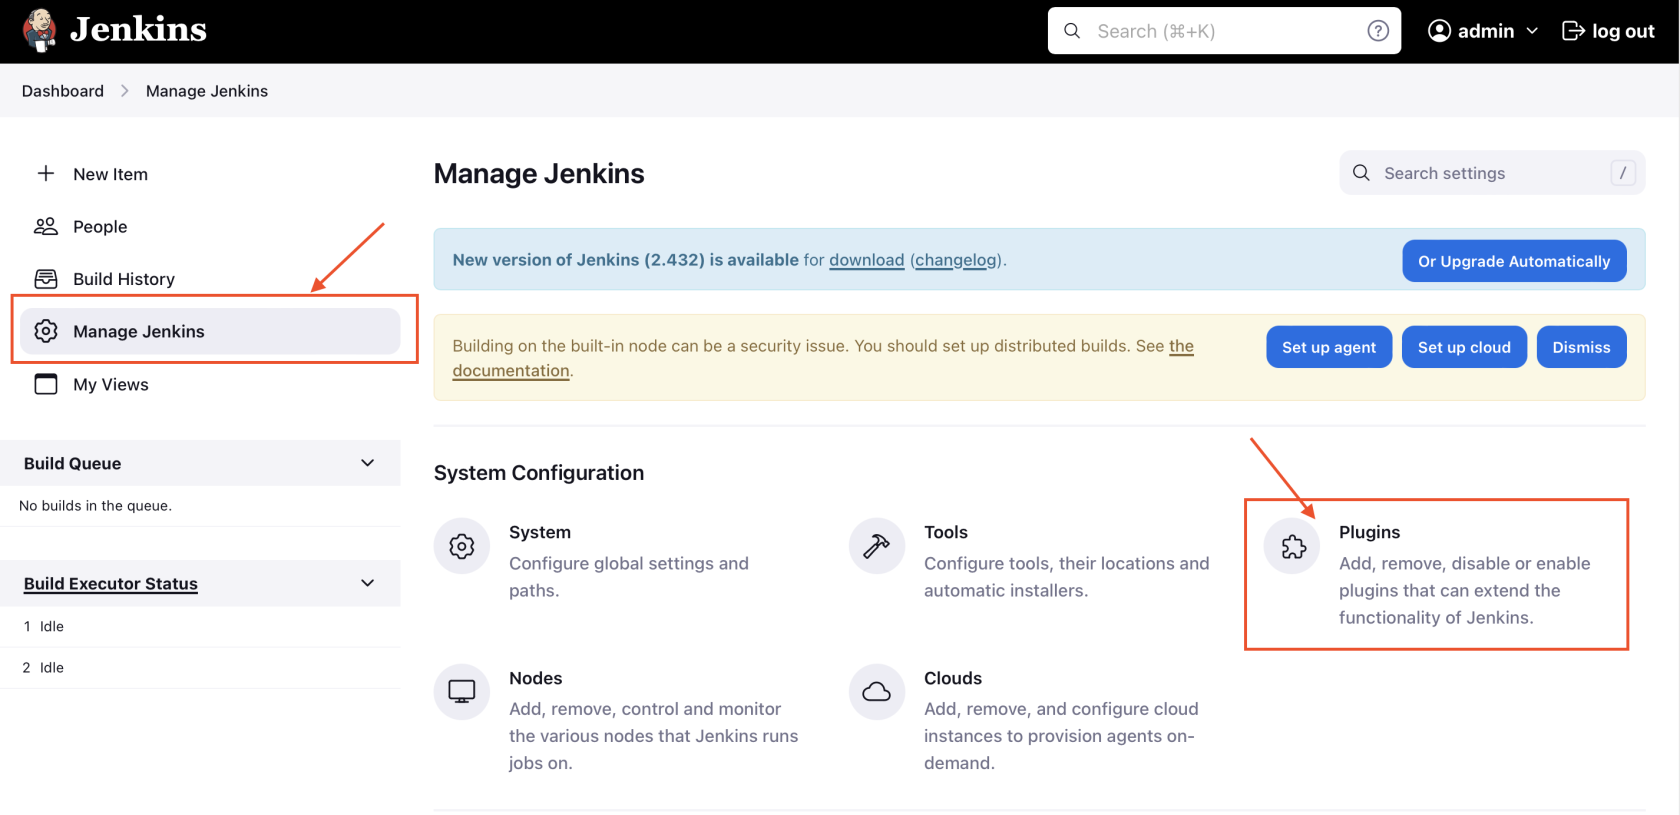
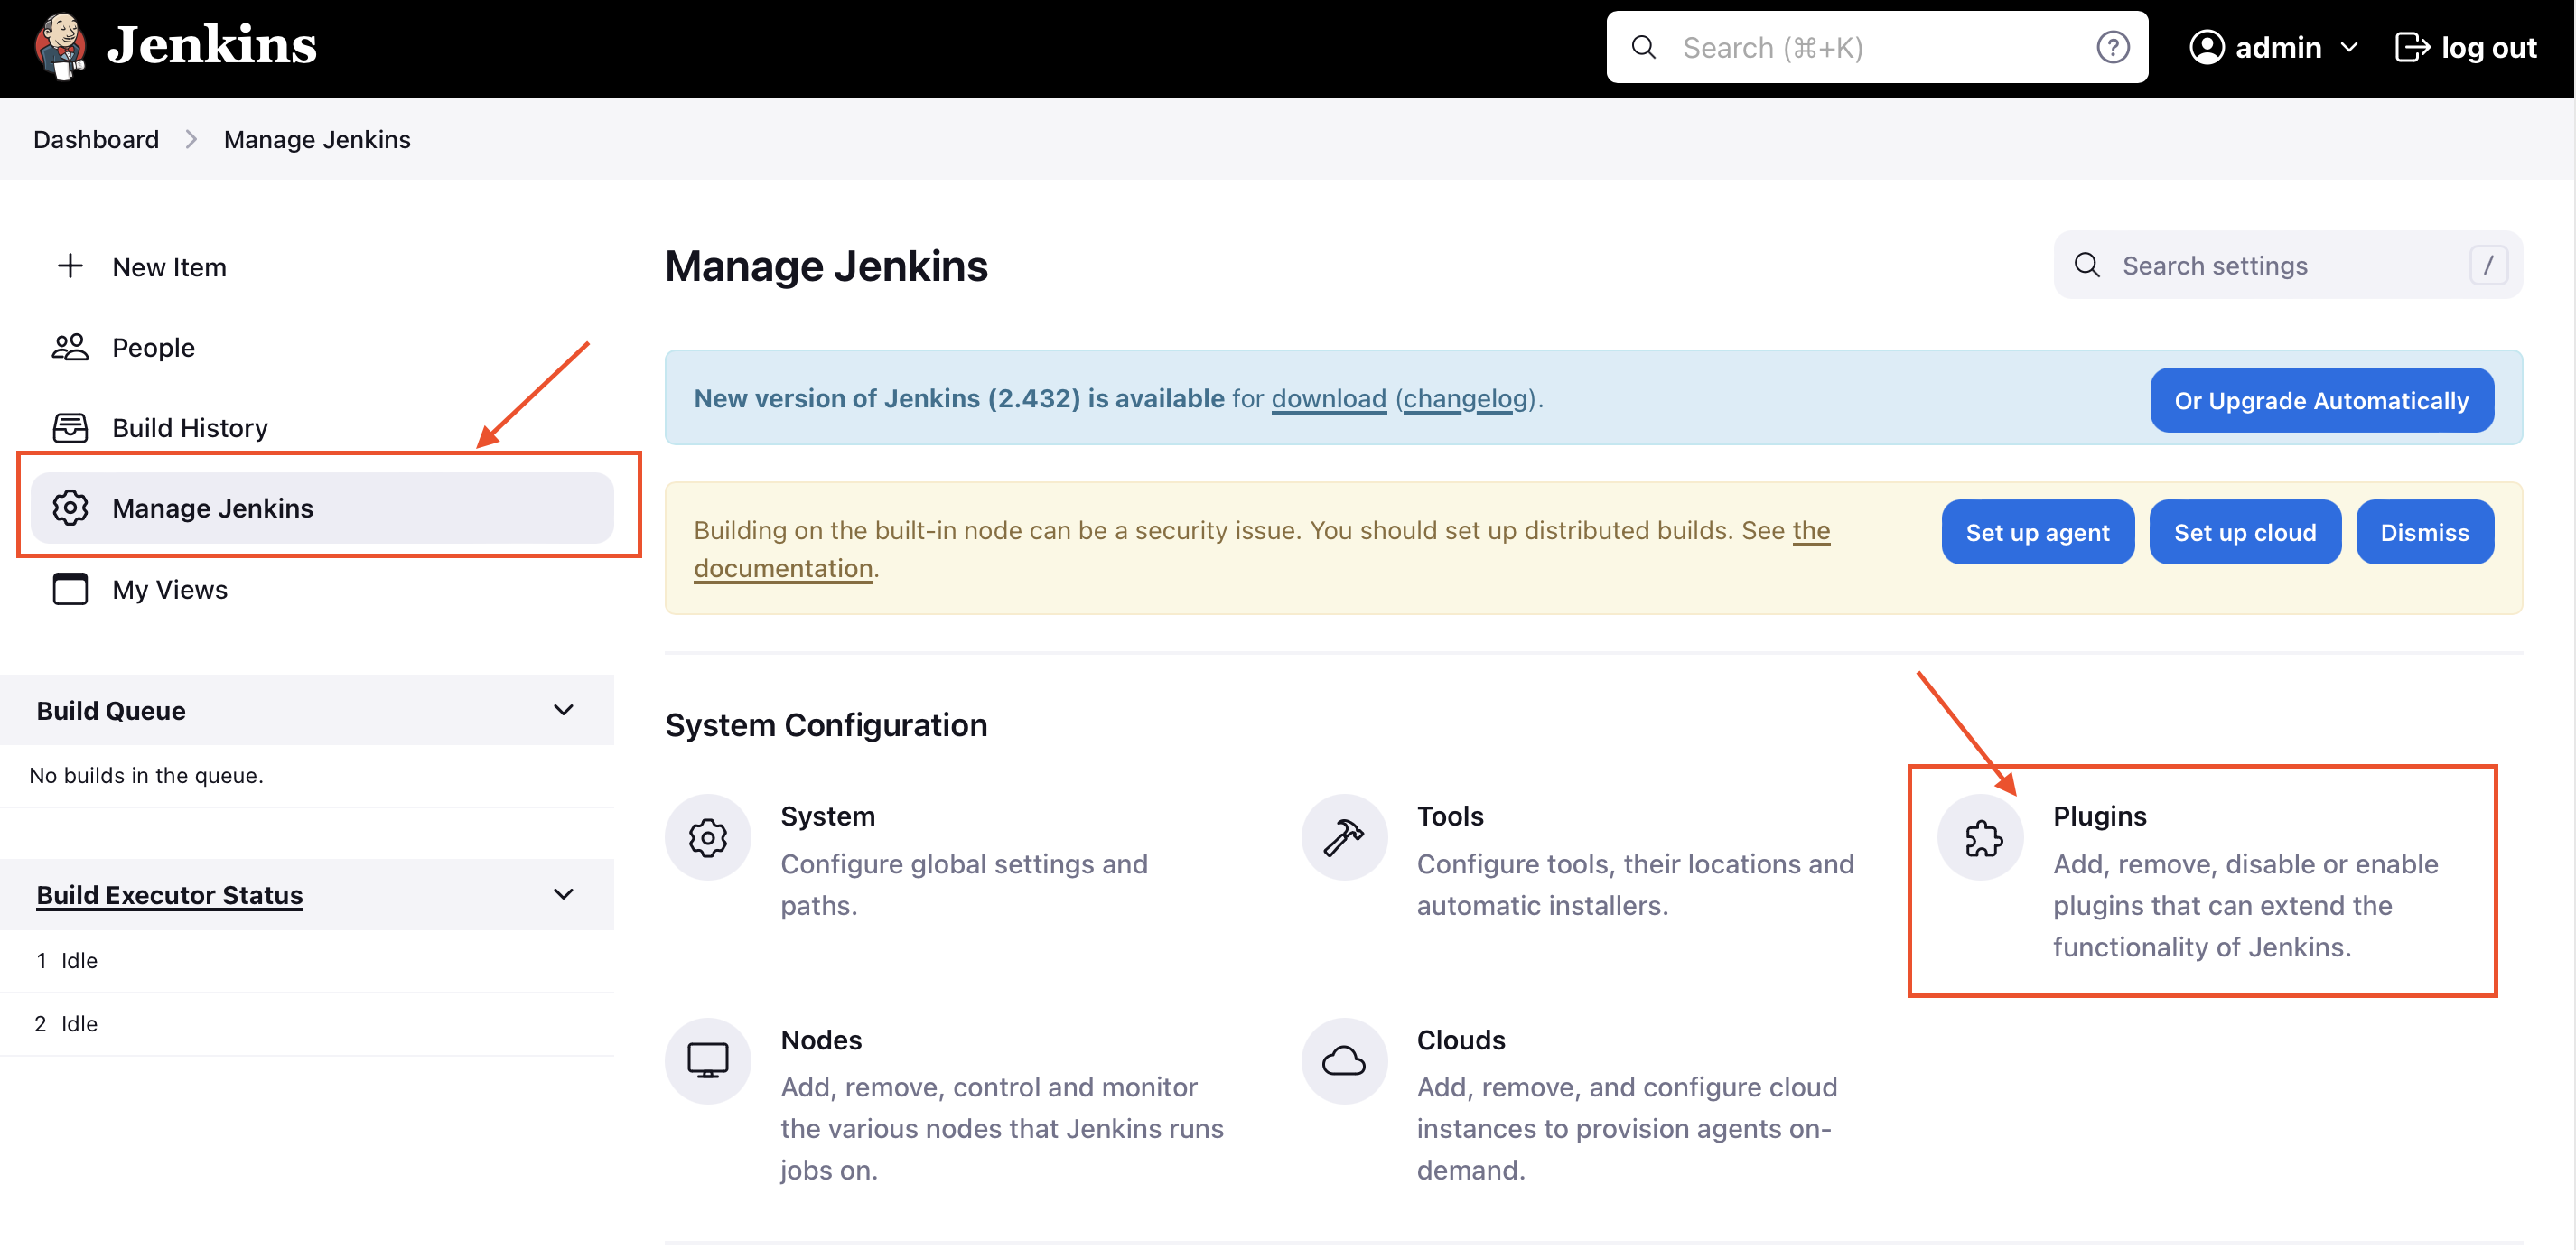
- Head over to your Jenkins instance dashboard on Elestio. Click on "Manage Jenkins" and select "Plugins"
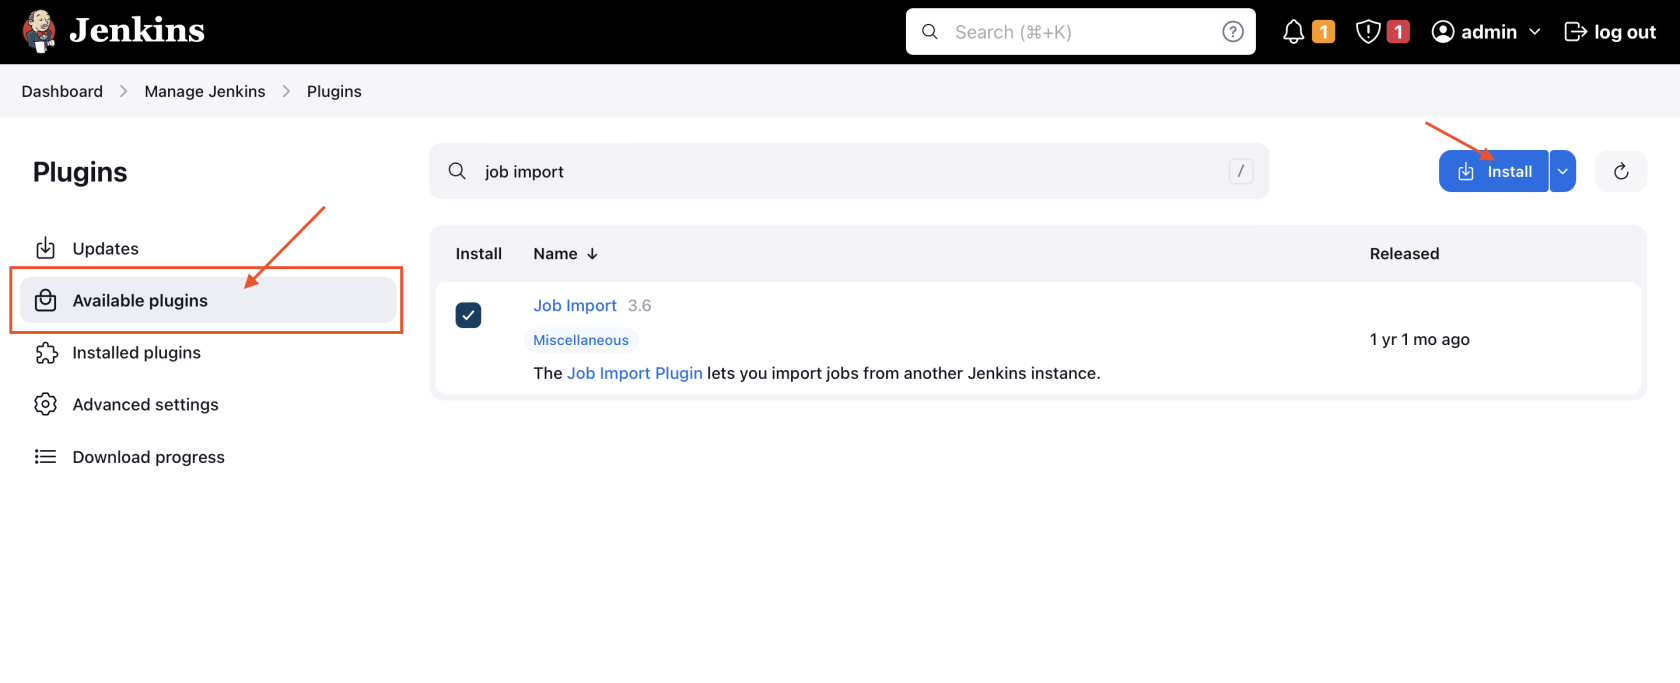
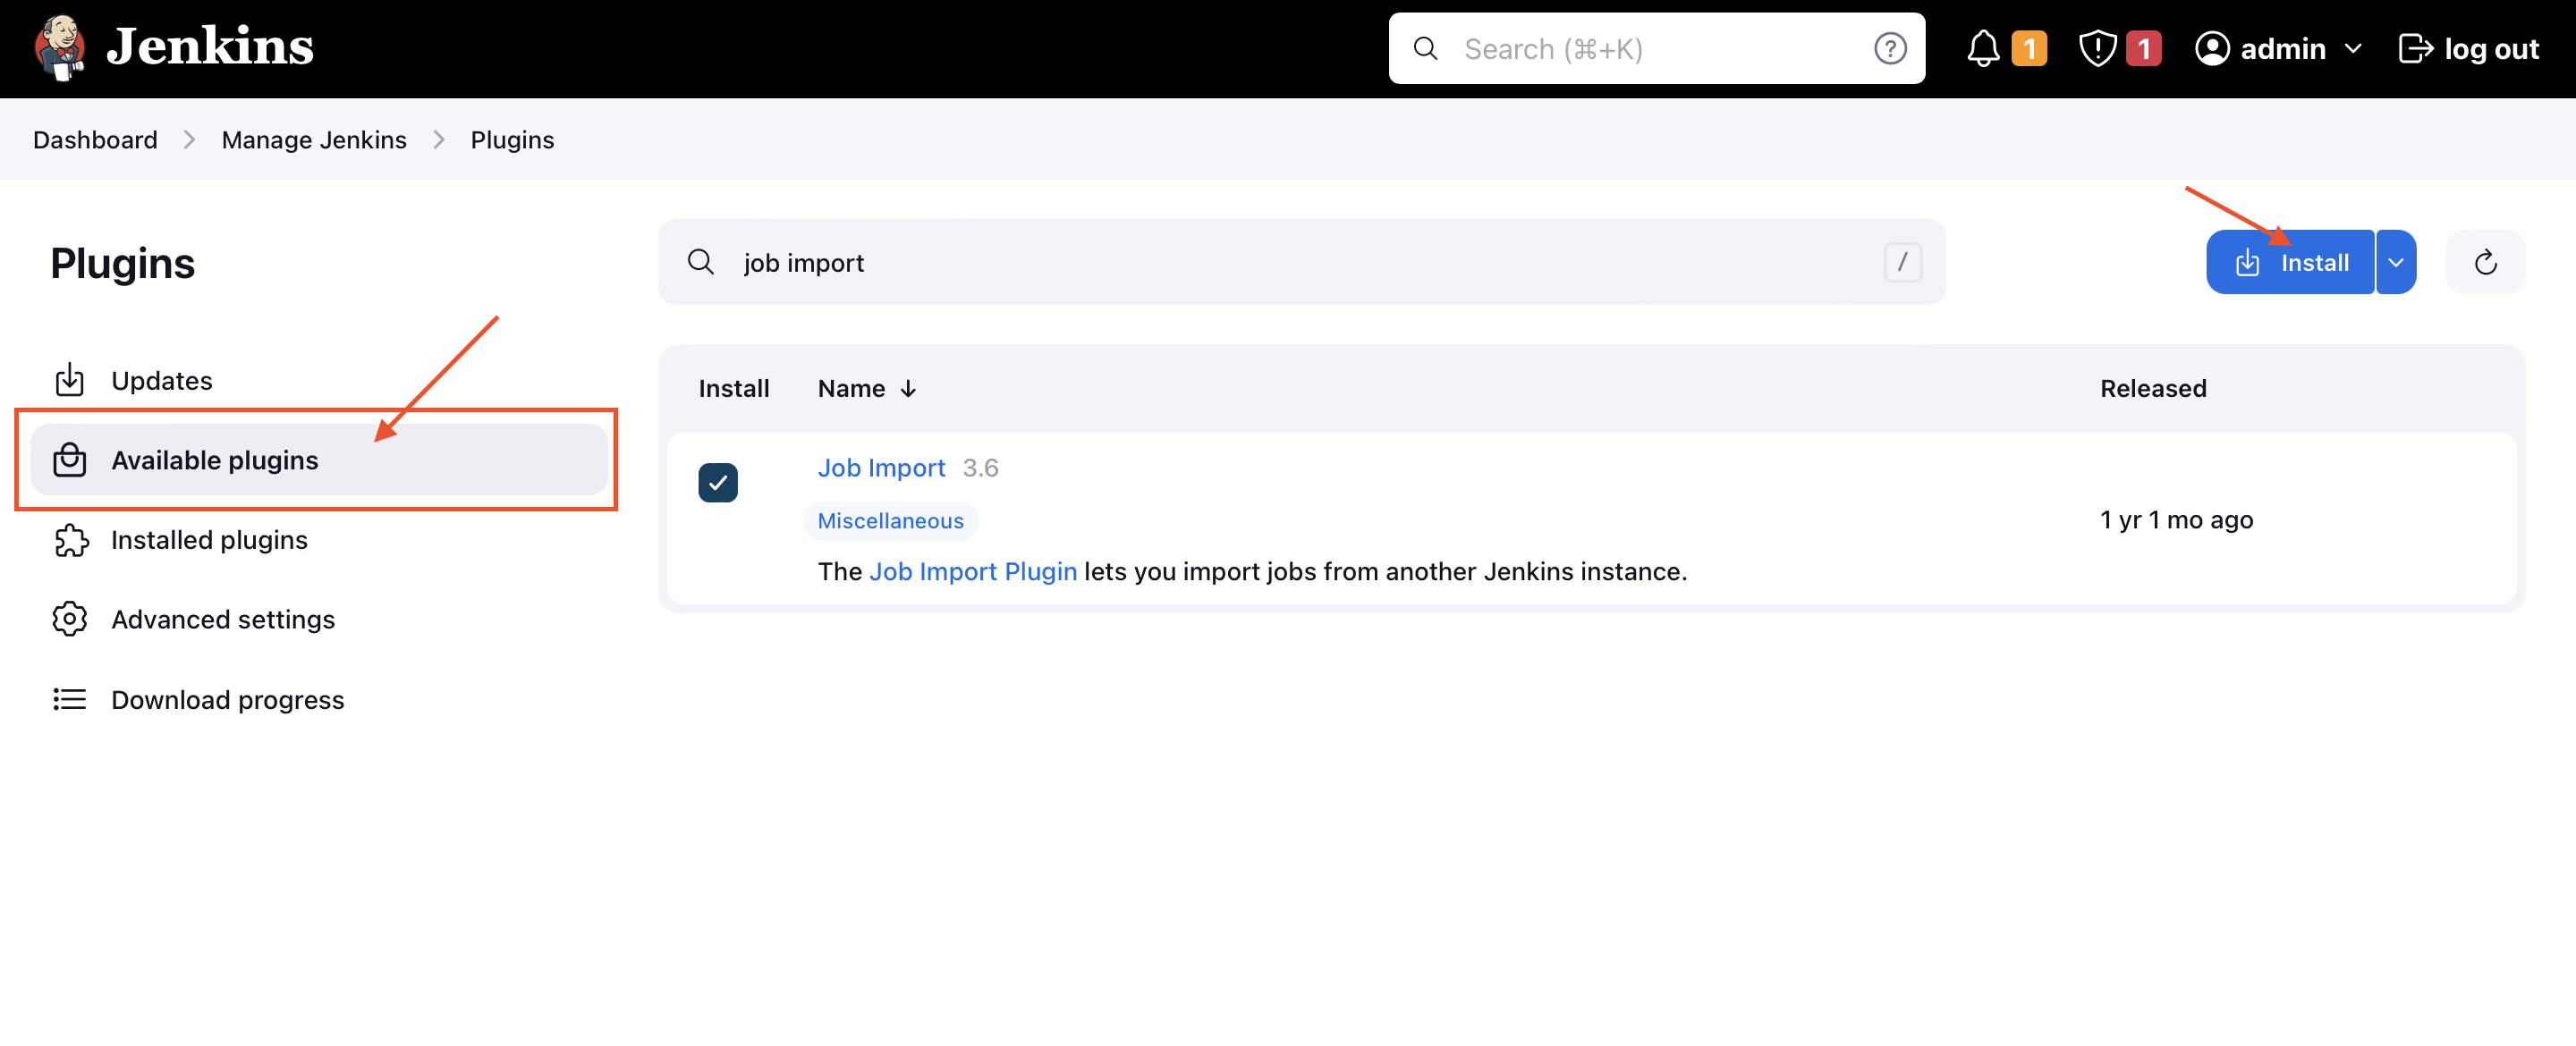
- Once you are in there install "Job import" plugin. Accordingly, you might want to restart the Jenkins too
Step 3: Configuring Source Jenkins Connection
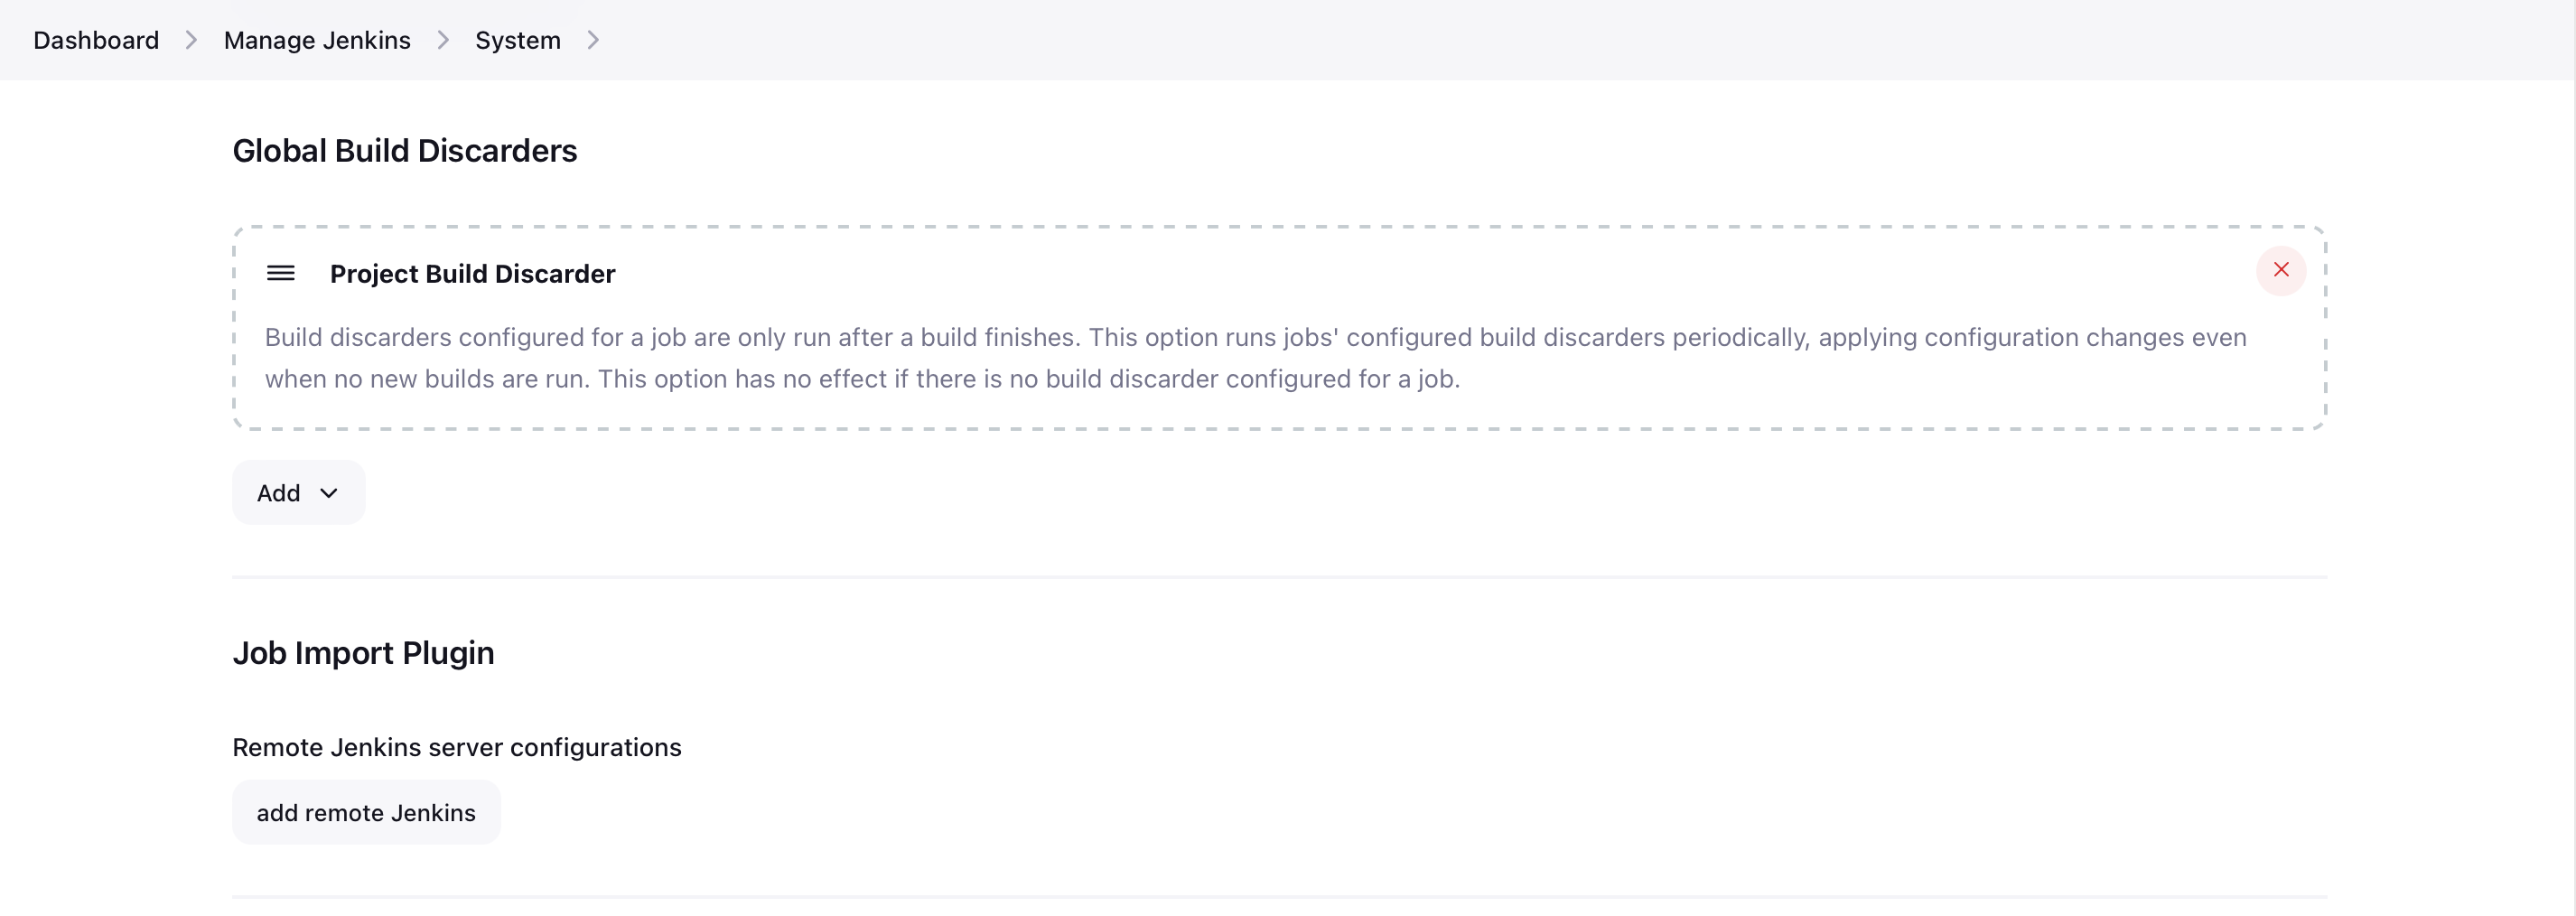
- Now, head over to the "Manage Jenkins" and head over to "System" to update the configuration. Scroll down until you find the Job Import Plugin section and click on "add remote Jenkins"
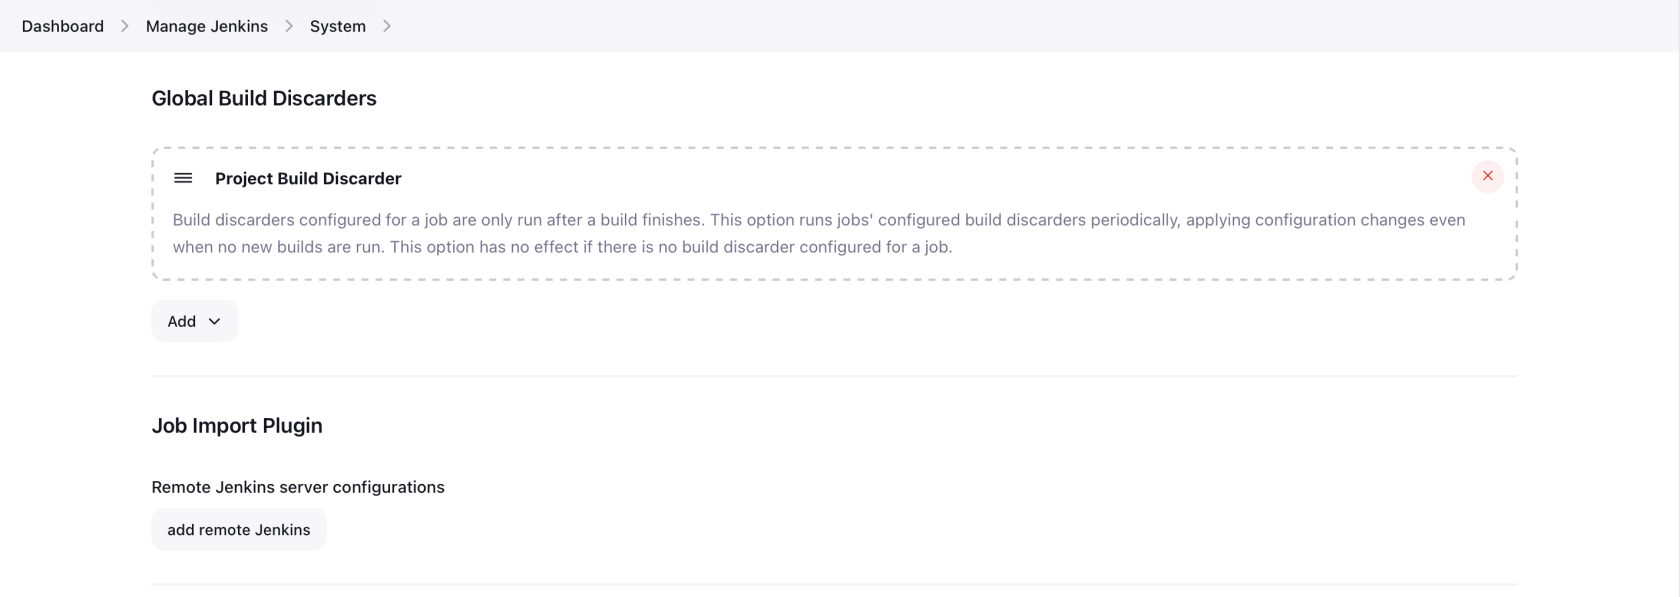
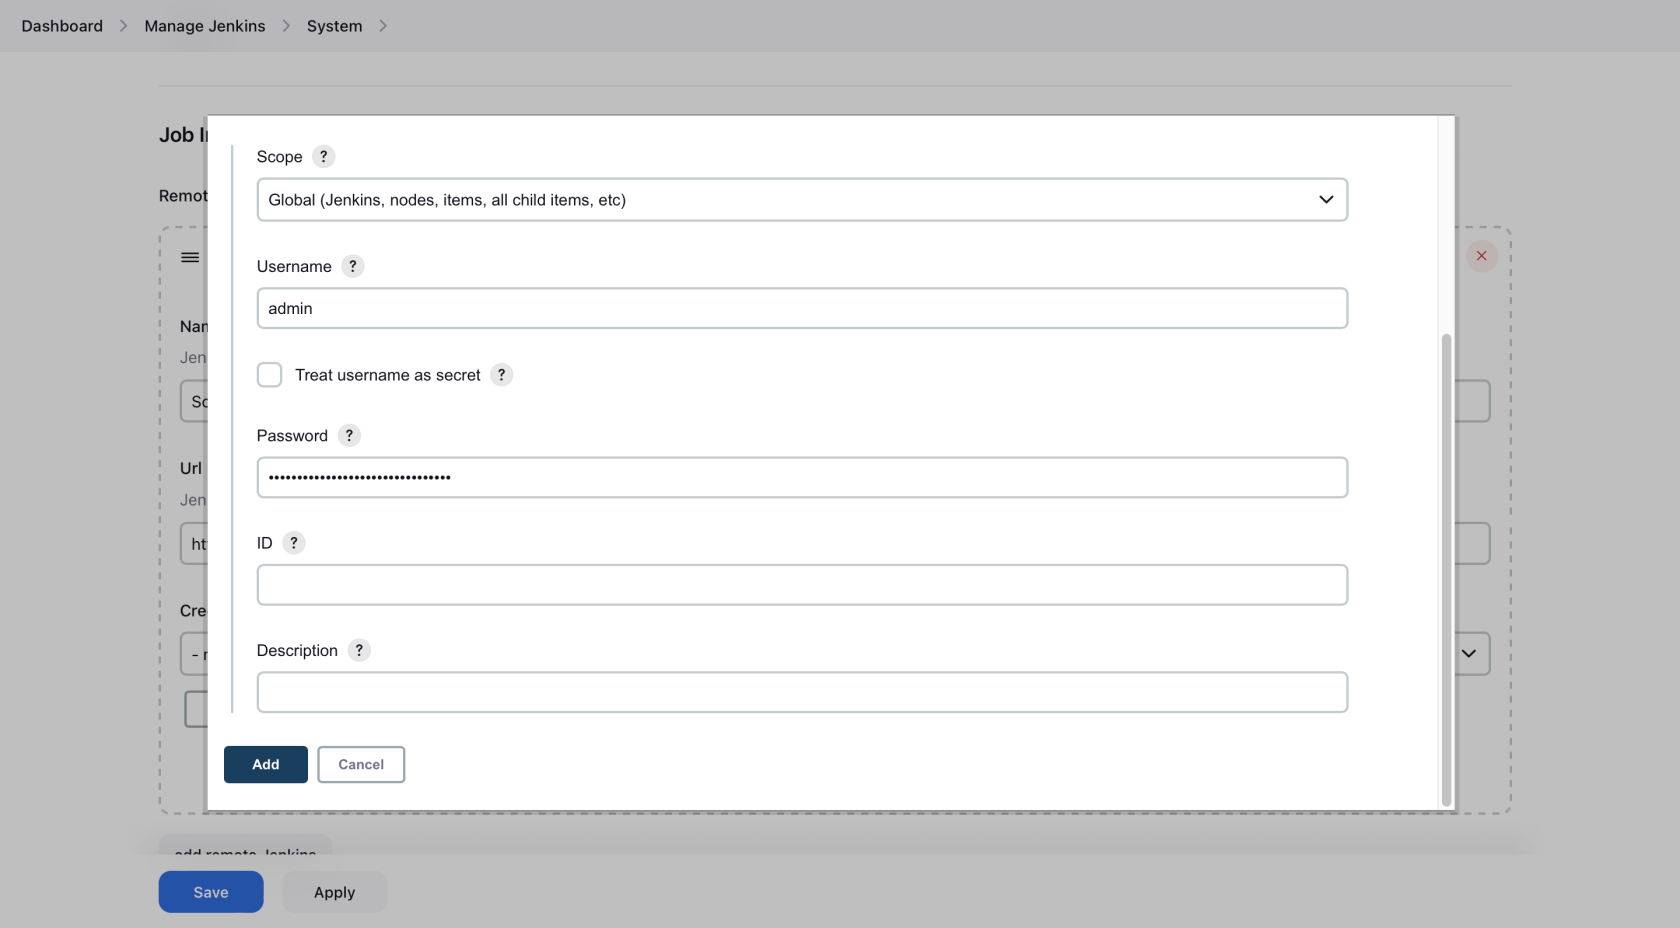
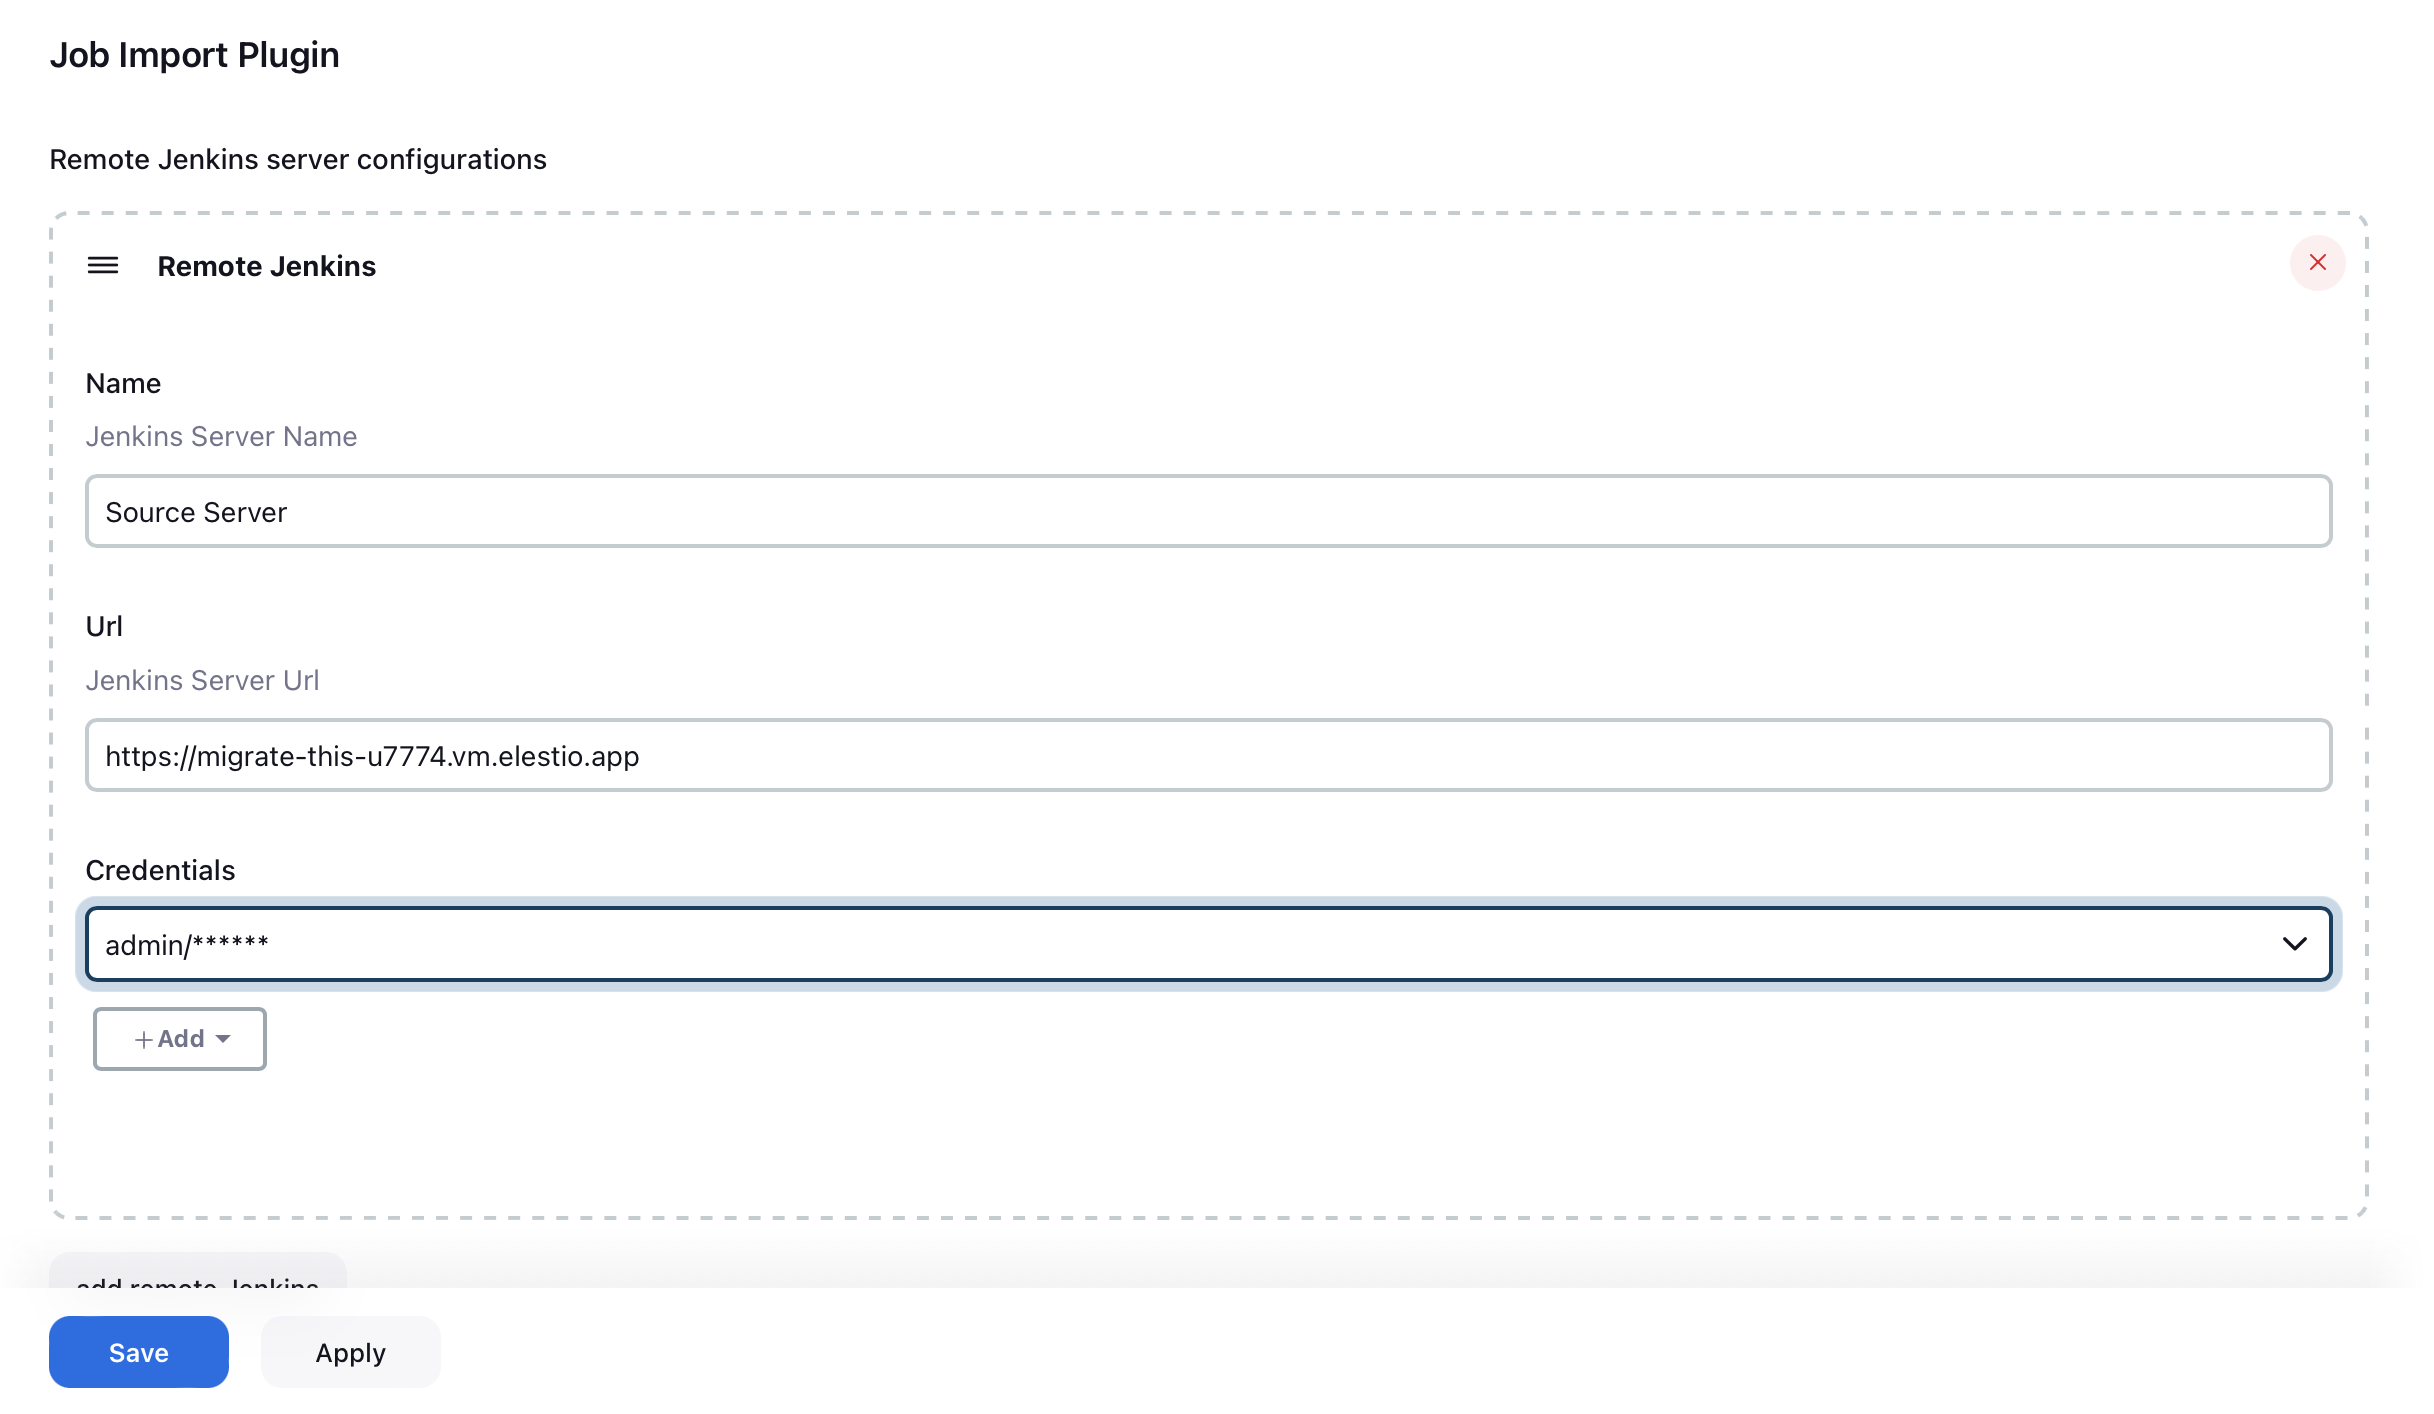
- Add your original Jenkins server information as requested, you will have to add the credentials. Click on add credentials and add the credentials of your original Jenkins server
- Select that as credentials under the drop-down and make sure you have the window looking similar to this
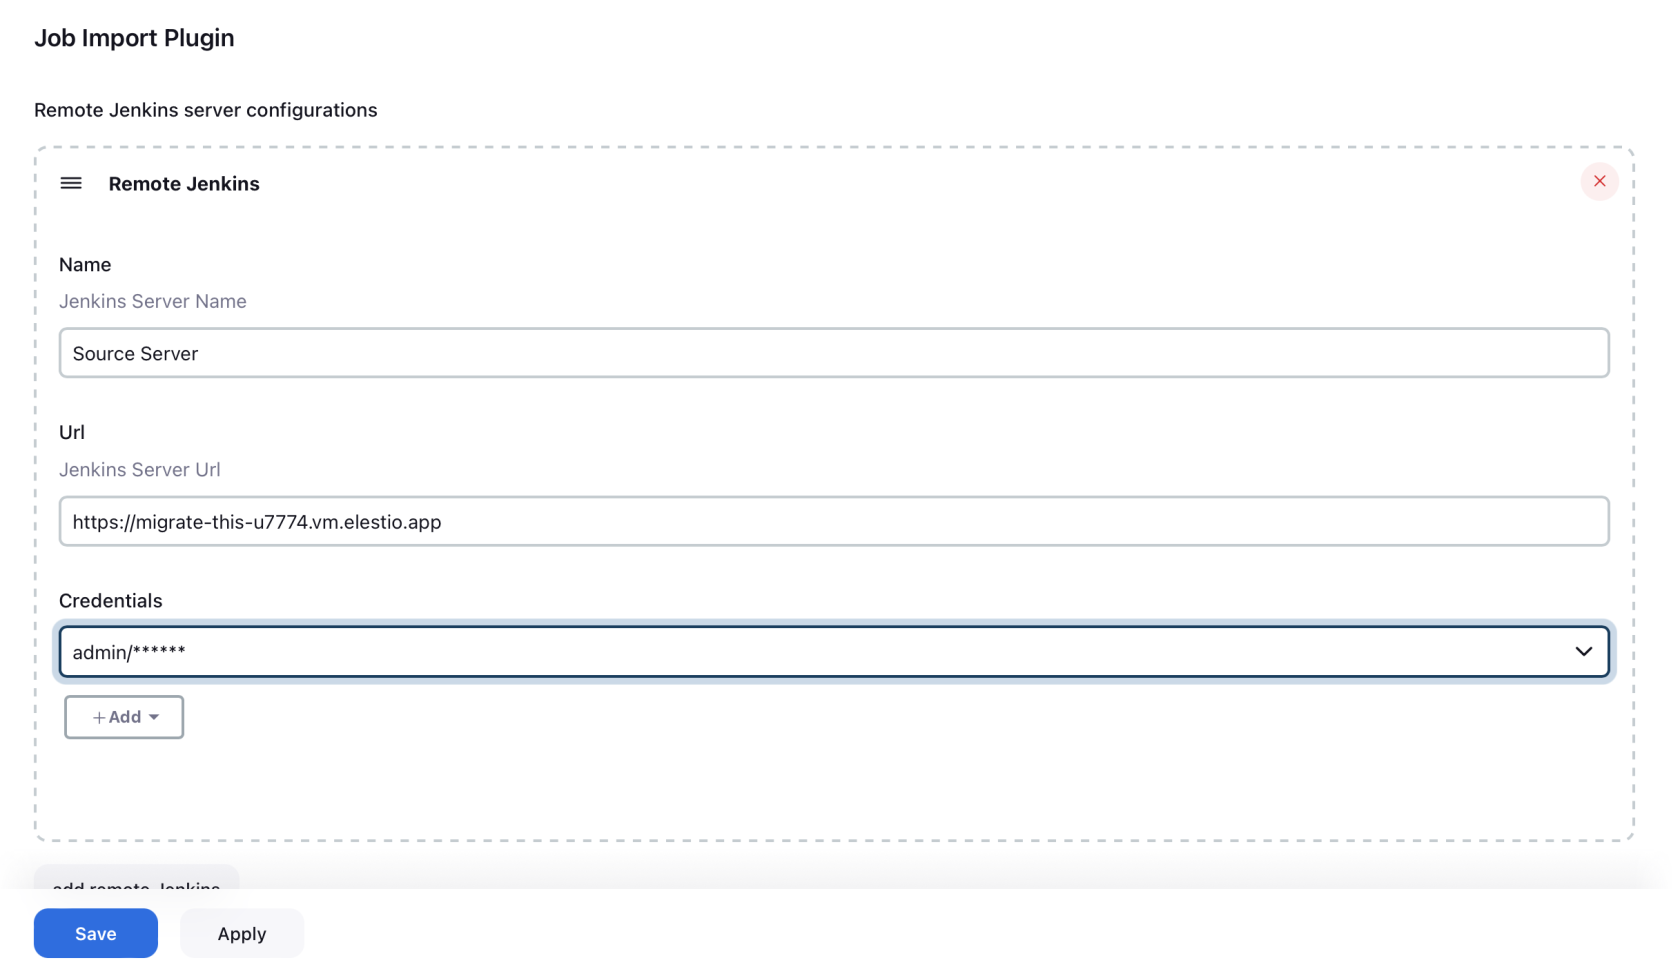
- Apply and save the remote Jenkins settings
Step 4: Importing Pipelines
For this tutorial, we are going to import two simple pipelines that are already created on a source server 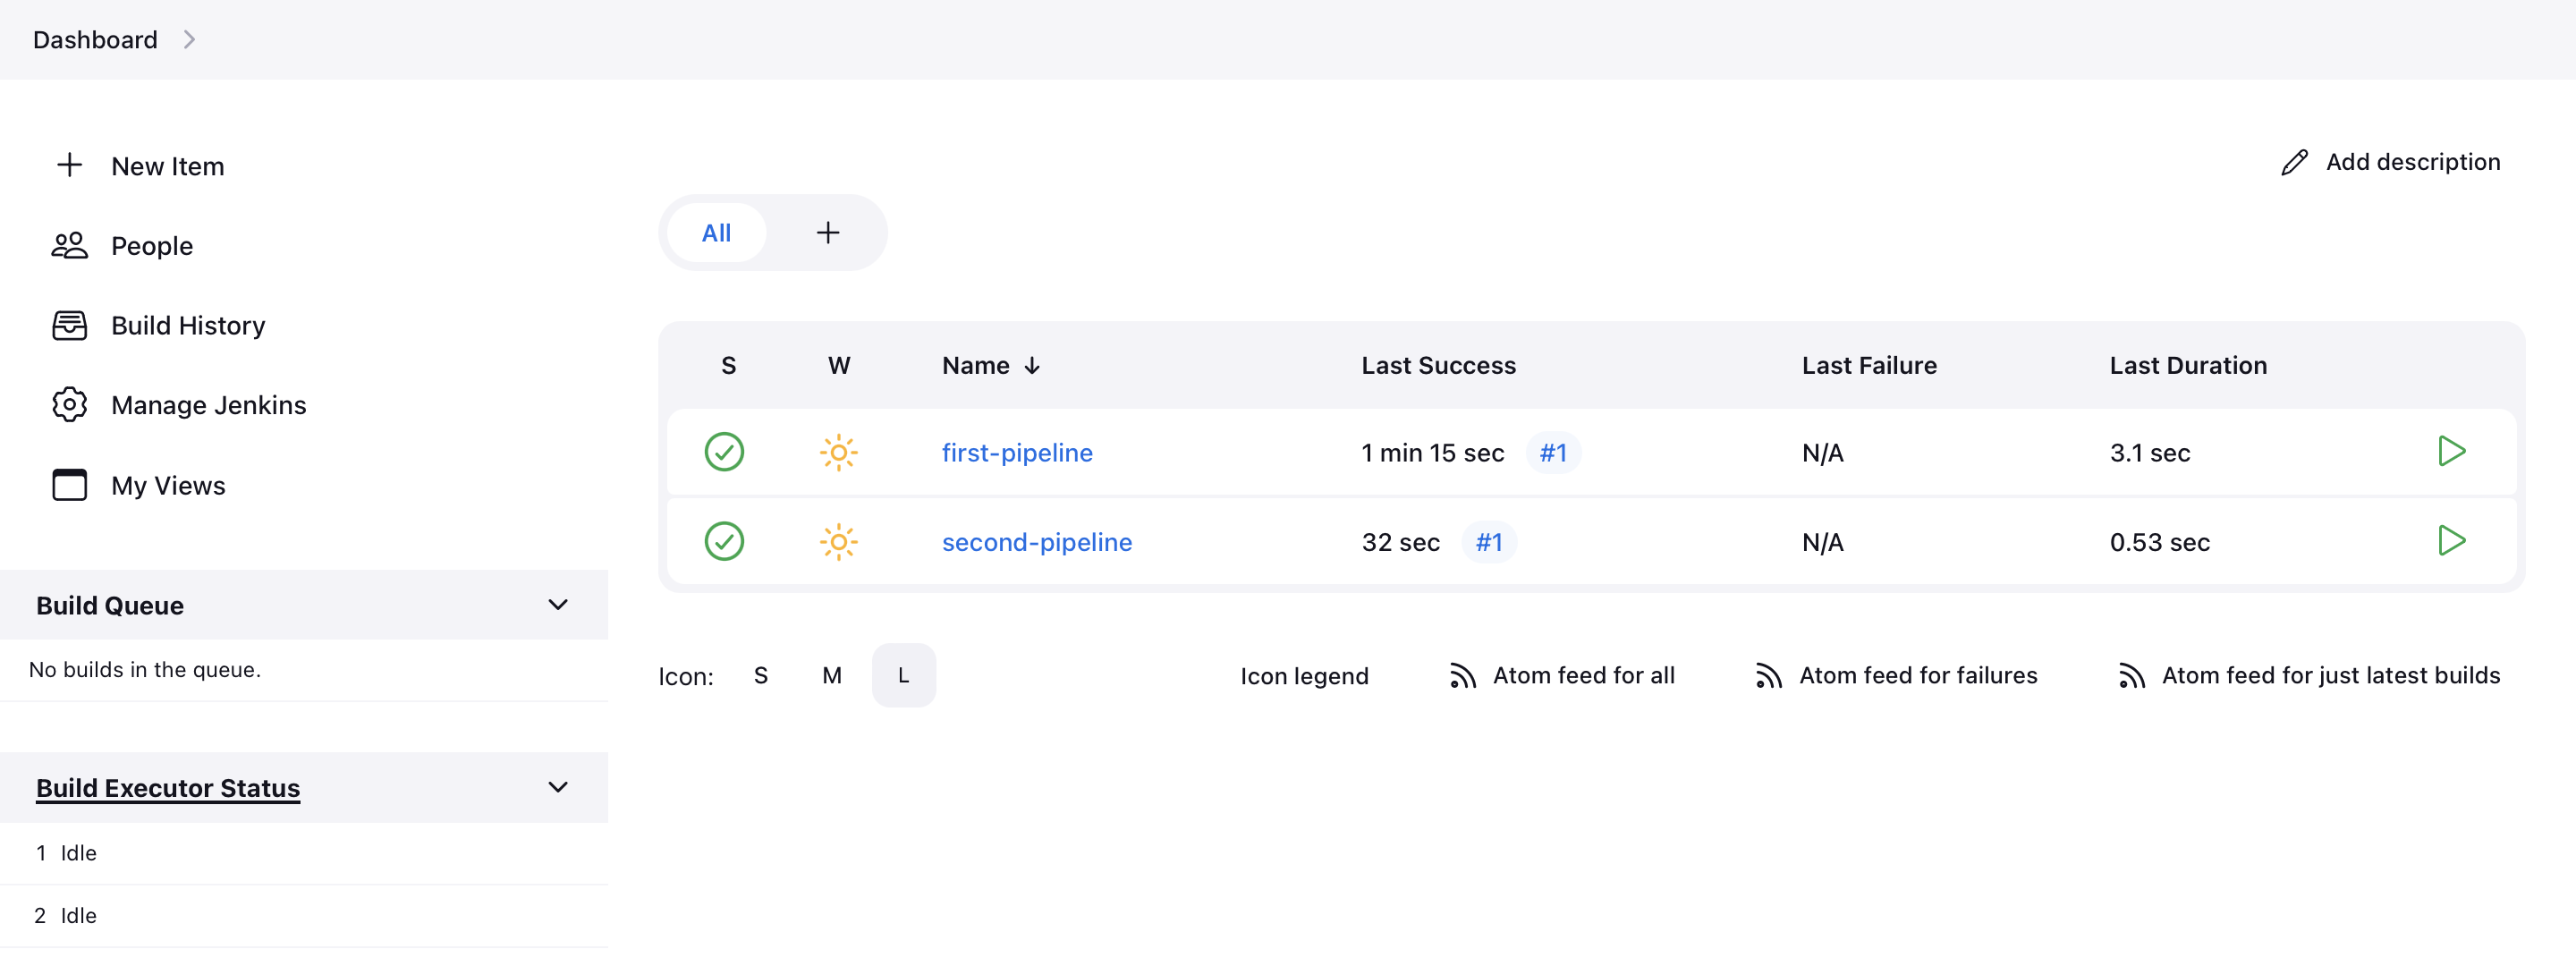
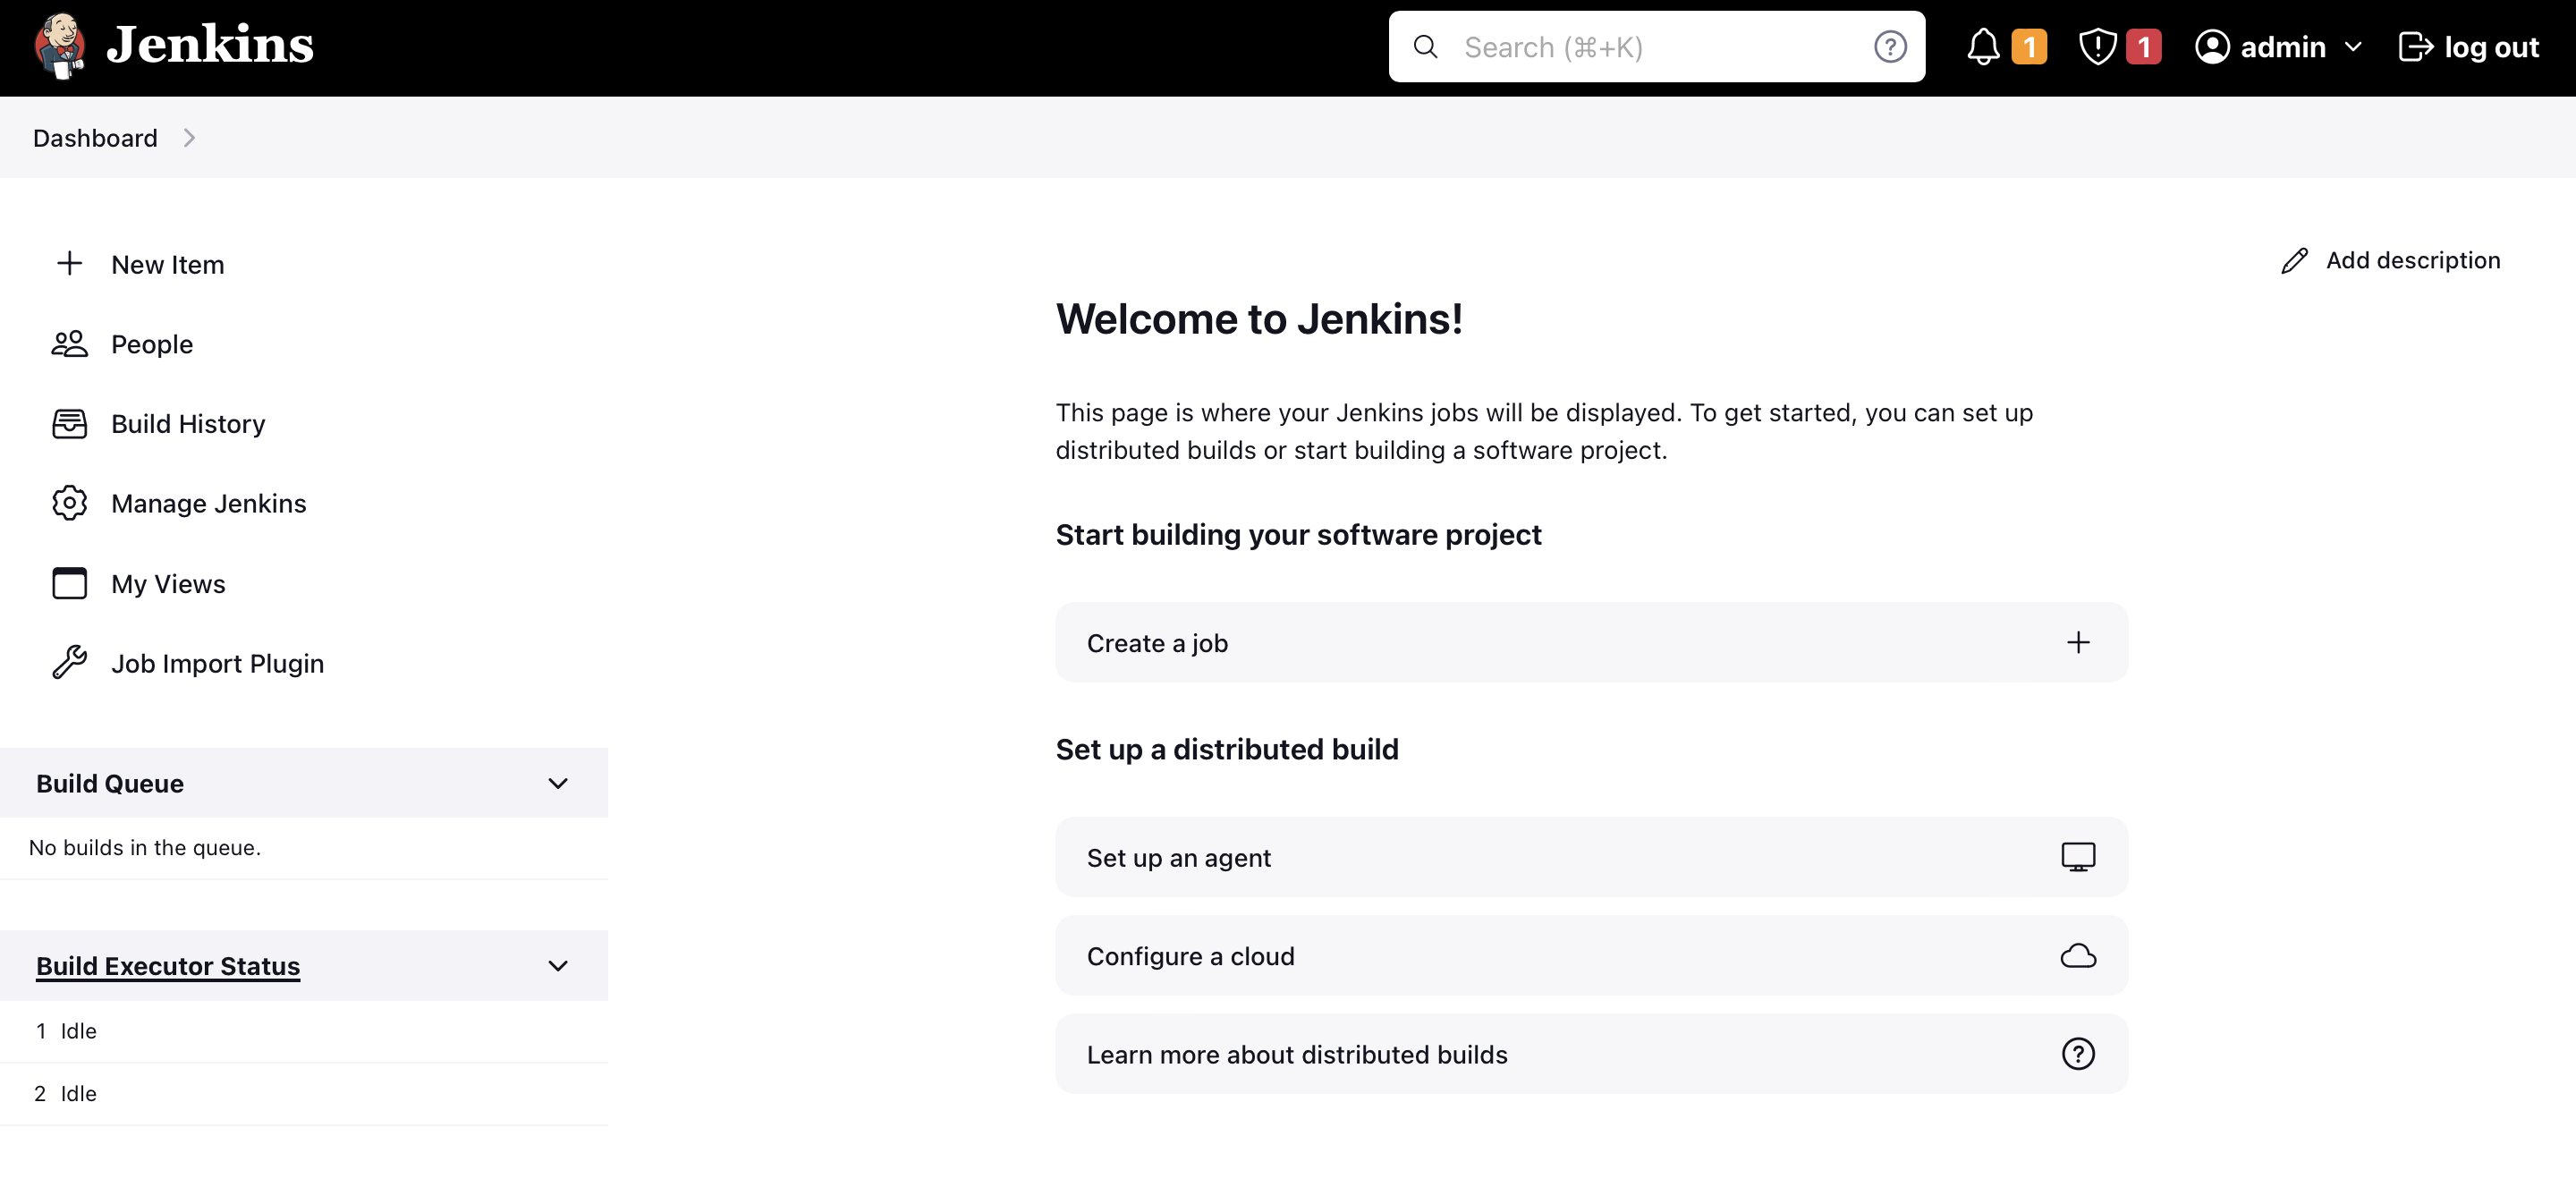
- Head over to the Jenkins dashboard and click on the new option you can see called "Job Import Plugin"
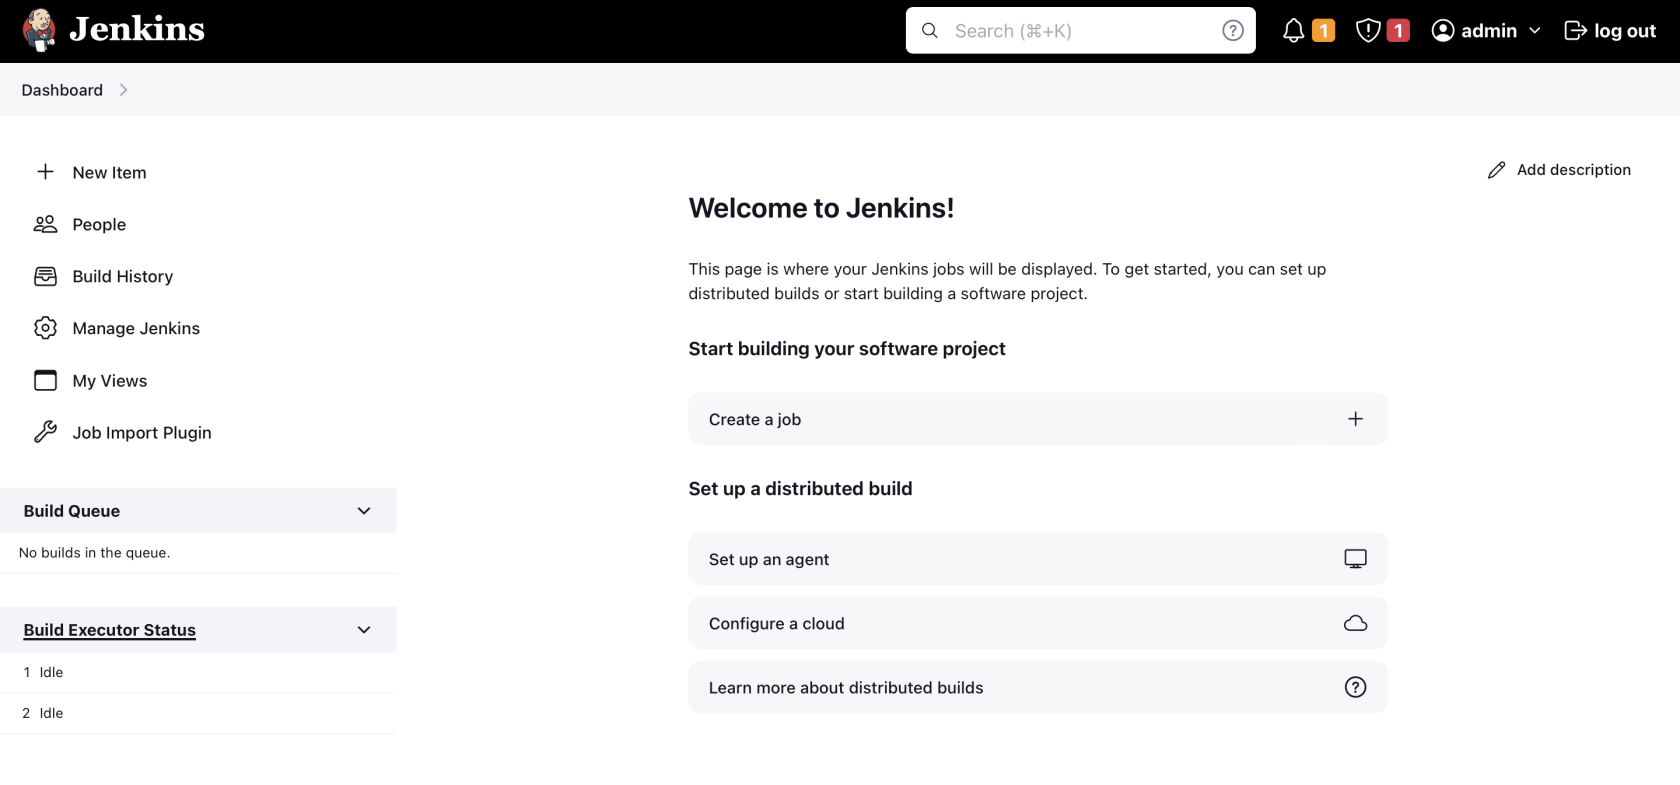
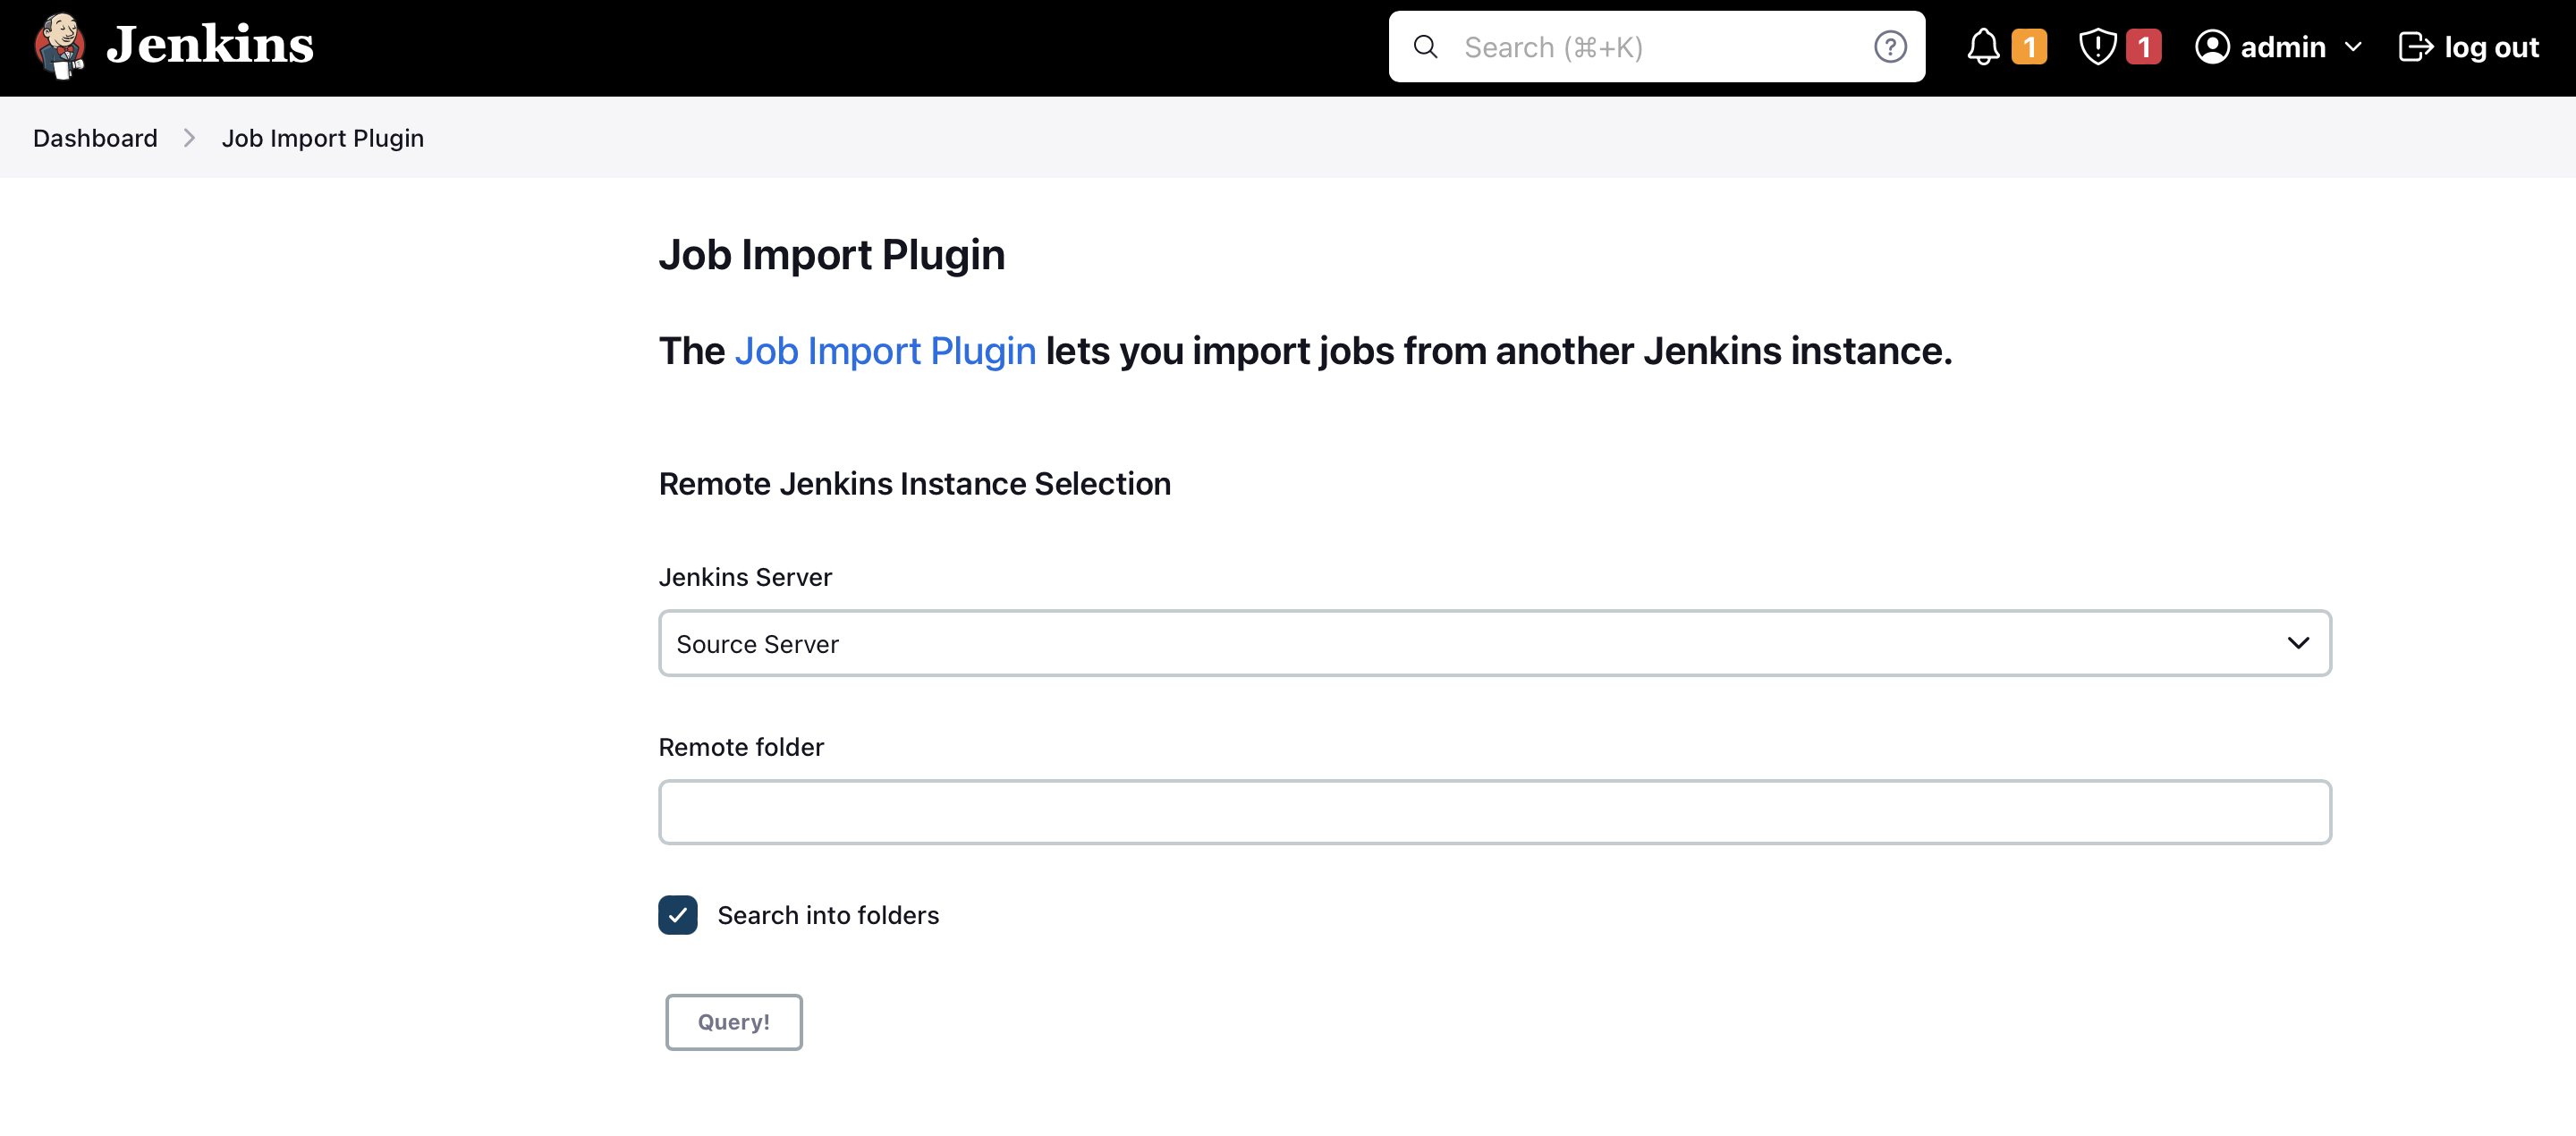
- Select your server from the drop-down and click on Search into folders so you don't have to put it in the remote folder. Click on the Query button.
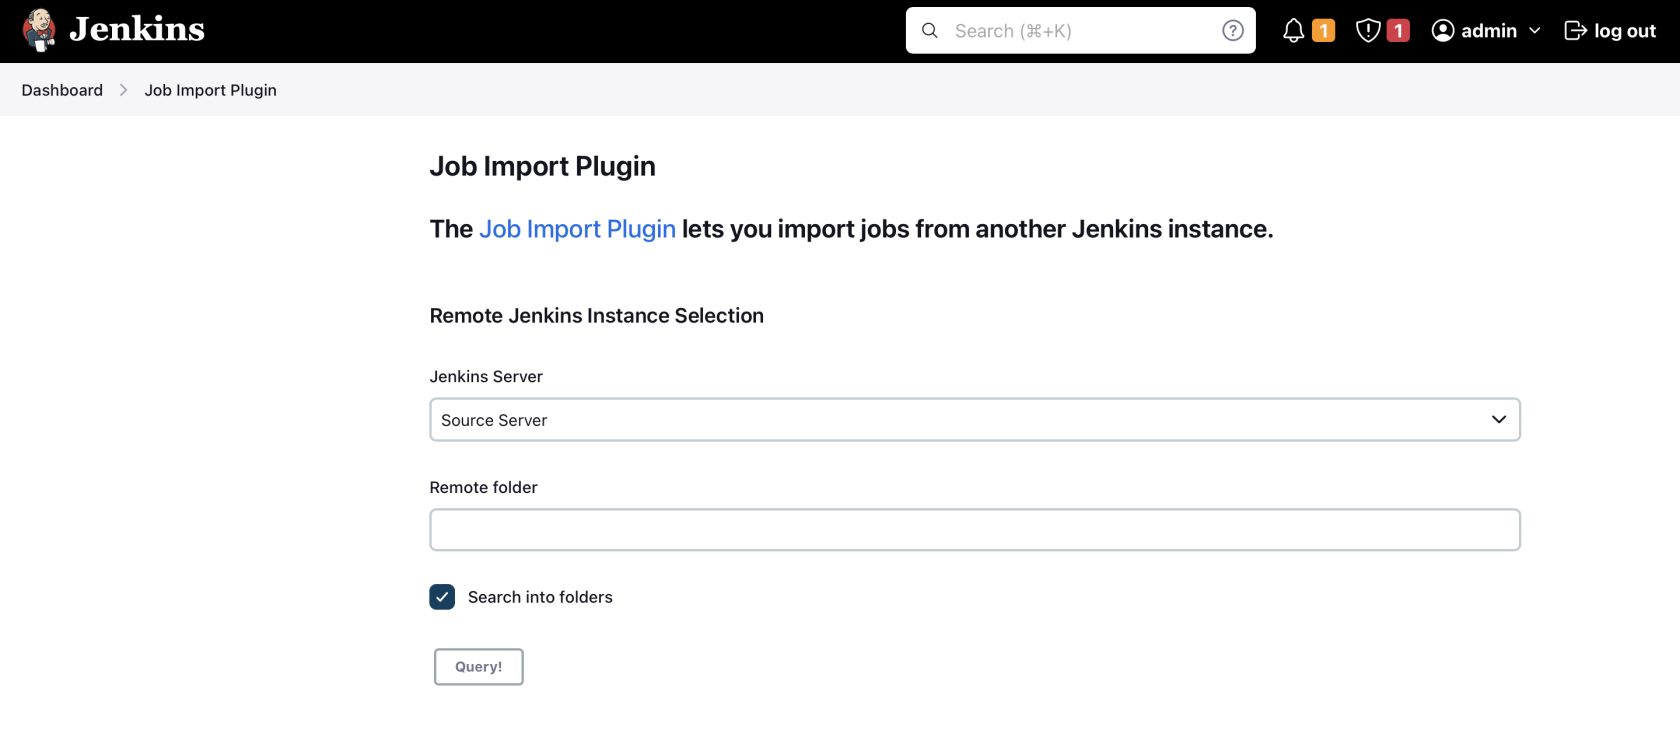
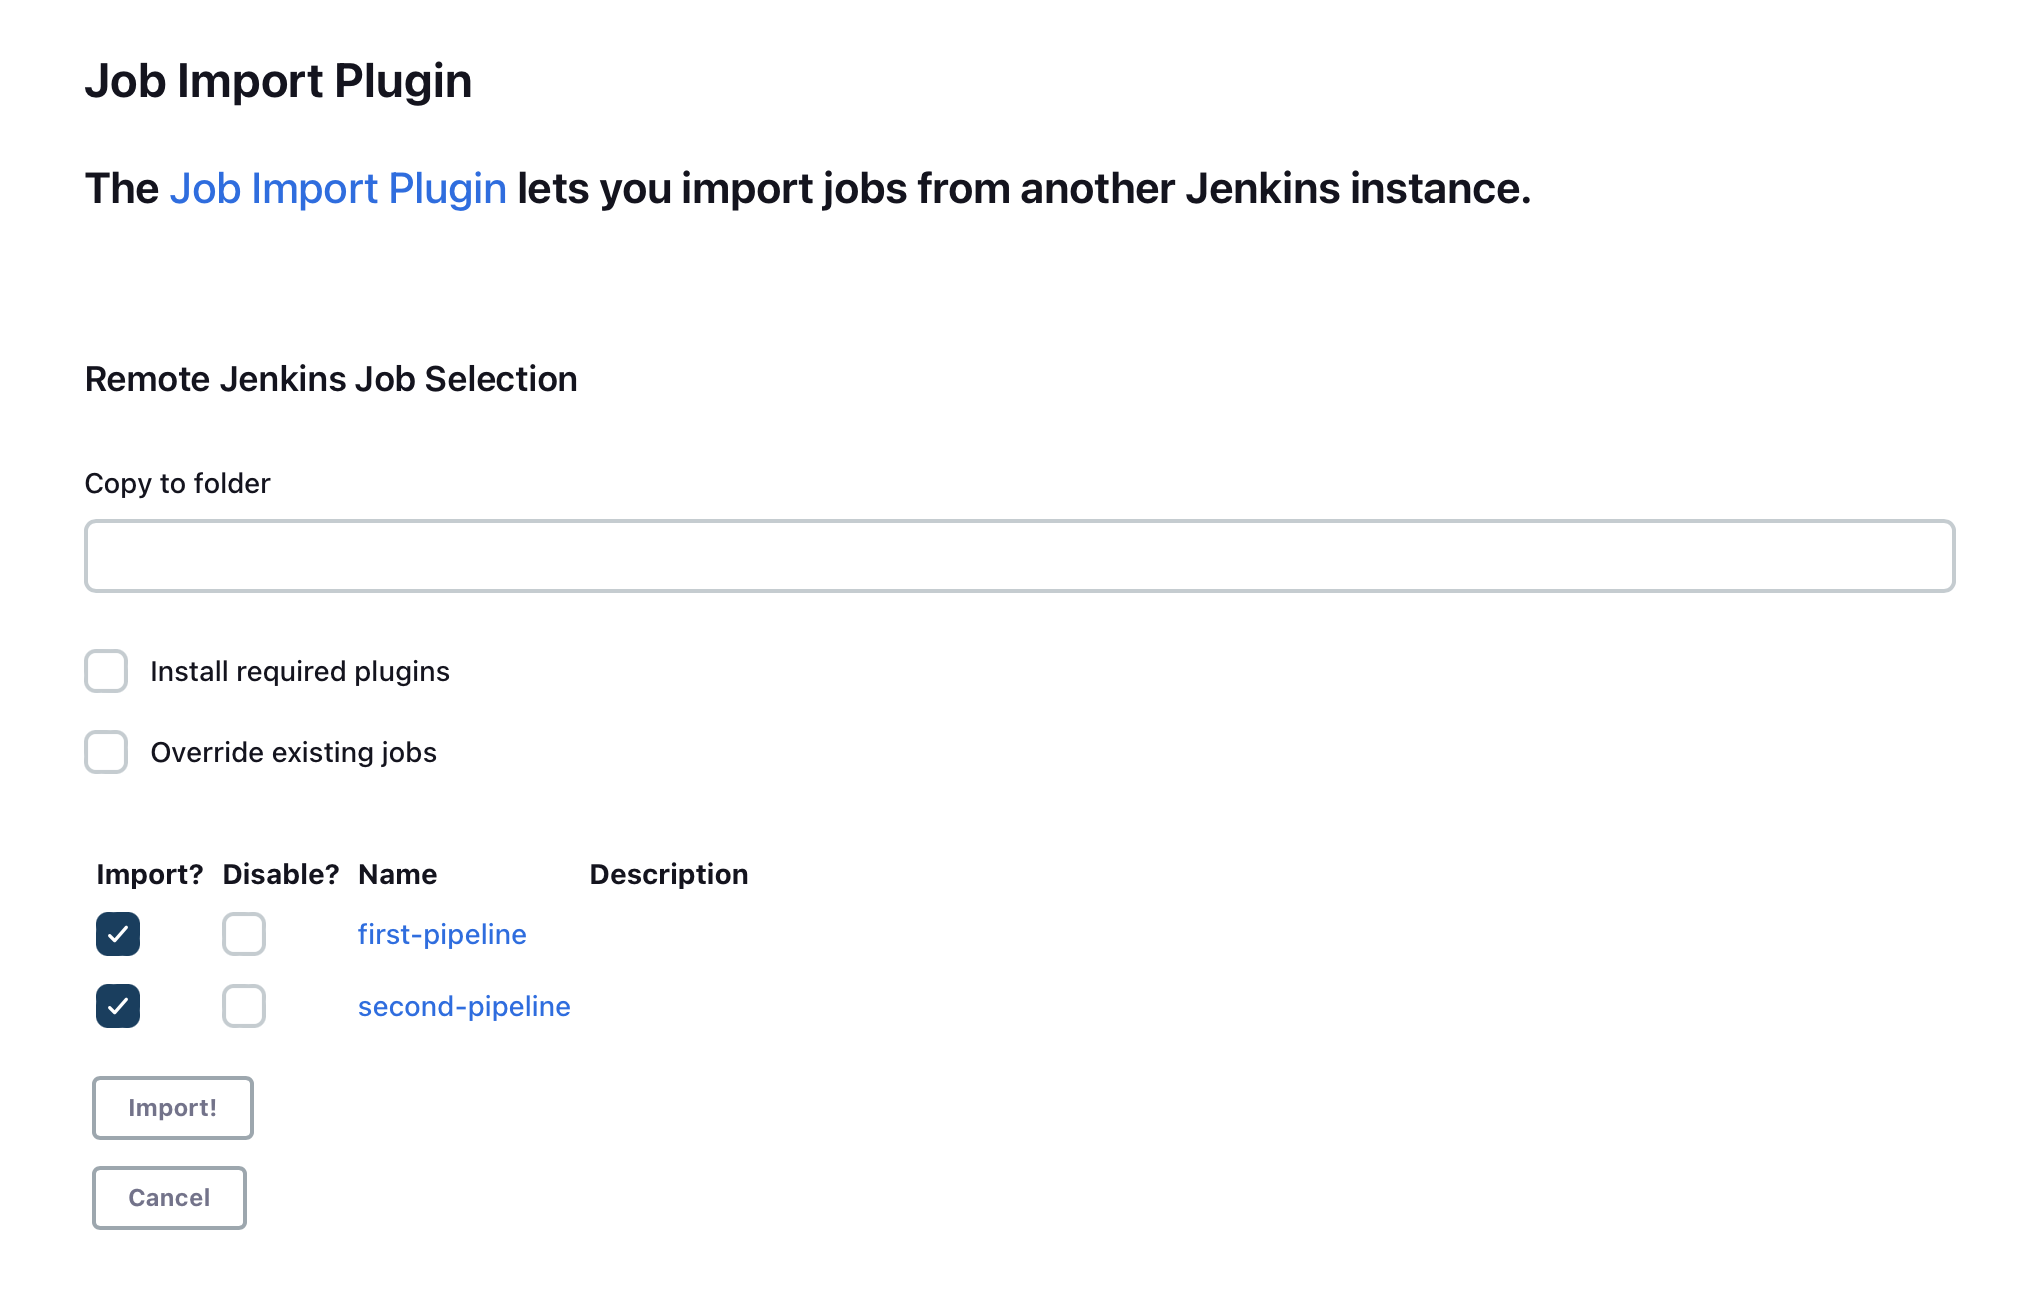
- Now you will be able to see all the pipelines available on your source server. You can select selective pipelines if you want to. Select the needed pipelines and hit the Import button
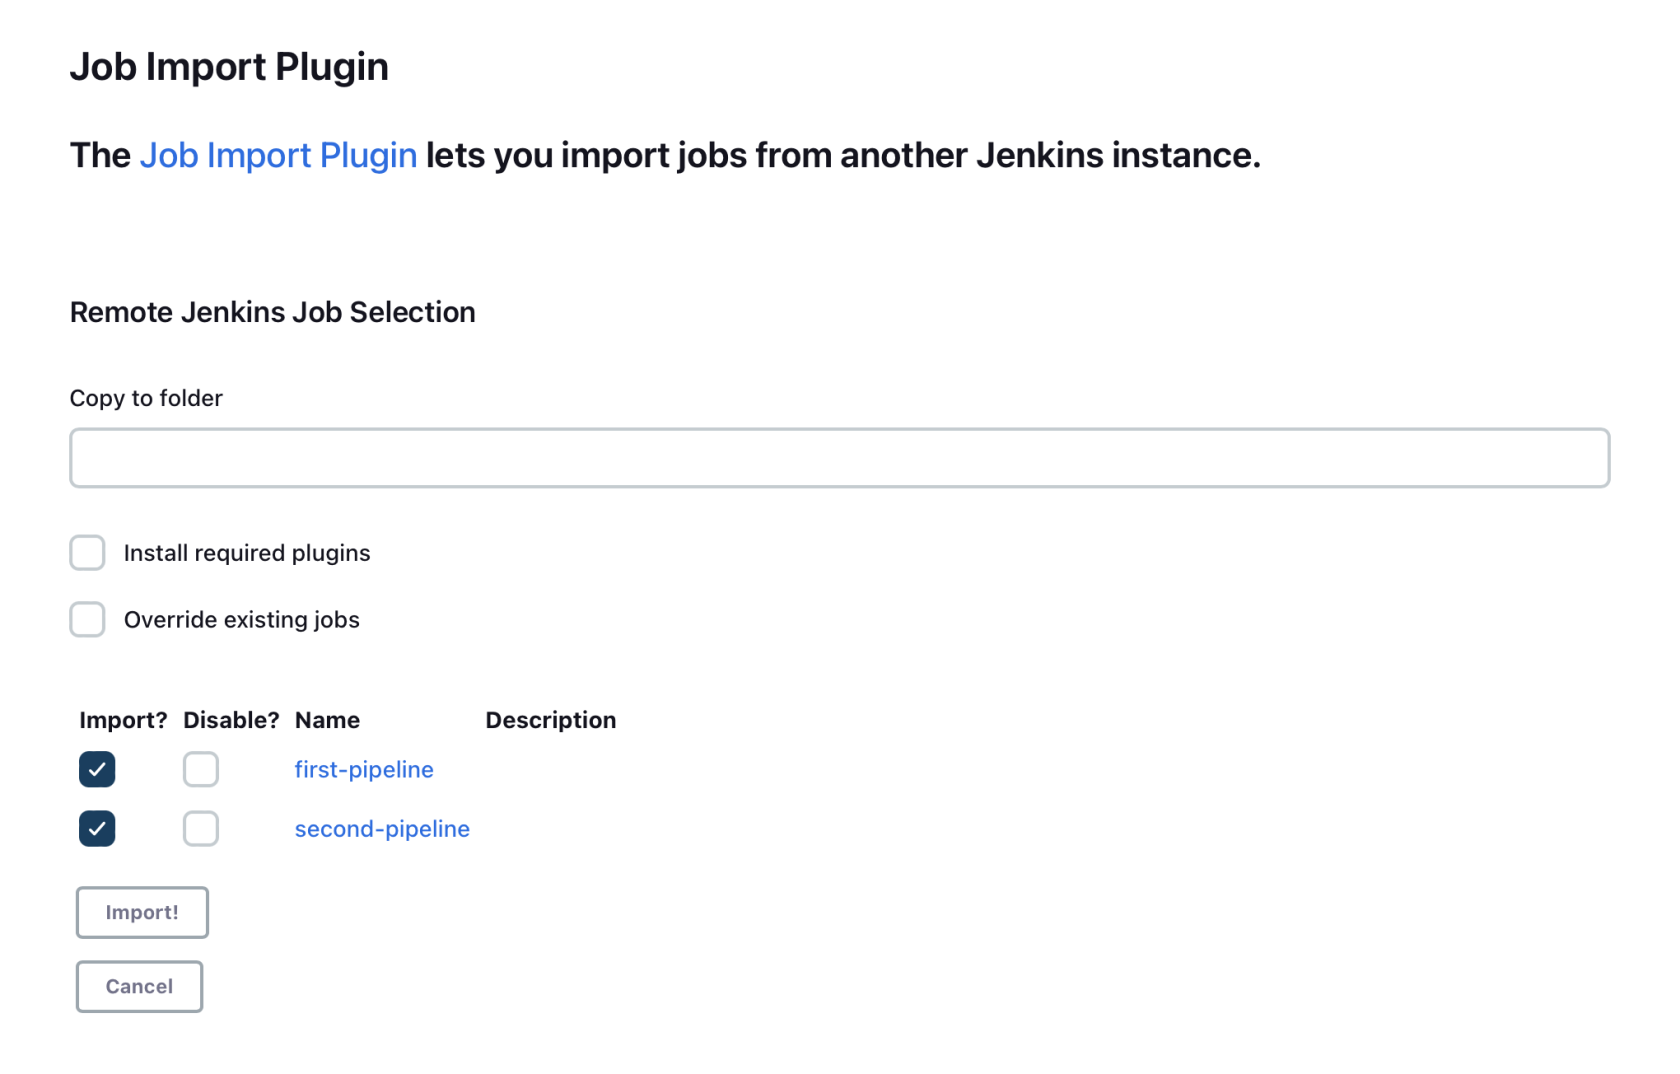
- Congratulations! You have successfully imported the pipelines from your source server.
Step 5: Testing the Migration
- You have successfully migrated to Elestio, now it's time for testing if your application is running as you intended
- Head over to the Jenkins dashboard and see if all of your pipelines have been imported correctly. Additionally, try running the pipelines.
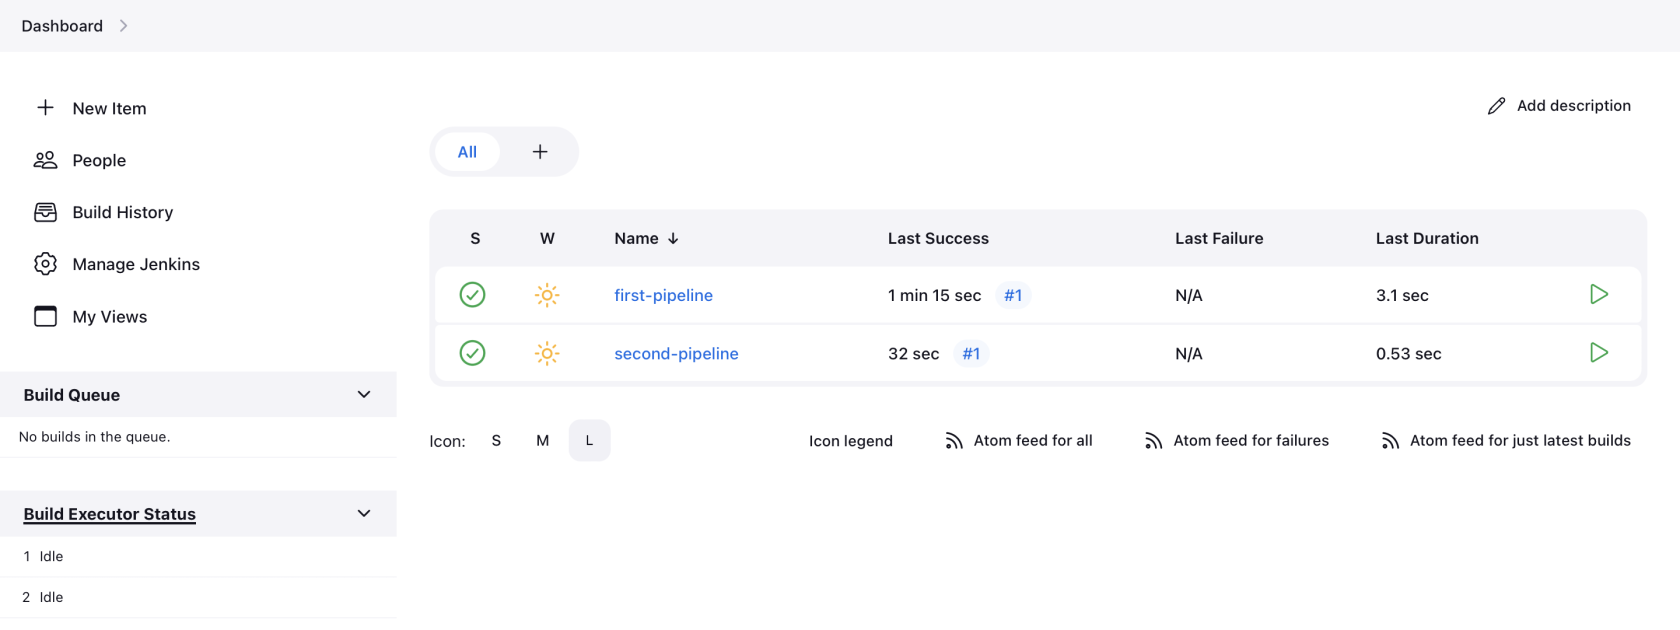
- Test individual pipeline execution to ensure they work correctly
- Verify that all plugin dependencies are properly installed
- Check that environment variables and credentials are correctly configured
Post-Migration Configuration
Additional Considerations
After successful pipeline import, you may need to:
- Update Git Repositories - Ensure your new Jenkins instance has access to your source code repositories
- Configure Build Agents - Set up slave nodes if your pipelines require specific build environments
- Update Webhooks - Modify repository webhooks to point to your new Jenkins instance
- SSL Certificates - Configure SSL certificates for secure access
- Backup Strategy - Set up regular backups of your Jenkins configuration
Plugin Dependencies
Some pipelines may require additional plugins. Common plugins to consider:
- Git Plugin
- Pipeline Plugin
- Docker Plugin
- Kubernetes Plugin
- AWS Steps Plugin
- Azure DevOps Plugin
Security Configuration
- Configure Authentication - Set up proper user authentication (LDAP, Active Directory, etc.)
- Authorization Strategy - Define user permissions and roles
- API Tokens - Generate new API tokens for integrations
- Firewall Rules - Configure network security rules
Troubleshooting Common Issues
Import Plugin Issues
- Problem: Job Import Plugin not visible
- Solution: Restart Jenkins after installing the plugin
Connection Problems
- Problem: Cannot connect to source Jenkins
- Solution: Verify network connectivity, credentials, and Jenkins version compatibility
Pipeline Execution Failures
- Problem: Imported pipelines fail to run
- Solution: Check plugin dependencies, environment variables, and build tool availability
Need Additional Help?
Stuck somewhere? We are here to help you, go ahead and create a support ticket and we will get back to you in no time.
Related Guides
- Managed Services Migration - General guide for supported services
- Custom Applications Migration - For additional customizations
- Best Practices - Tips and troubleshooting