Migrate Superset to Elestio
This migration document focuses on the migration of Apache Superset to Elestio. Superset is one of our fully supported services. Find the complete software list here
This document provides a step-by-step guide for migrating your existing Superset dashboards and analytics to Elestio. Elestio is designed to enhance performance, scalability, and overall system efficiency. Before you begin the migration process, make sure to check the prerequisites.
Prerequisites
- Create an account on Elestio
- Log in to your Superset admin dashboard account on the server where your current Superset is deployed
- Make sure the UI for the application is working fine and there are no critical errors detected in the application logs. If found otherwise please feel free to create a support ticket
- When deploying the service on Elestio, use the same software version as your present service, or your data migration will fail.
Step 1: Exporting Dashboards and Data
Export Dashboards
- Head over to your original (source) dashboard of Superset
- Navigate to the Dashboards section
- Select all the dashboards you are planning on migrating and click on Export
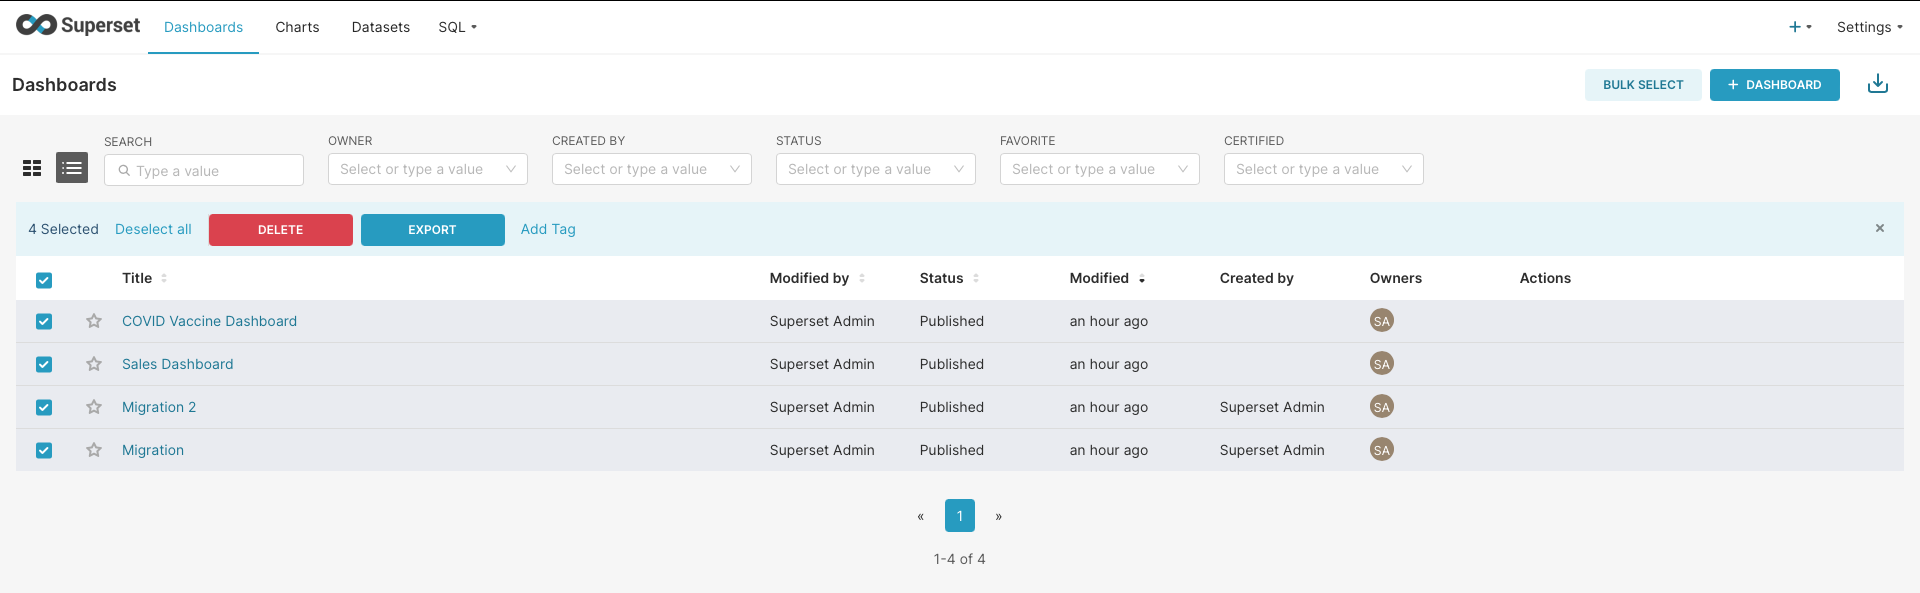
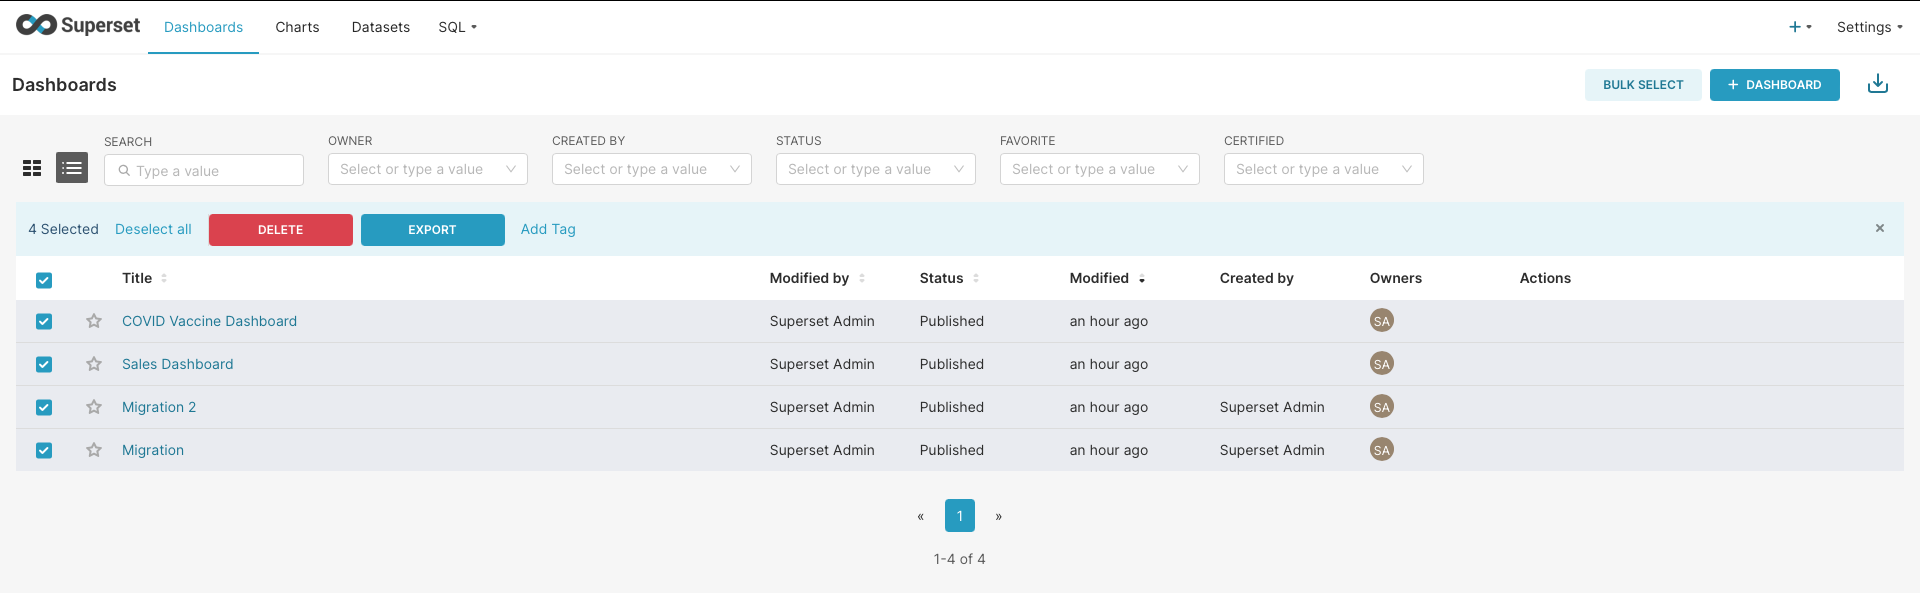
Export Charts
- Similarly, head over to the Charts section
- Select all the required charts and click on Export
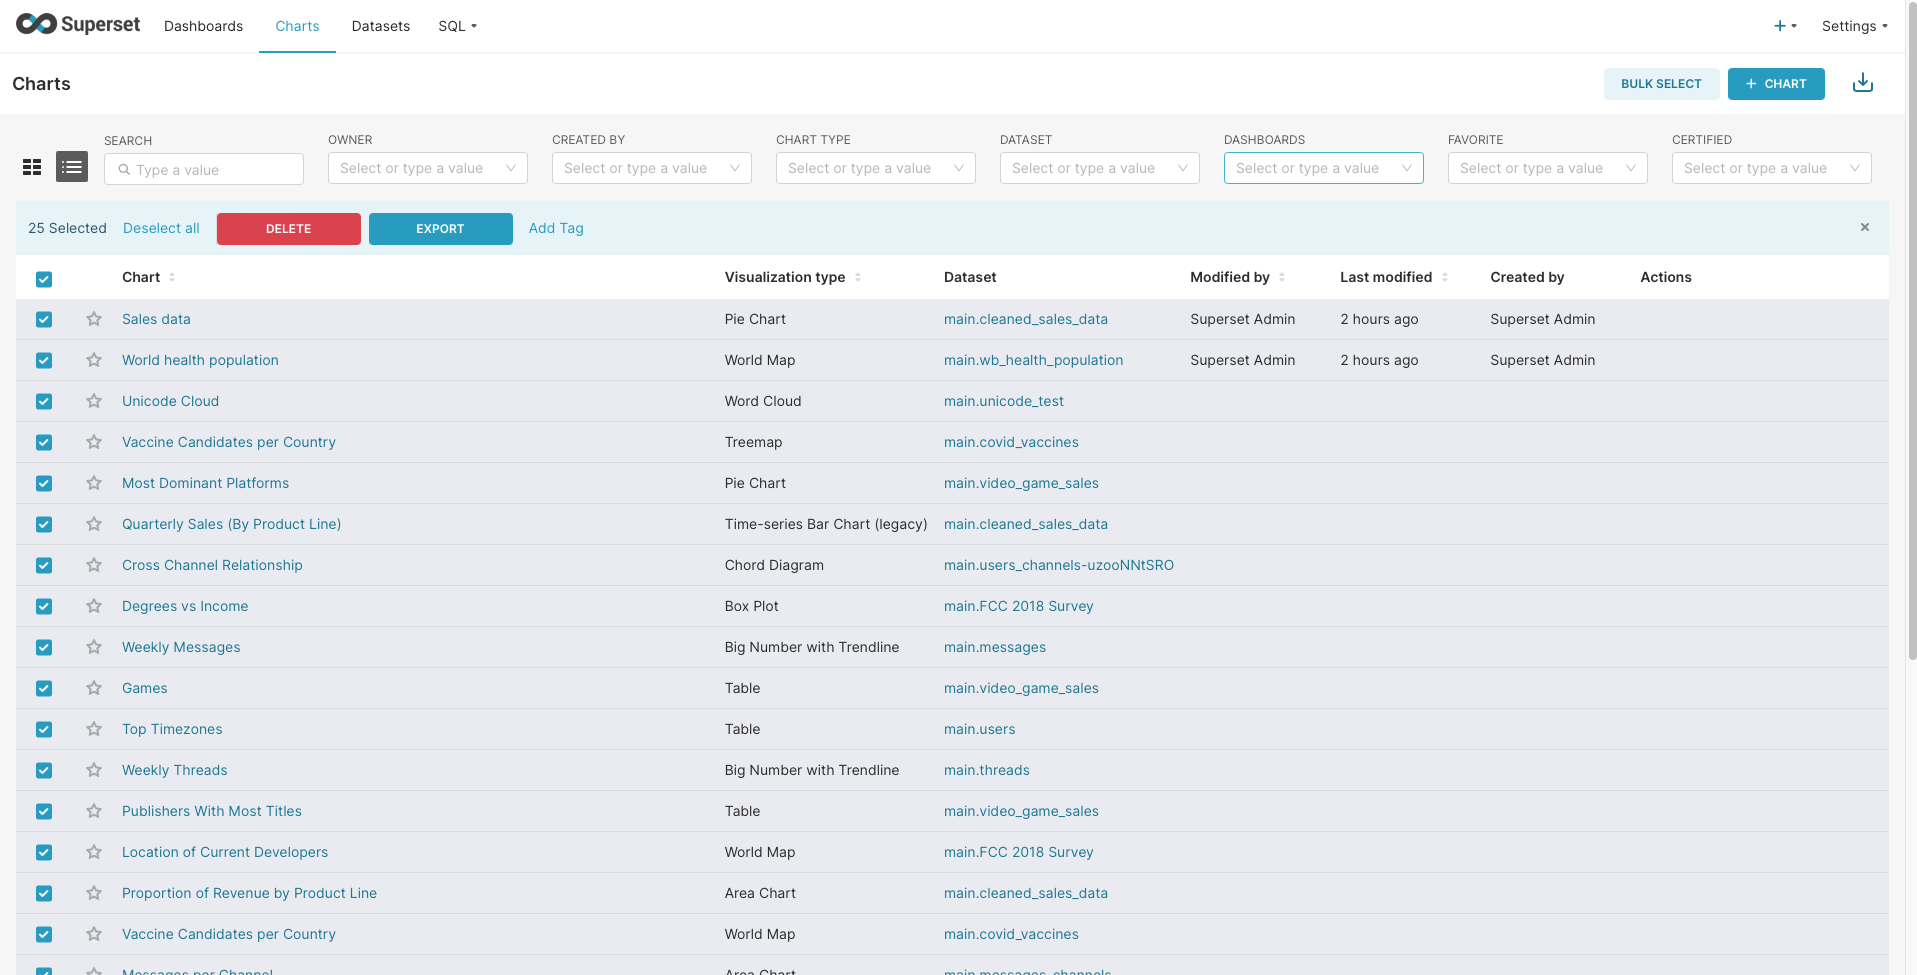
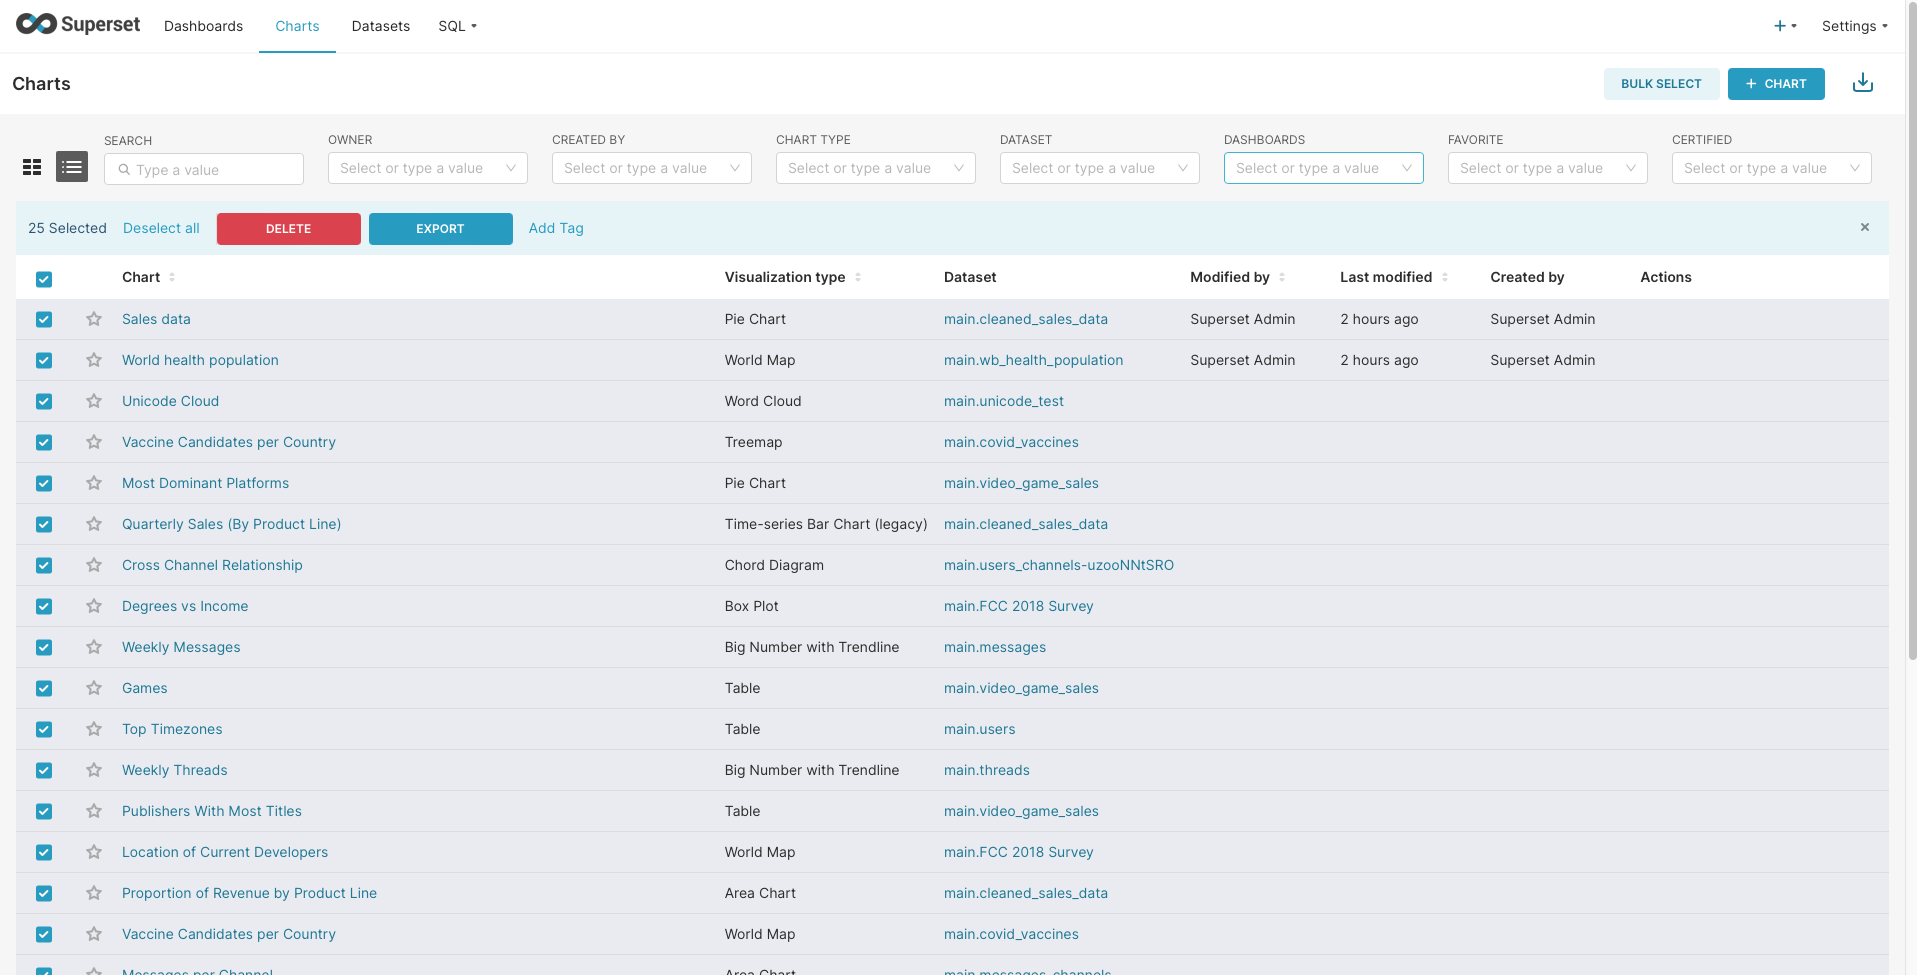
Export Additional Assets
These exported files will be stored on your local machine in .zip format. You should also consider exporting:
- Datasets - Any custom datasets or data connections
- SQL Lab queries - Saved SQL queries and results
- User permissions - User roles and access configurations
Database Configuration Notes
You will have to reconfigure your connected database with Superset after the migration so you should make sure you have all the information required for configuration:
- Database connection strings
- Credentials and authentication details
- SSL certificates if required
- Network configuration details
If you want to migrate the database to seamless integration with the Superset then head over to Elestio's Migration Docs for migration instructions for the specific databases.
Step 2: Setup Elestio Superset Service
- Login to your Elestio account
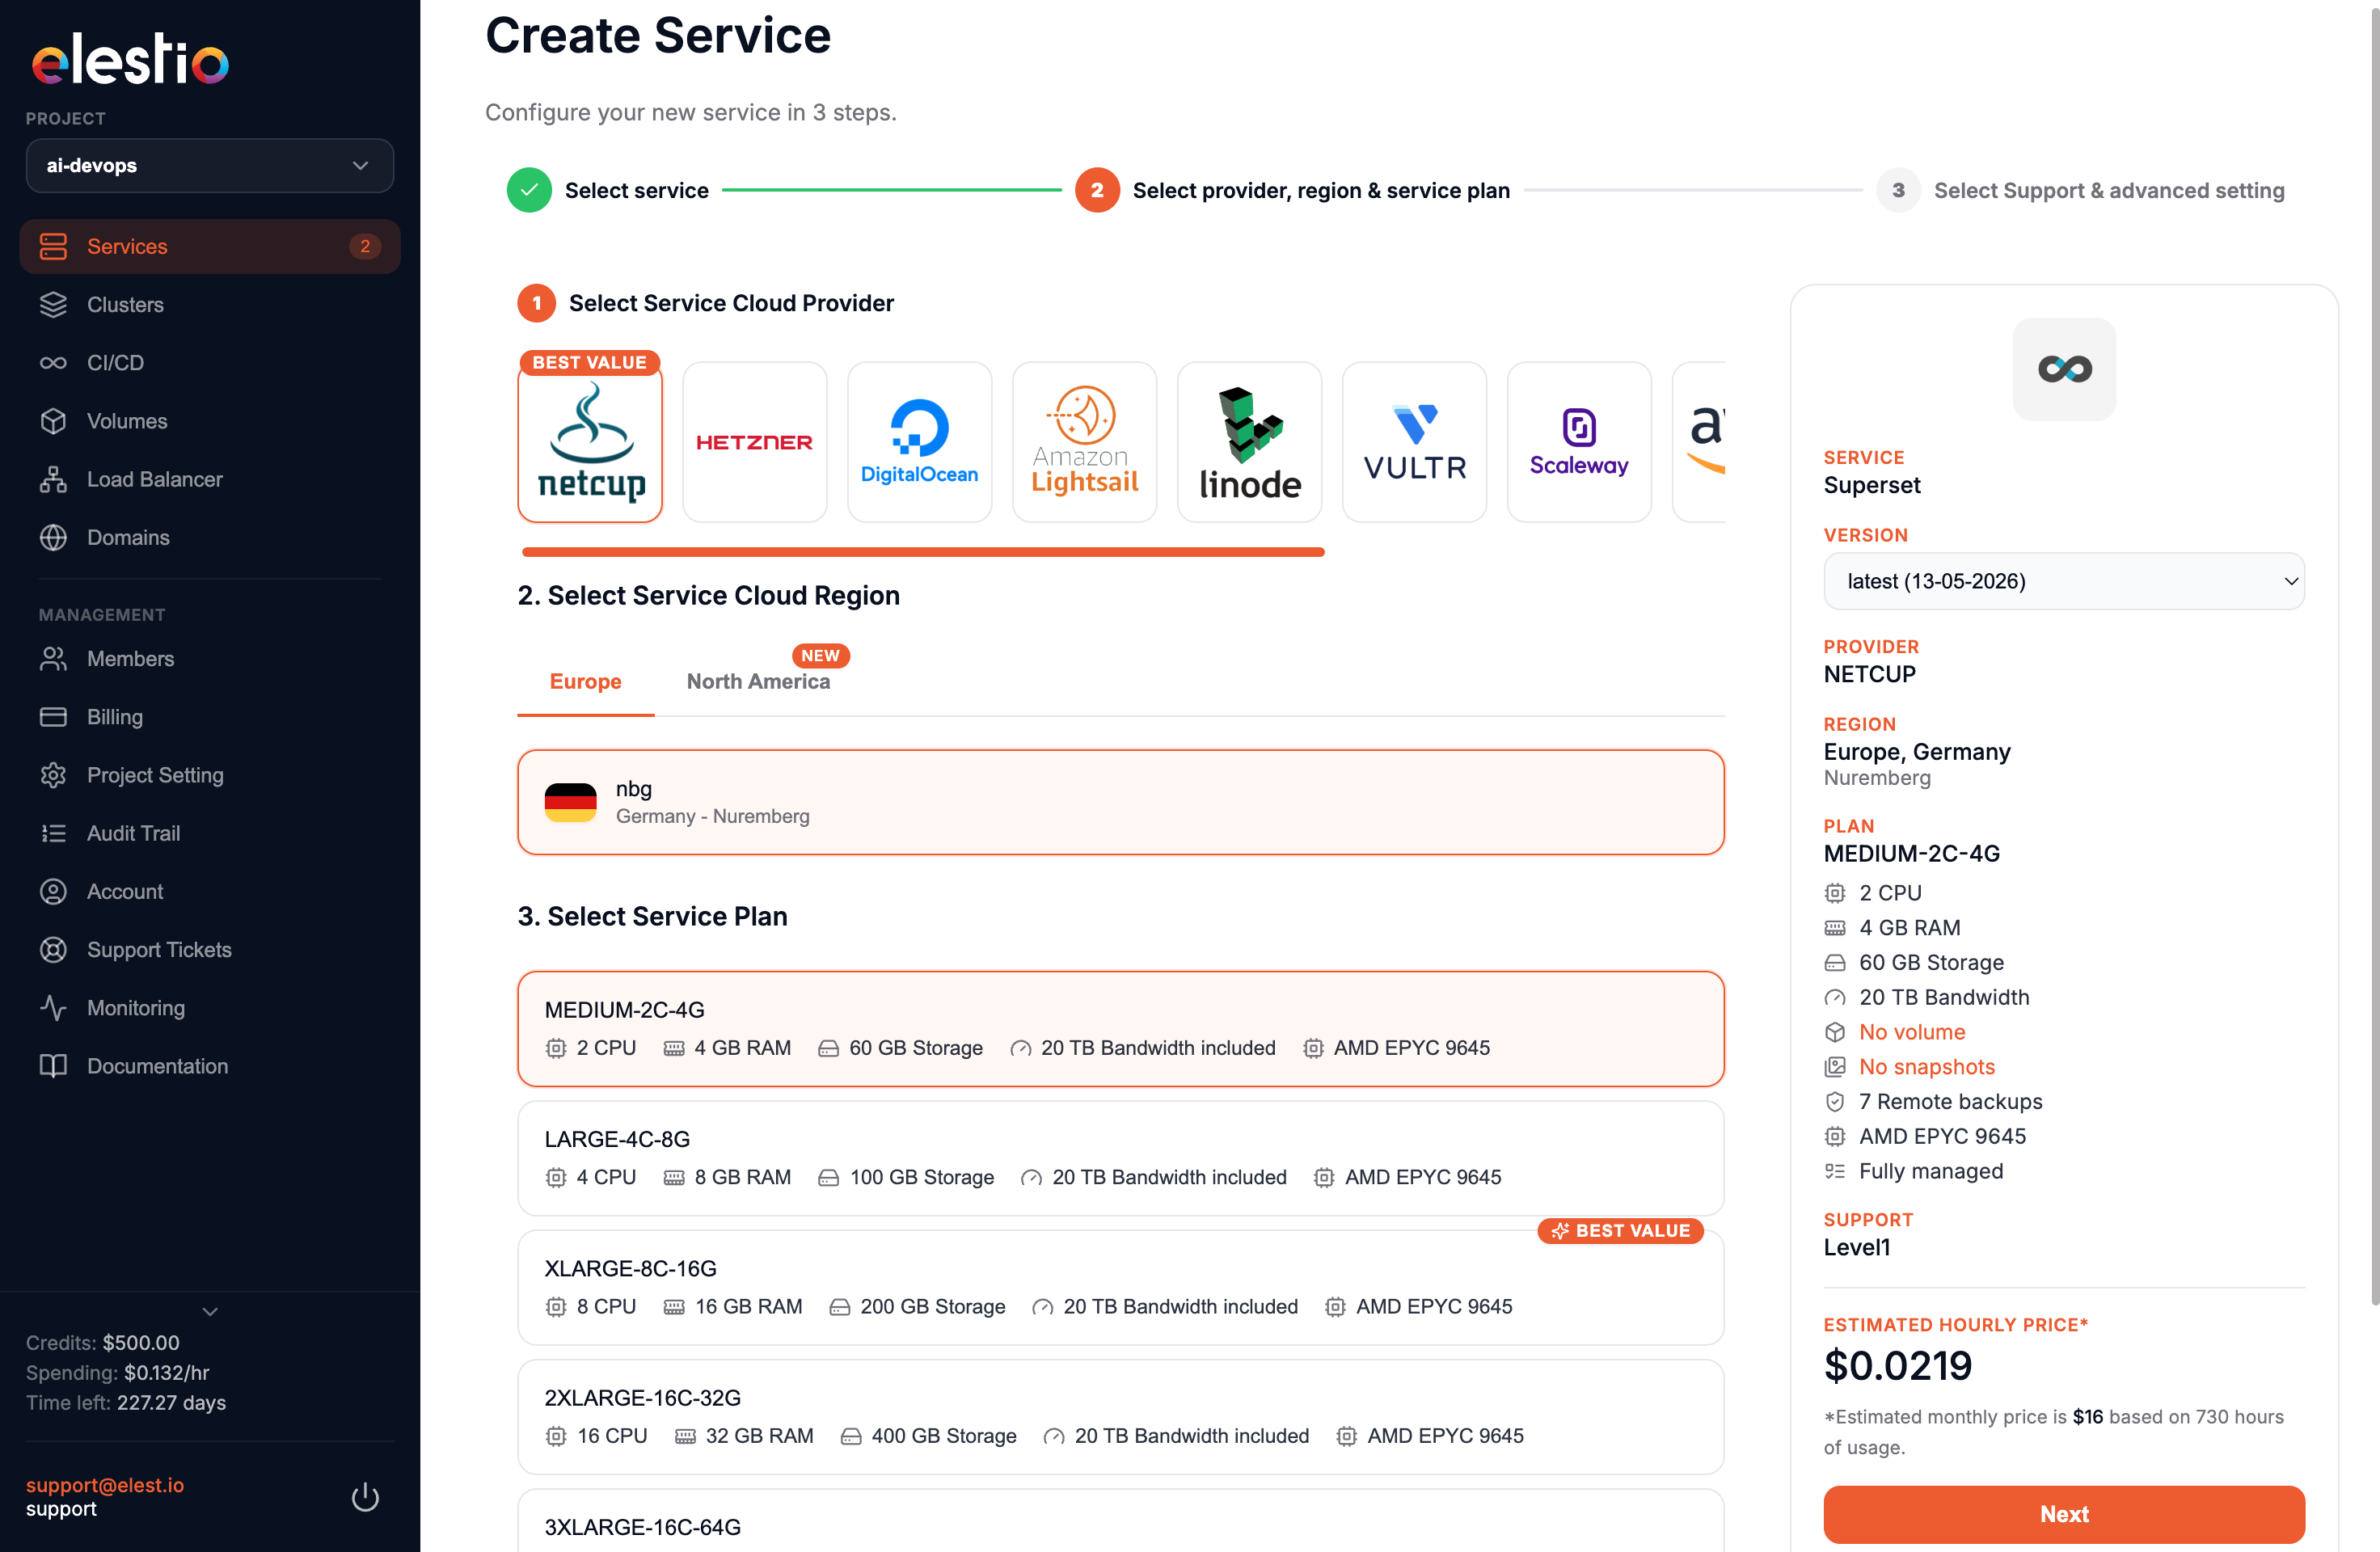
- Go to Create Services and select "Superset"
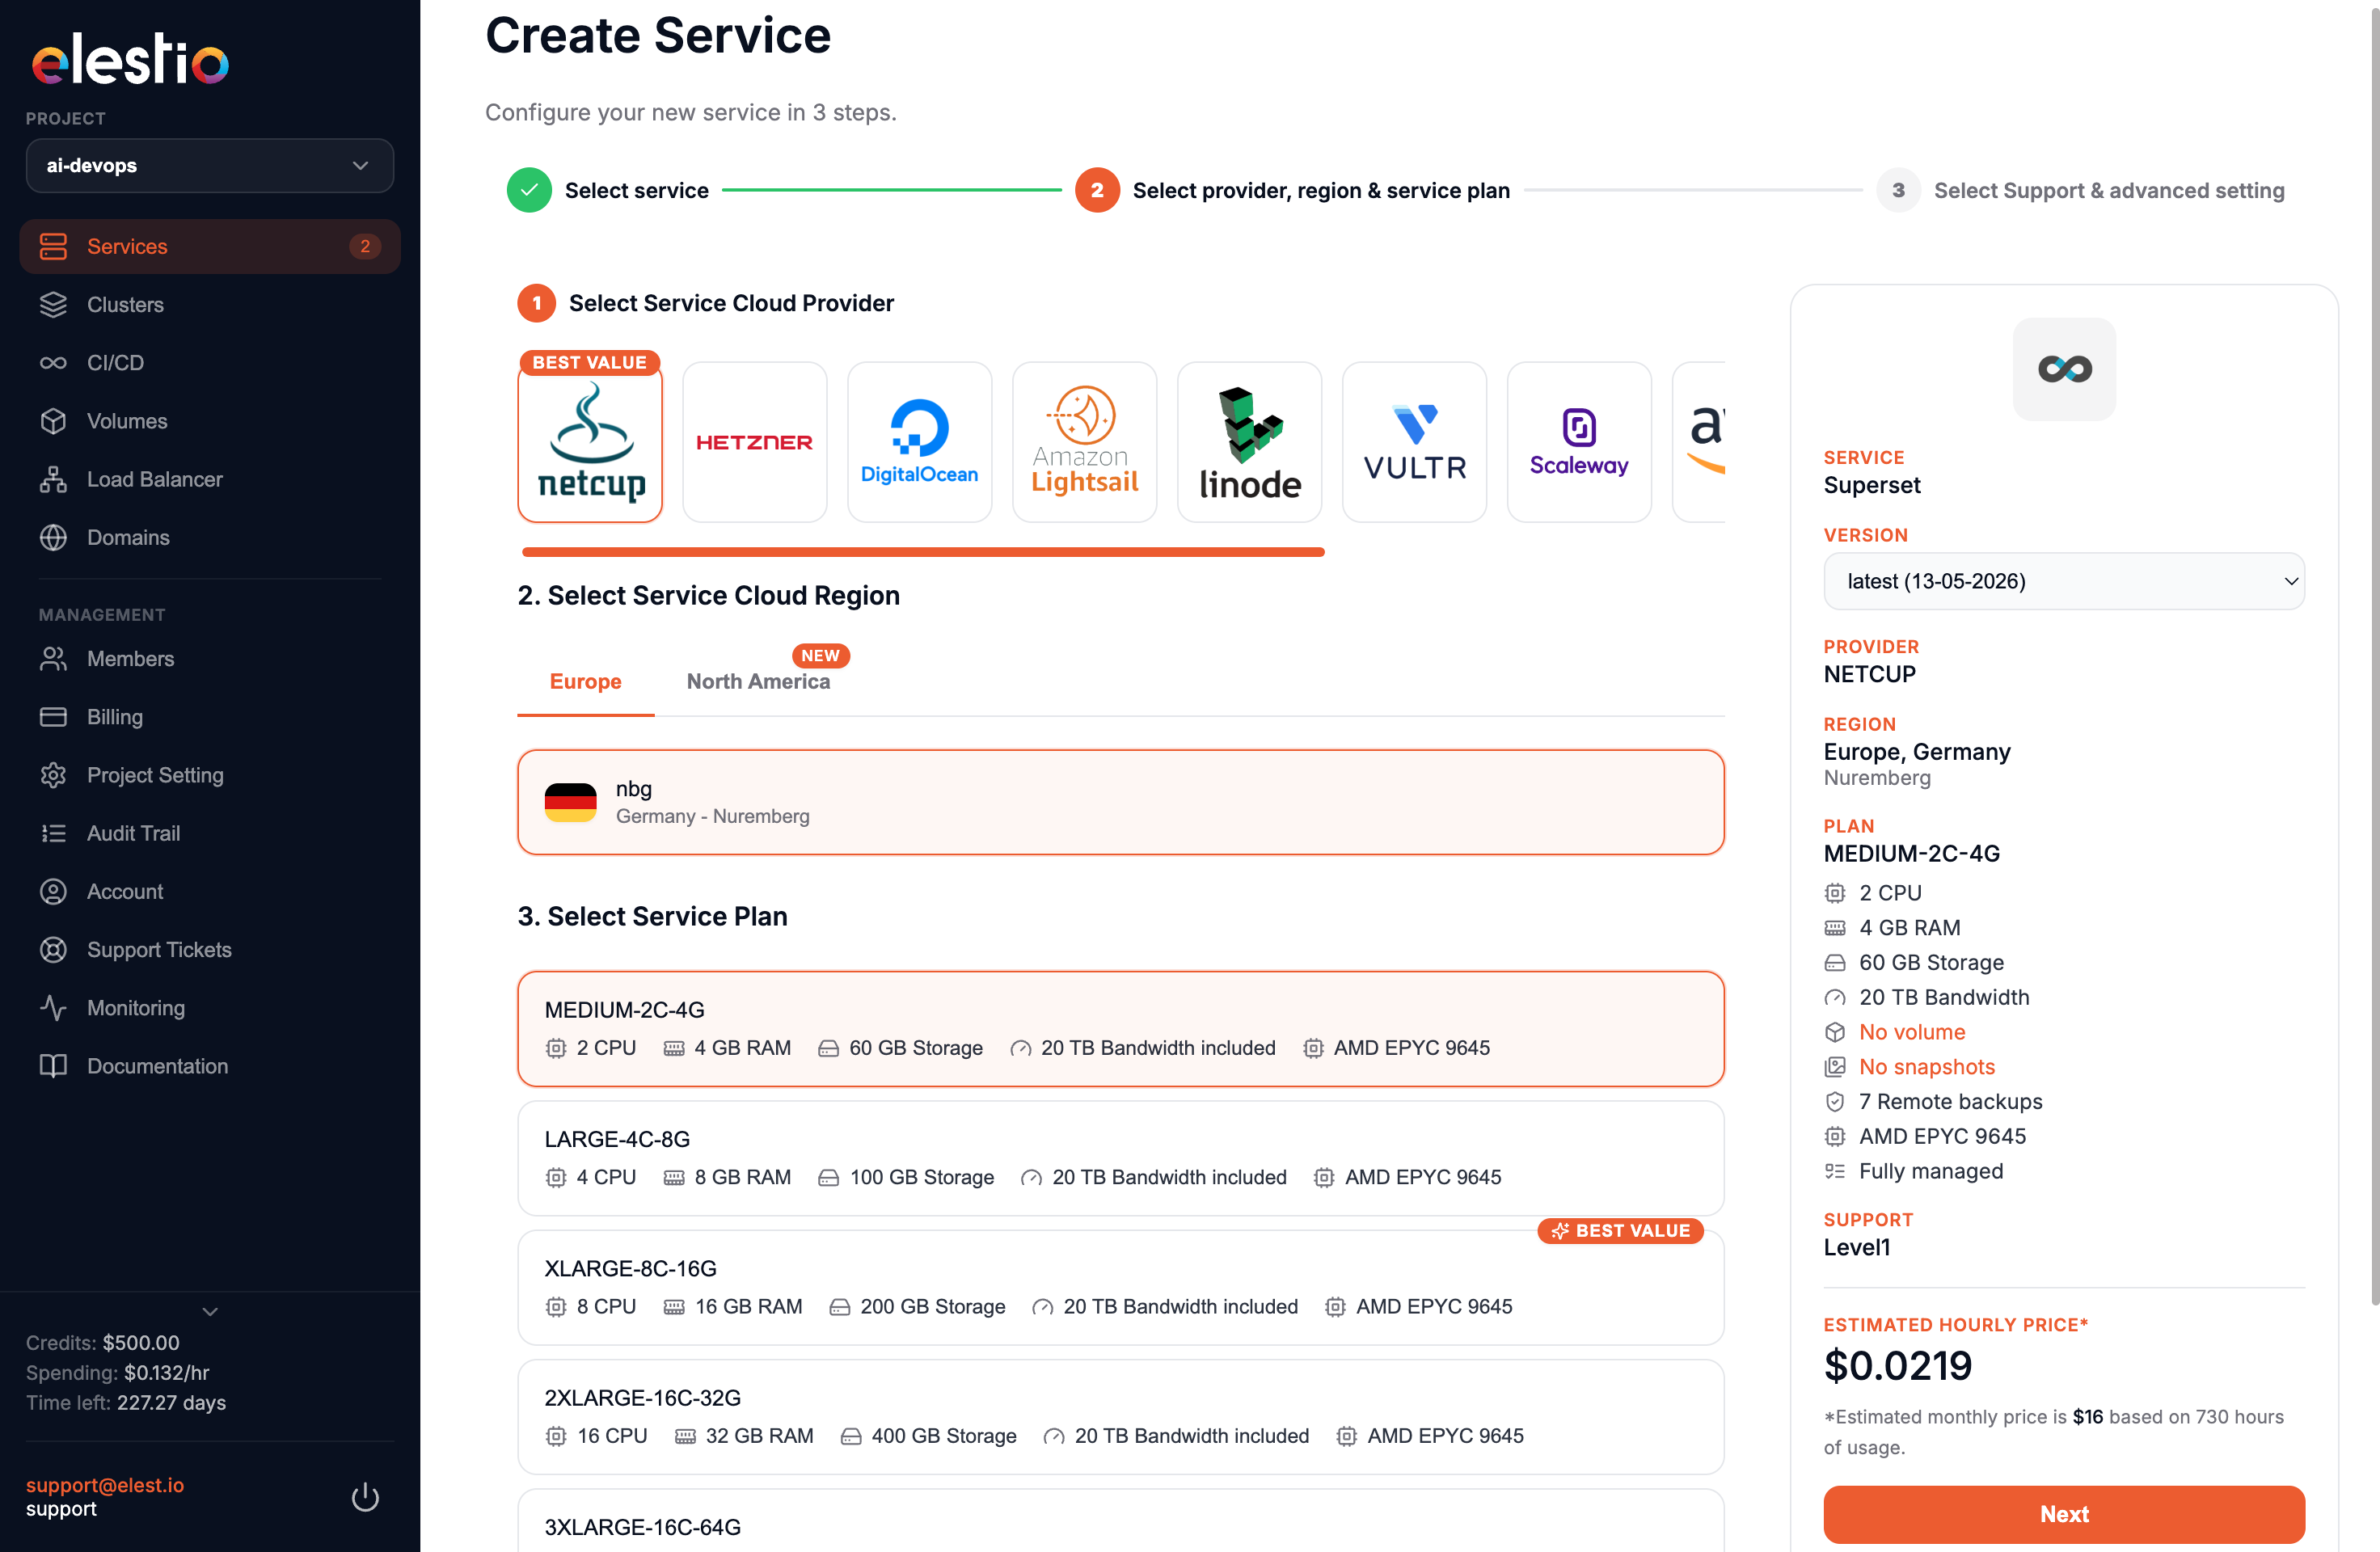
- Select service provider, region, and service information
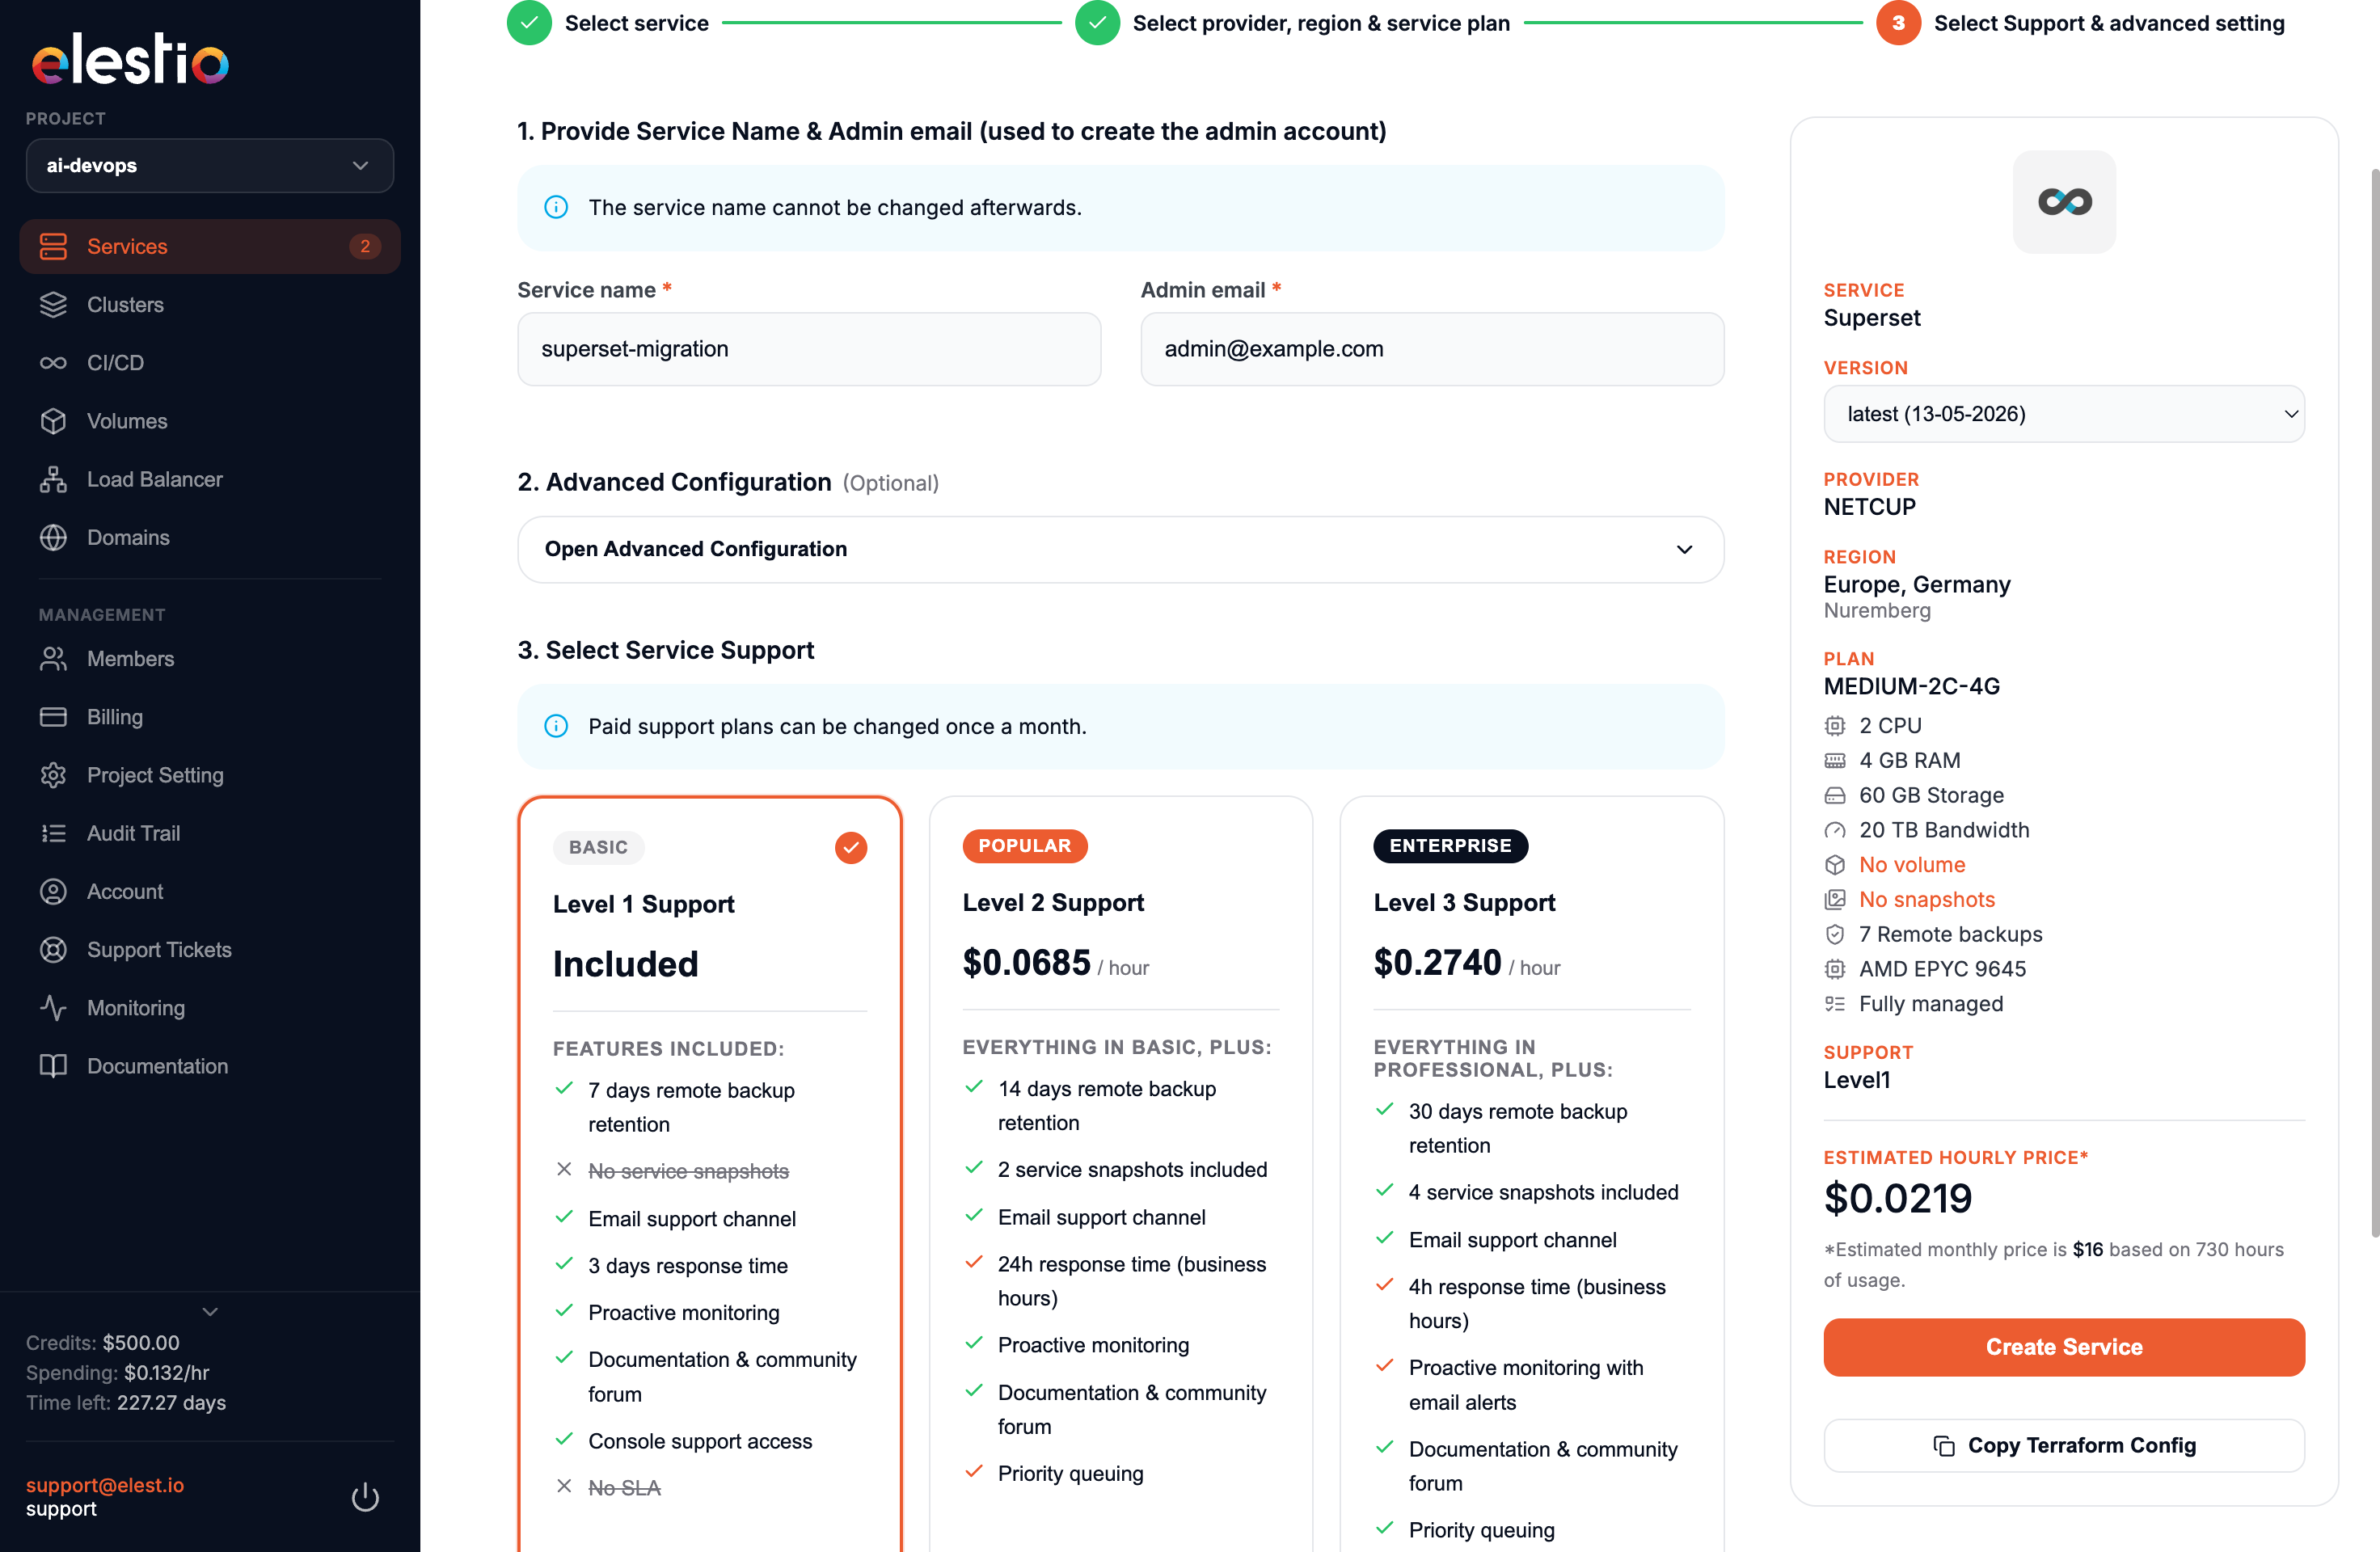
- Name your service, configurations, and support layer, and hit "Create Service"
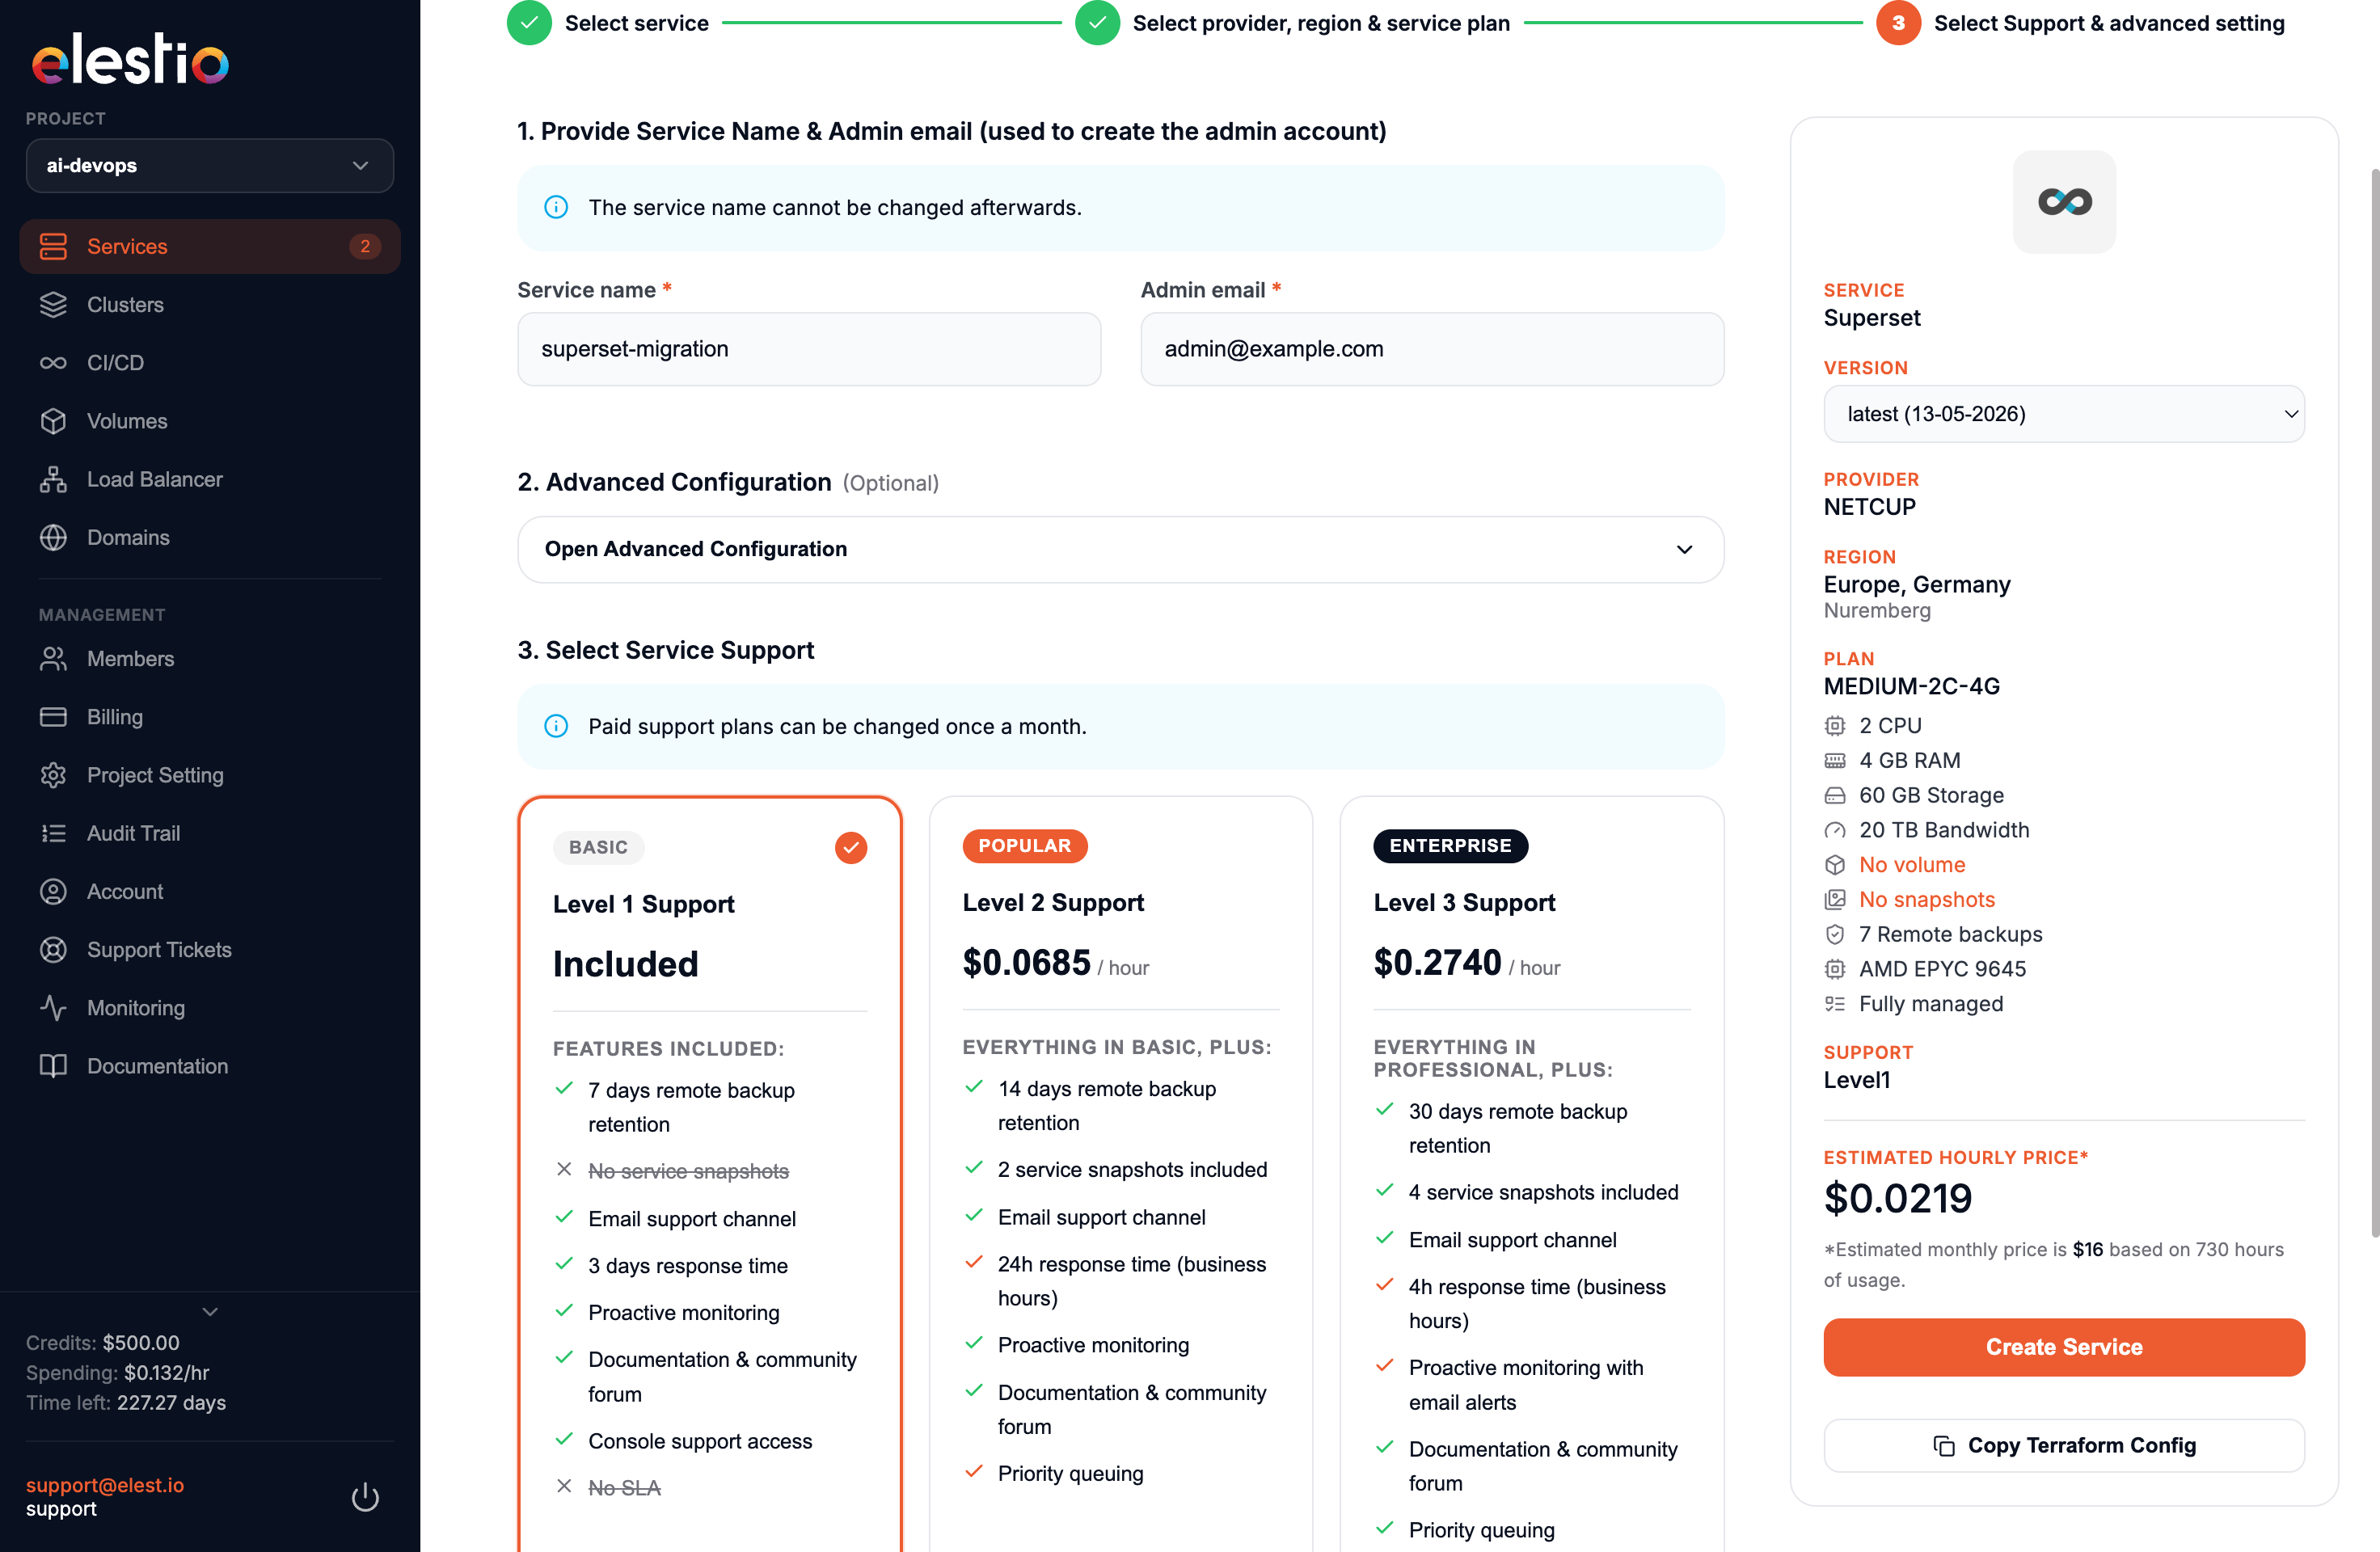
- Wait for deployment to complete (usually 5-10 minutes)
Step 3: Accessing Your New Superset Instance
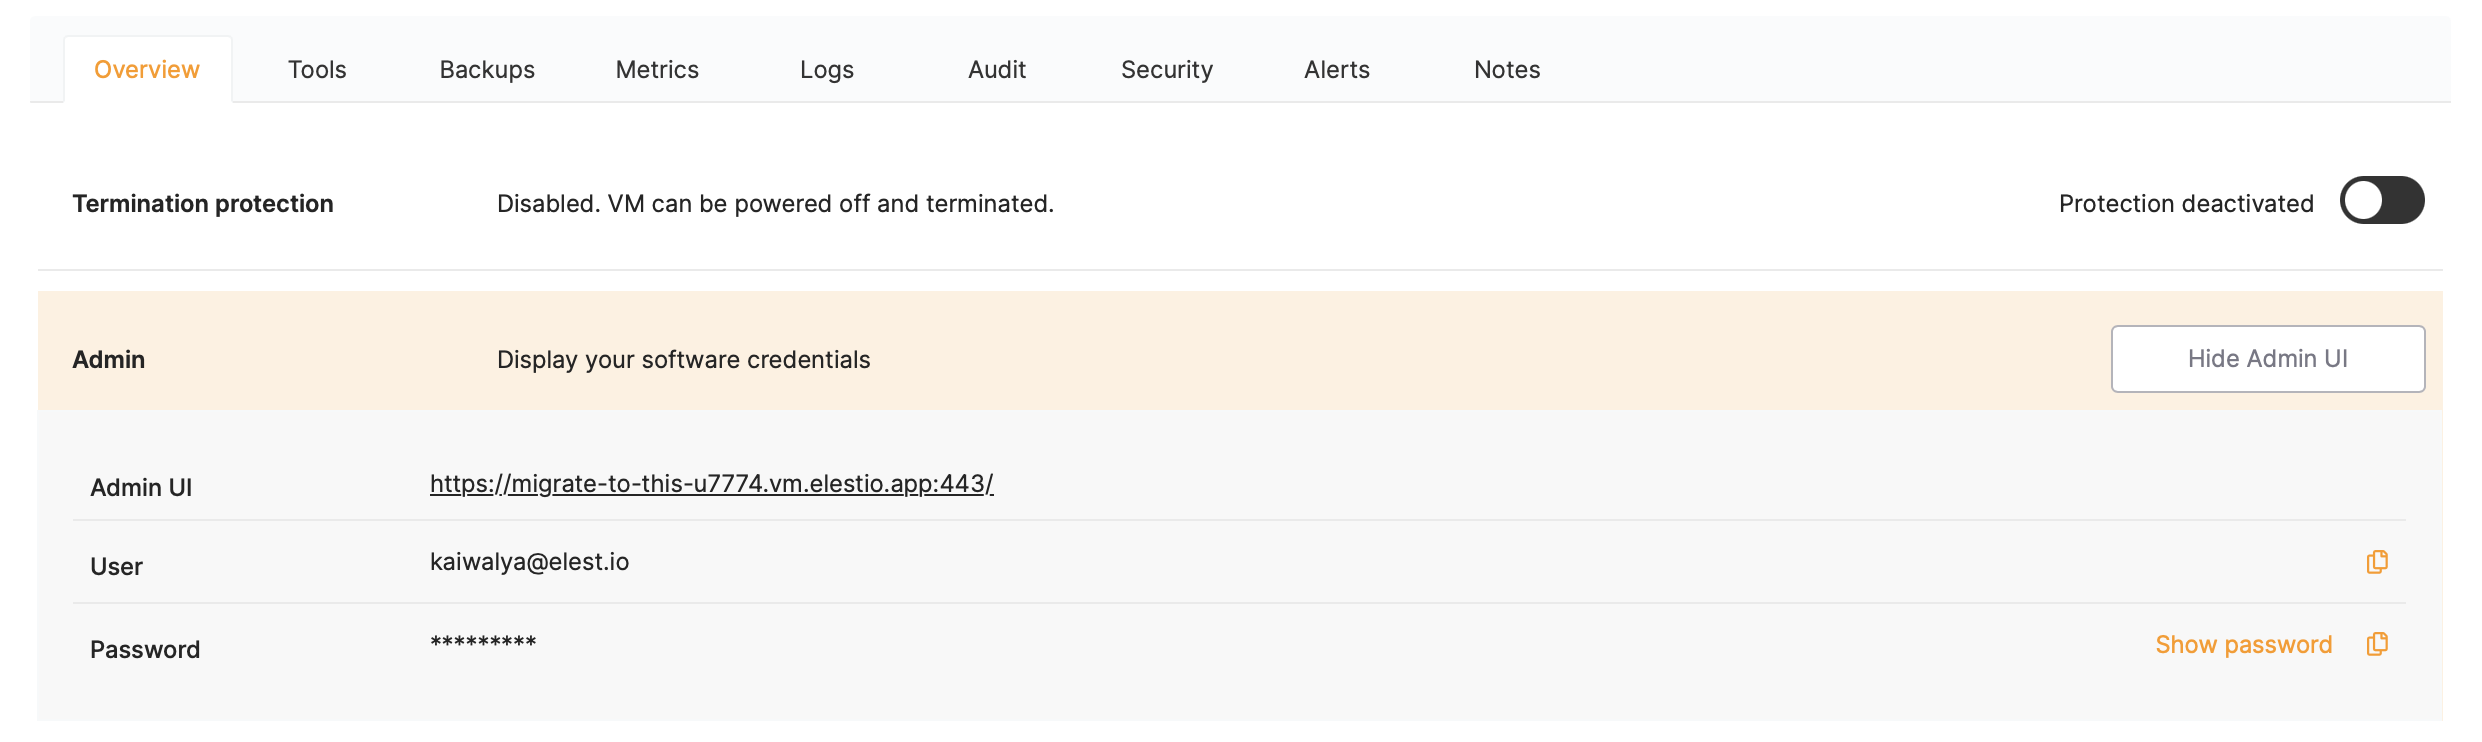
- Once deployed, head over to the service details and use the credentials provided under "Admin UI" to access the Superset dashboard.
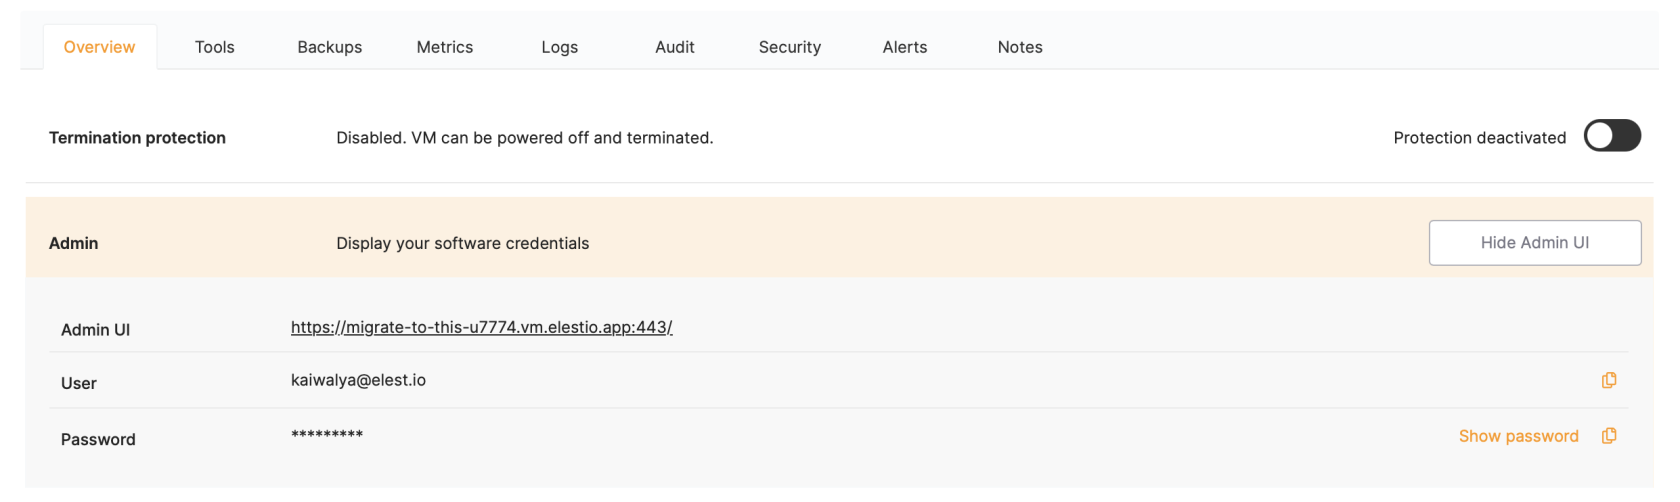
- Log in with the provided admin credentials
- You should see a clean Superset installation ready for data import
Step 4: Importing Dashboards and Charts
Import Dashboards
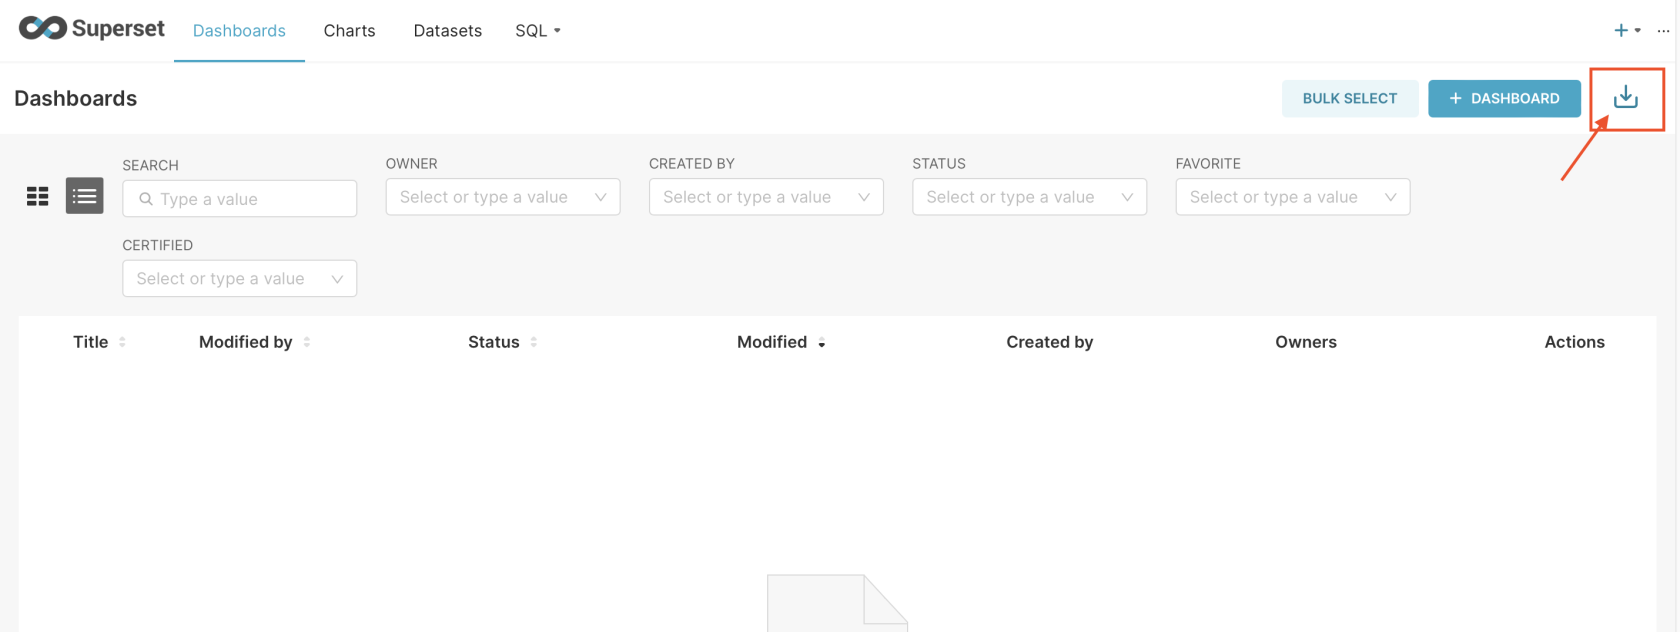
- Once logged in, head over to the Dashboard tab
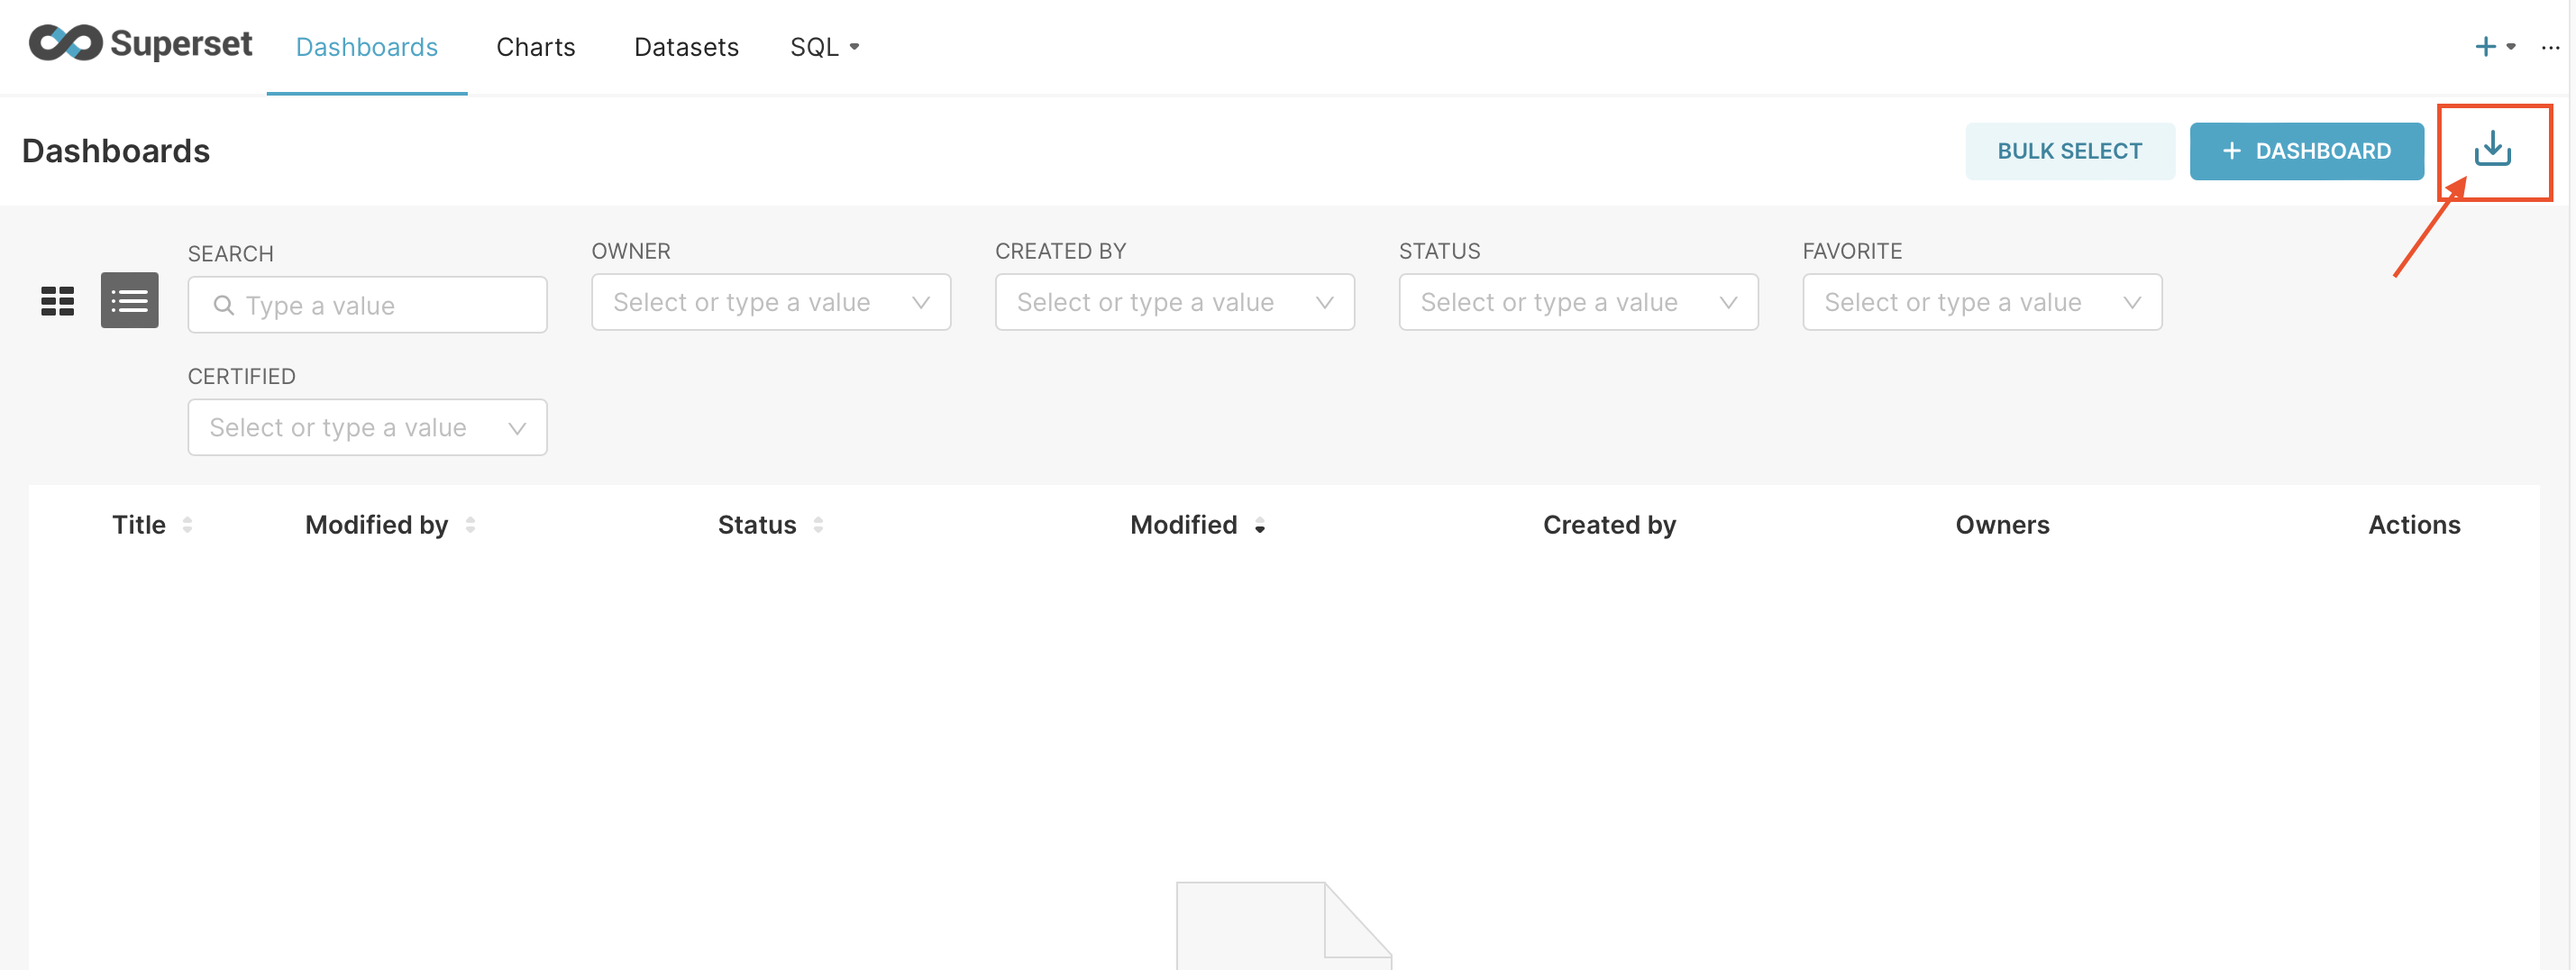
- Click on the import button as shown in the image
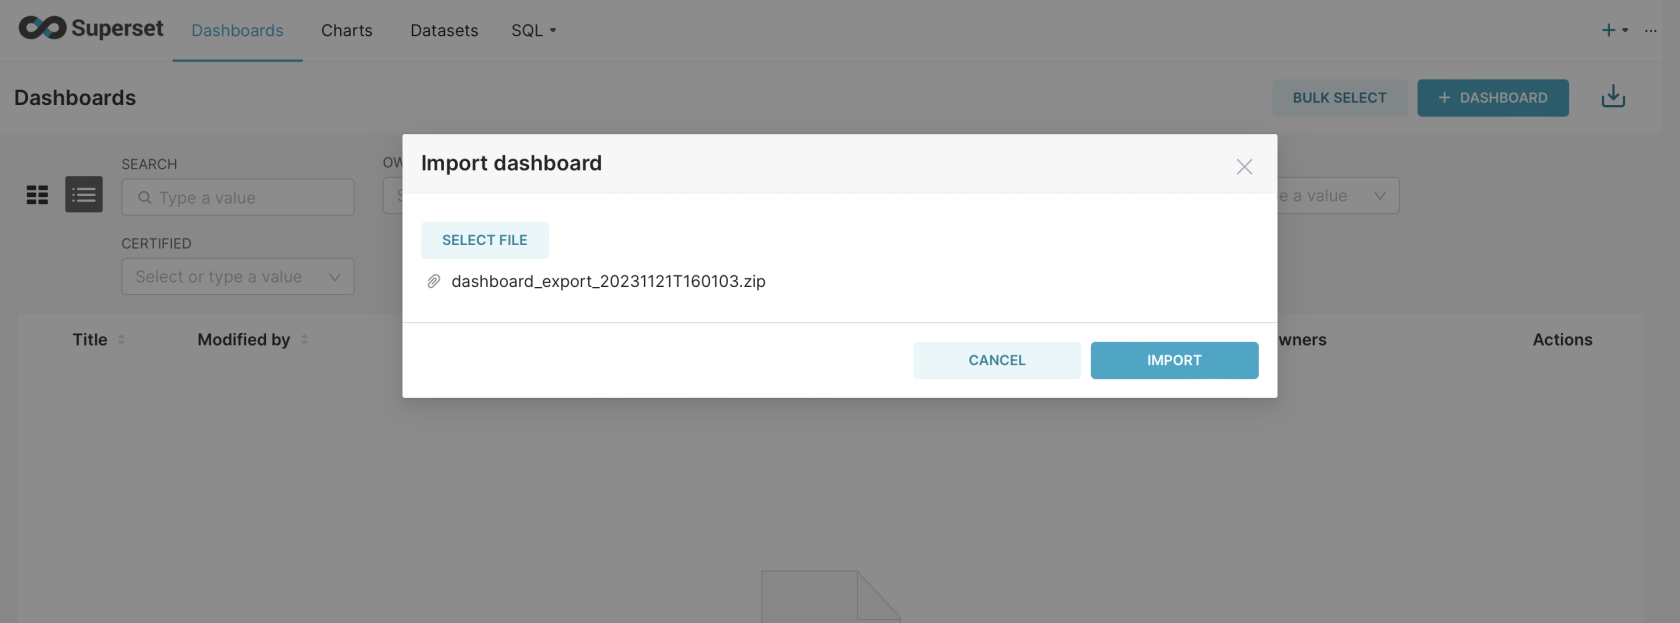
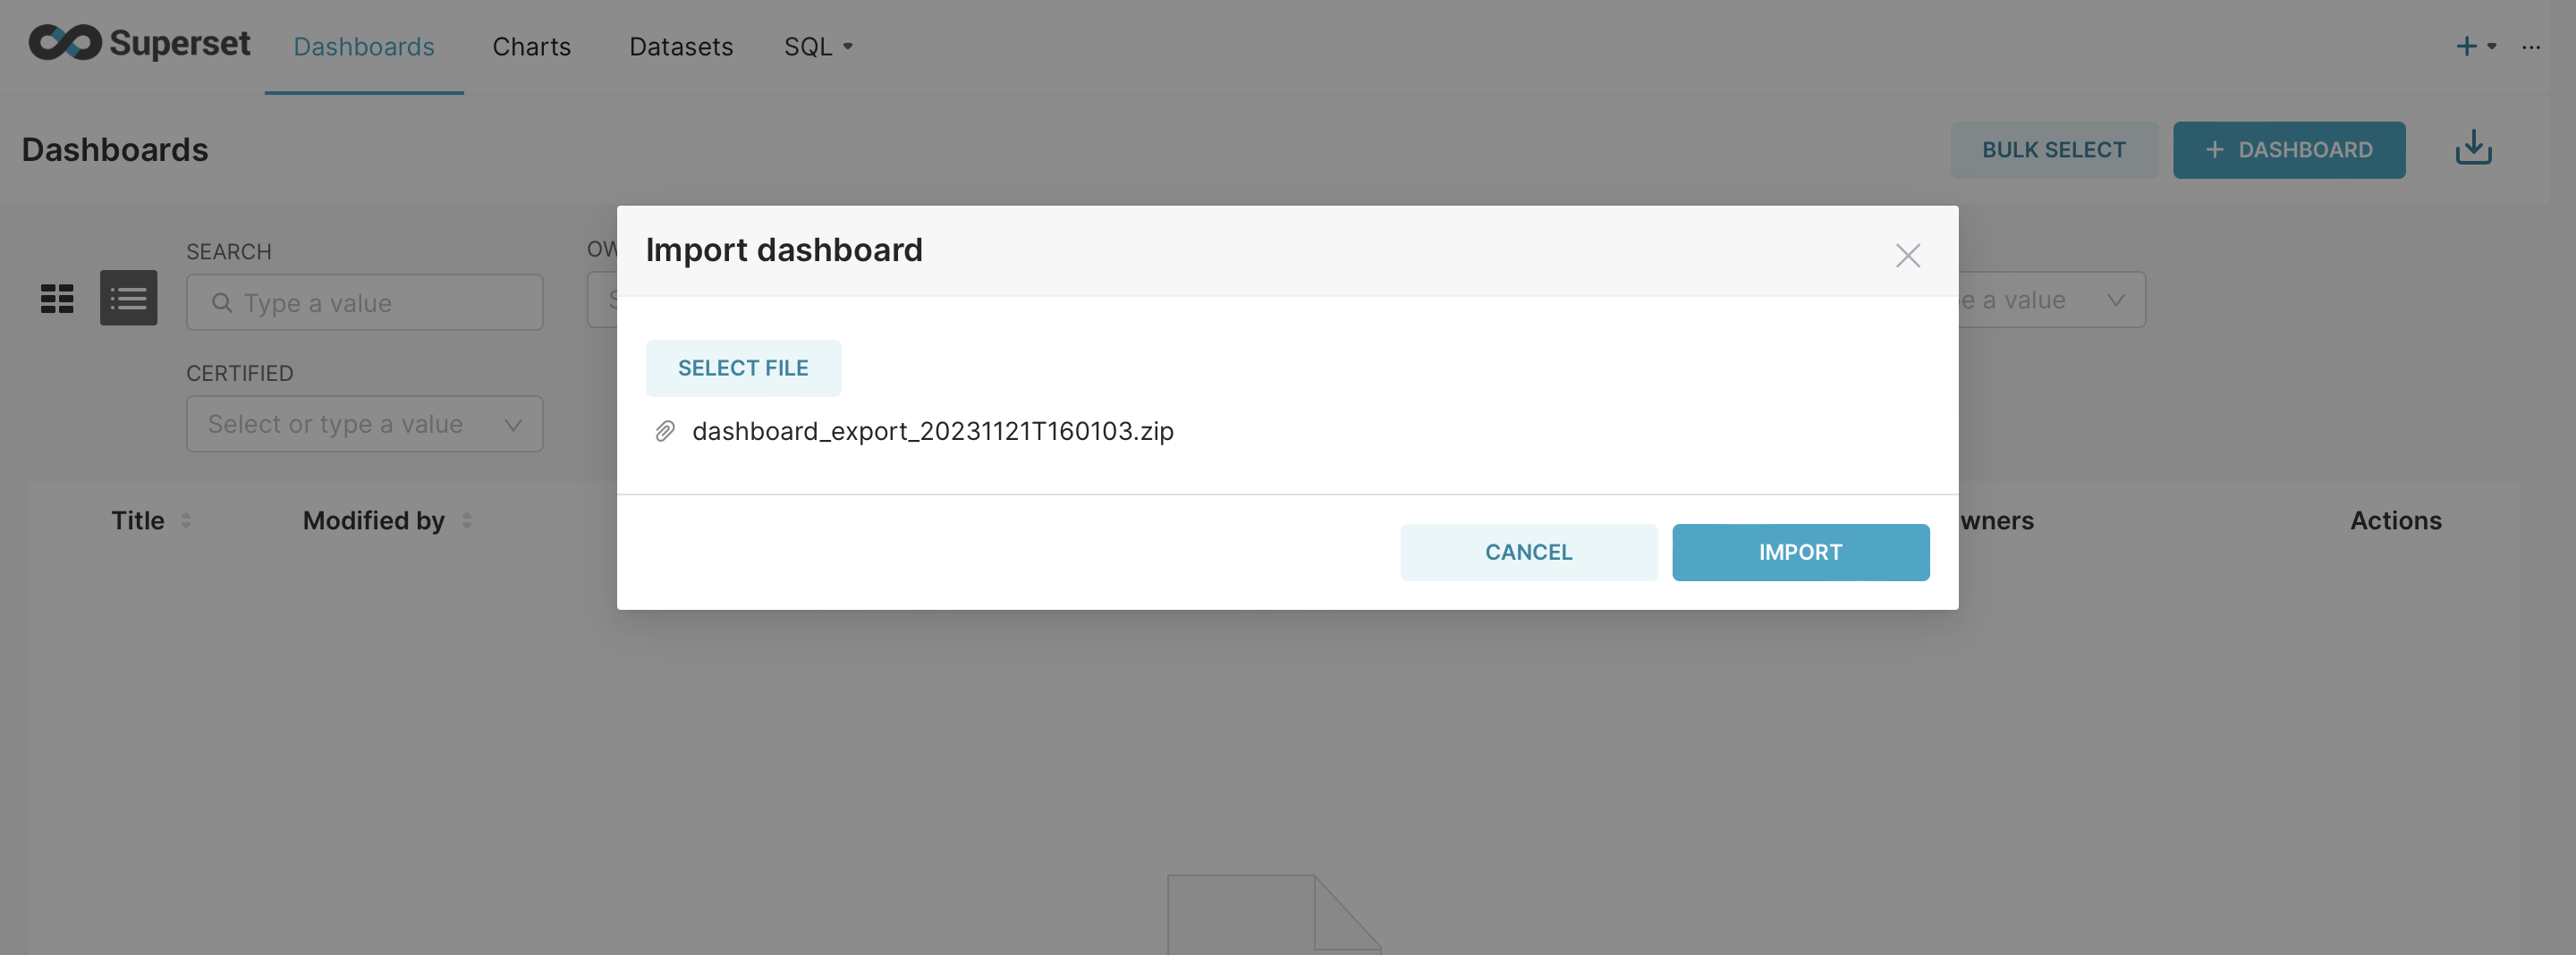
- Click on "Select File" select the export (.zip) you exported from the previous step and click on "Import"
- Wait for the import process to complete
Import Charts
Repeat the same process for charts:
- Navigate to the Charts section
- Click Import and select your charts .zip file
- Wait for import completion
Step 5: Database Configuration
After importing your dashboards and charts, you need to reconnect to your data sources:
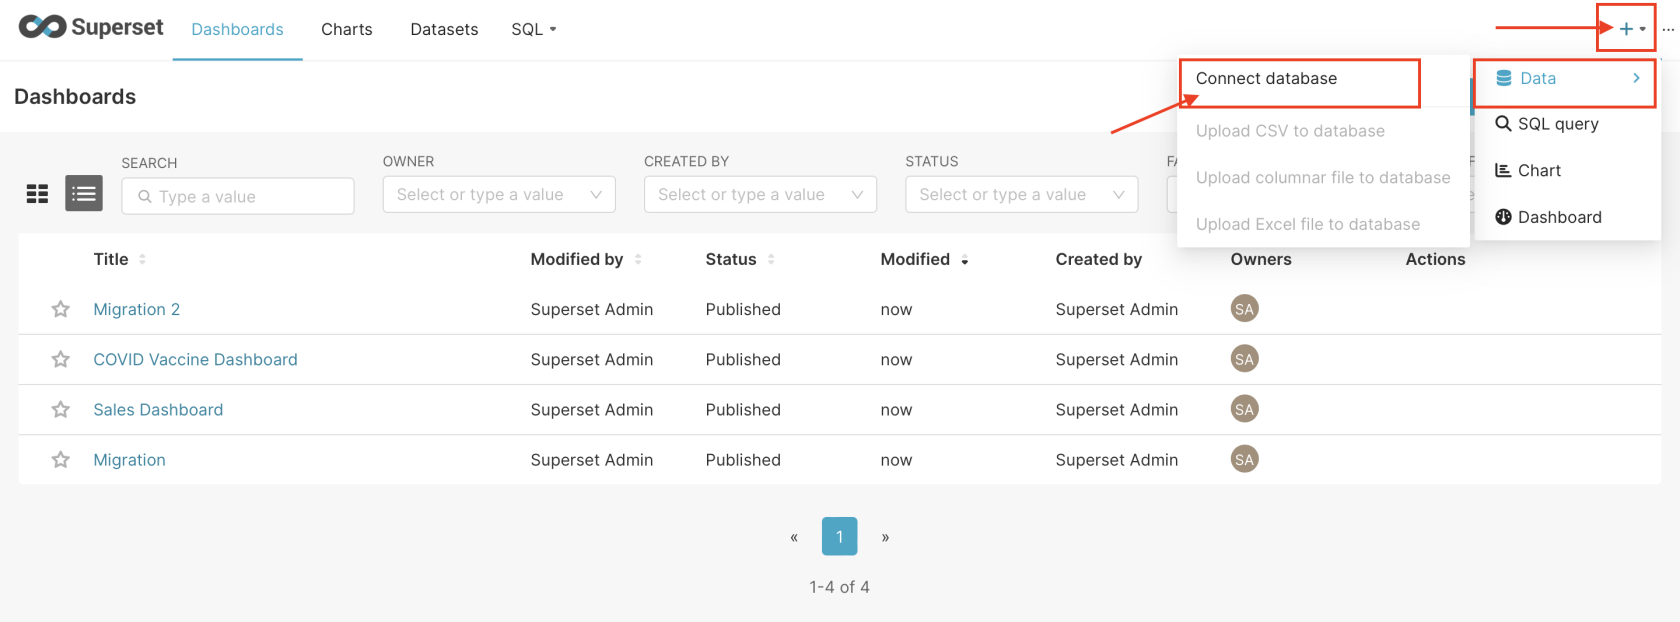
- Navigate to Settings → Database Connections
- Click "+ DATABASE" to add a new connection
- Configure your database connections with the appropriate details:
- Database Type (PostgreSQL, MySQL, etc.)
- Host and Port
- Database Name
- Username and Password
- Additional Parameters (if needed)
Supported Database Types
Superset on Elestio supports connections to:
- PostgreSQL
- MySQL/MariaDB
- SQLite
- Oracle
- Microsoft SQL Server
- Google BigQuery
- Amazon Redshift
- And many more...
Step 6: Testing the Migration
- You have successfully migrated to Elestio, now it's time for testing if your application is running as you intended
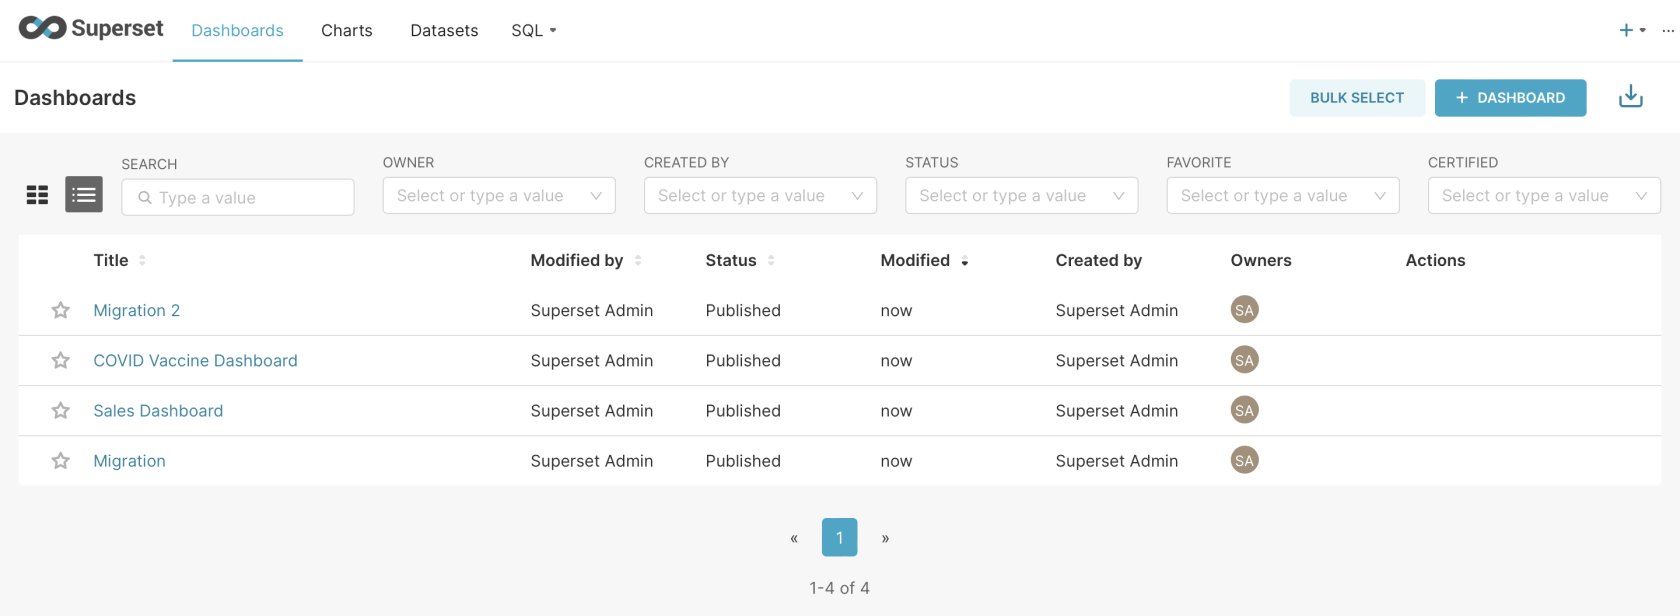
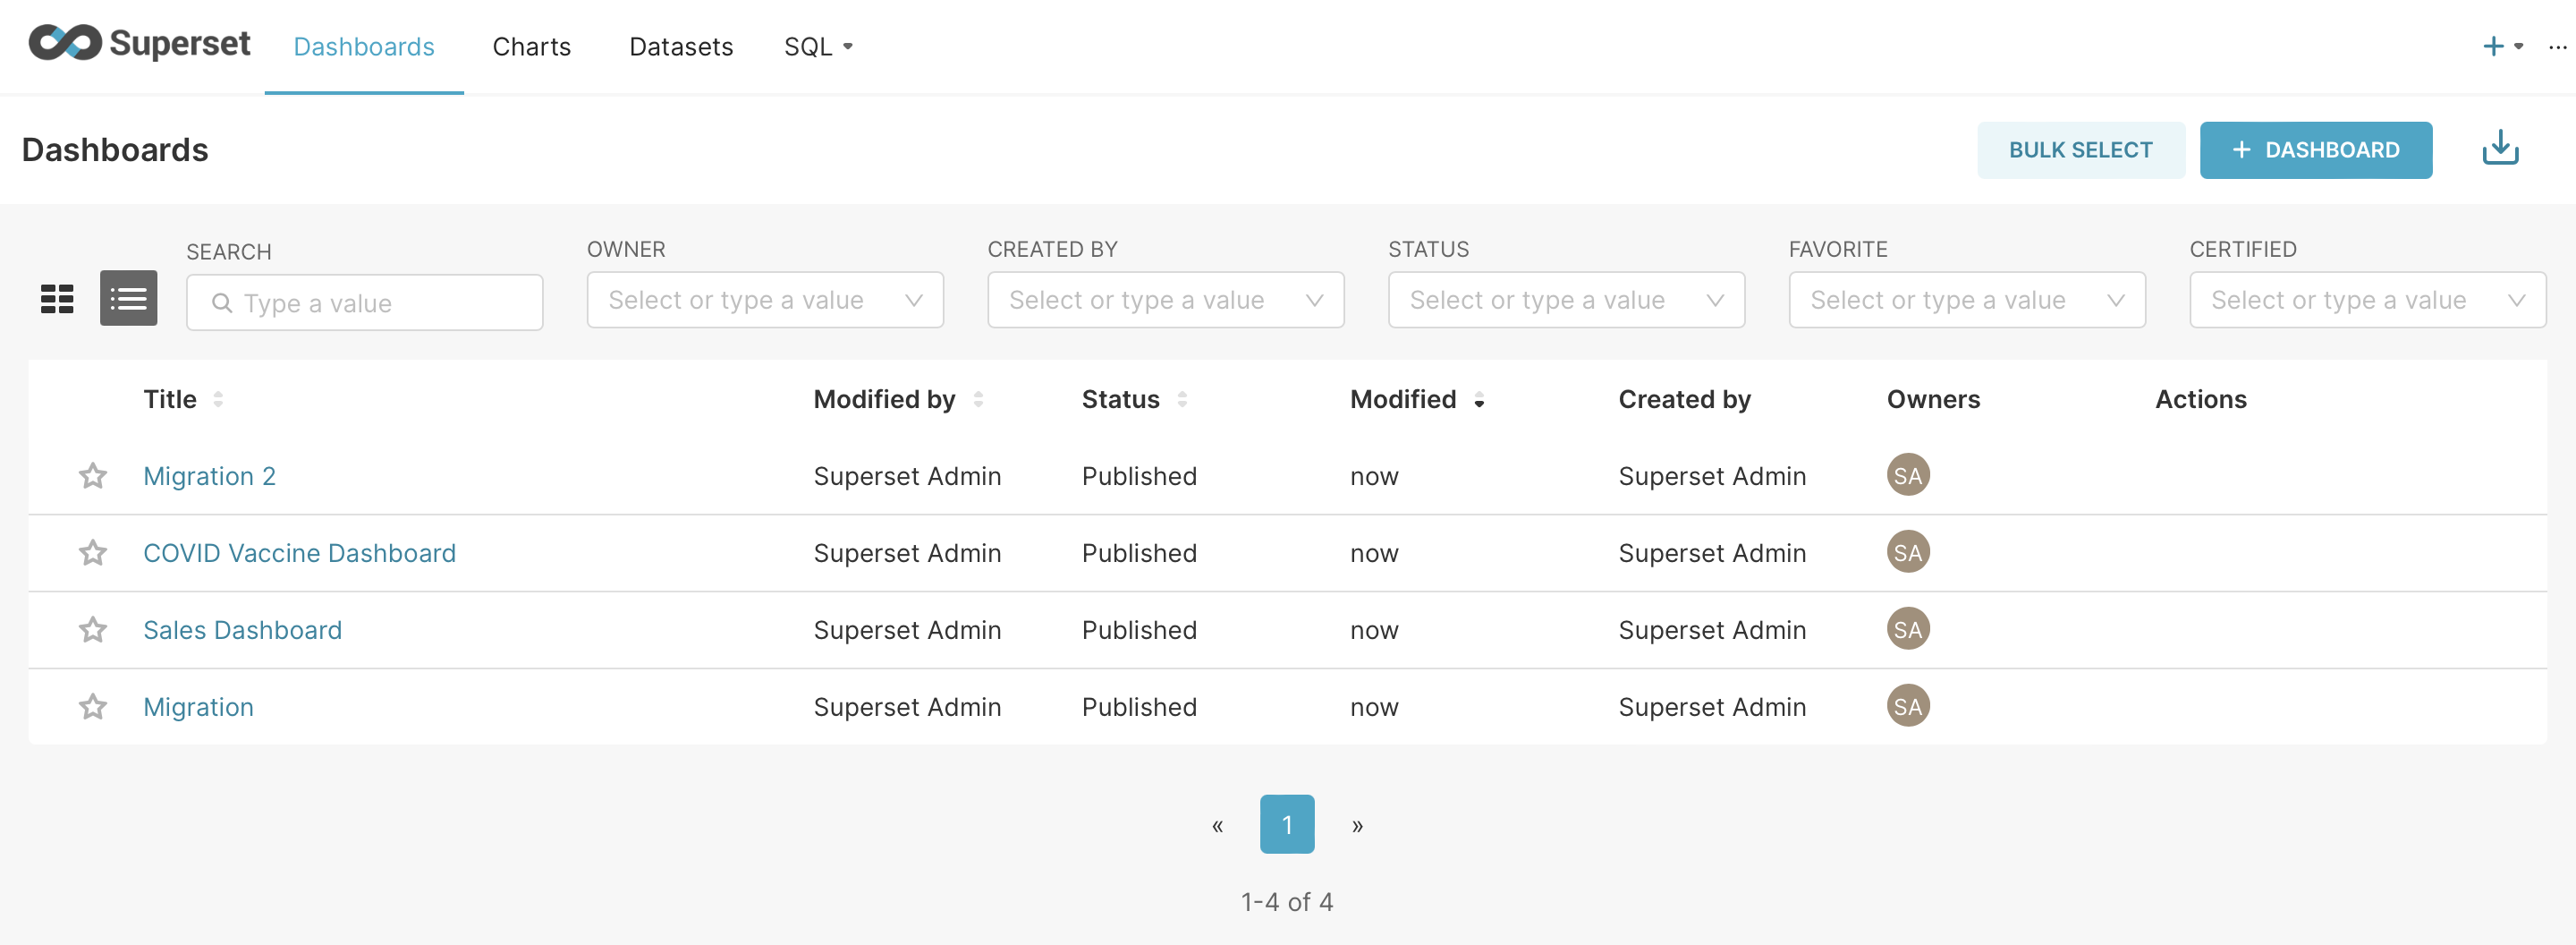
- Head over to the Dashboard section and check if you can still see the dashboards like your previous instance
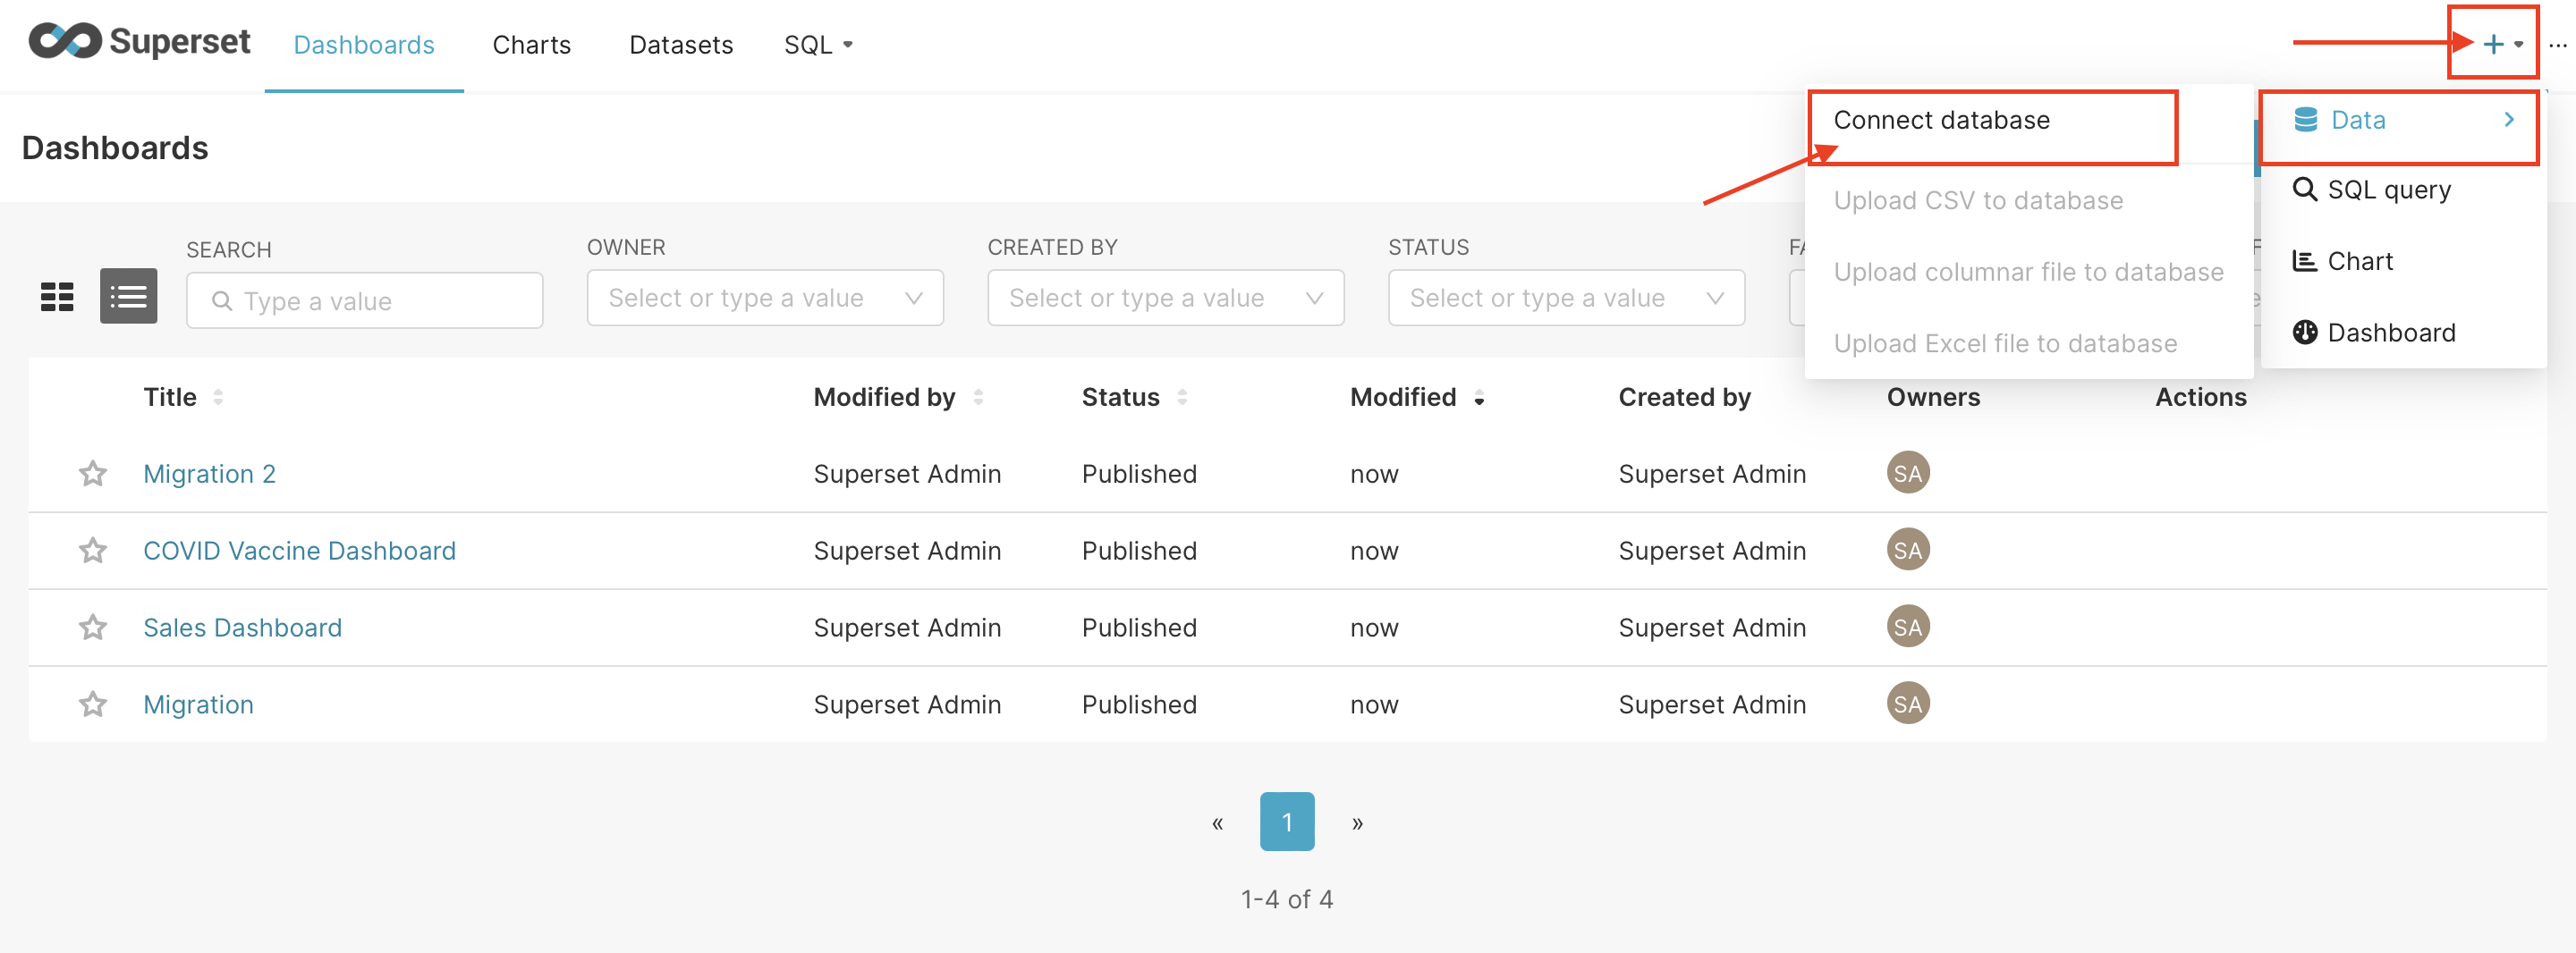
- Here as you can see, my new dashboards have successfully been imported as I showed during the import
- Test individual dashboards to ensure data is loading correctly
- Verify that all charts and visualizations are working
- Check that database connections are stable and performing well
Post-Migration Configuration
User Management
After migration, you may need to:
- Recreate User Accounts - Add users and assign appropriate roles
- Configure Authentication - Set up LDAP, OAuth, or other authentication methods
- Set Permissions - Configure dashboard and dataset access permissions
- Create User Groups - Organize users into logical groups for easier management
Performance Optimization
- Database Connection Pooling - Configure optimal connection settings
- Caching Configuration - Set up Redis or Memcached for better performance
- Query Optimization - Review and optimize slow-running queries
- Resource Monitoring - Set up monitoring for CPU, memory, and database performance
Security Considerations
- SSL Configuration - Ensure all connections use SSL/TLS
- Network Security - Configure firewall rules and VPC settings
- Data Security - Implement row-level security if needed
- Audit Logging - Enable audit logs for compliance requirements
Troubleshooting Common Issues
Import Failures
- Problem: Dashboard or chart import fails
- Solution: Check file format, ensure .zip files are not corrupted, verify version compatibility
Database Connection Issues
- Problem: Cannot connect to data sources
- Solution: Verify connection parameters, check network connectivity, ensure database is accessible
Missing Dependencies
- Problem: Charts don't render properly
- Solution: Check that all required database drivers are installed, verify data source configurations
Performance Issues
- Problem: Slow dashboard loading
- Solution: Optimize queries, implement caching, check database performance, consider upgrading instance size
Advanced Migration Scenarios
Large Dataset Migration
For organizations with large datasets:
- Consider incremental migration approach
- Use database replication for minimal downtime
- Plan for extended migration windows
- Implement data validation checkpoints
Custom Visualization Migration
If you have custom visualizations:
- Export custom visualization plugins
- Install plugins on new Superset instance
- Test custom visualizations thoroughly
- Update plugin configurations as needed
Need Additional Help?
Stuck somewhere? We are here to help you, go ahead and create a support ticket and we will get back to you in no time.
Our support team can assist with:
- Complex database configurations
- Custom visualization migrations
- Performance optimization
- Large-scale data migrations
- Integration with other Elestio services
Related Guides
- Database Migration - Migrate your underlying databases
- Managed Services Migration - General guide for supported services
- Best Practices - Tips and troubleshooting
- Custom Applications - For additional customizations