Migrate Jenkins Pipeline to Elestio
This migration document focuses on Jenkins, which is supported by Elestio. Find the complete software list here
This document provides a step-by-step guide for migrating your existing Jenkins pipelines to Elestio. Elestio is designed to enhance performance, scalability, and overall system efficiency.
1️⃣ Pre-requisites
- Create Account: Set up your account on Elestio
- Access Current Jenkins: Log in to your Jenkins admin dashboard on the server where your current Jenkins is deployed
- Check Jenkins Health: Ensure your application works correctly with no critical errors in logs
- Version Matching: Use the same Jenkins version on Elestio as your current service to prevent migration failures
2️⃣ Setting Up Jenkins on Elestio
Step 1: Deploy Jenkins Service
- Log in to your Elestio account
- Go to "Create Services" and select "Jenkins"
- Select your cloud service provider, region, and service plan, then click "Next"
Step 2: Configure Service
Select service support level, name your Jenkins instance, and click "Create Service". This creates a Jenkins instance on your chosen cloud infrastructure.
Step 3: Access Deployment Information
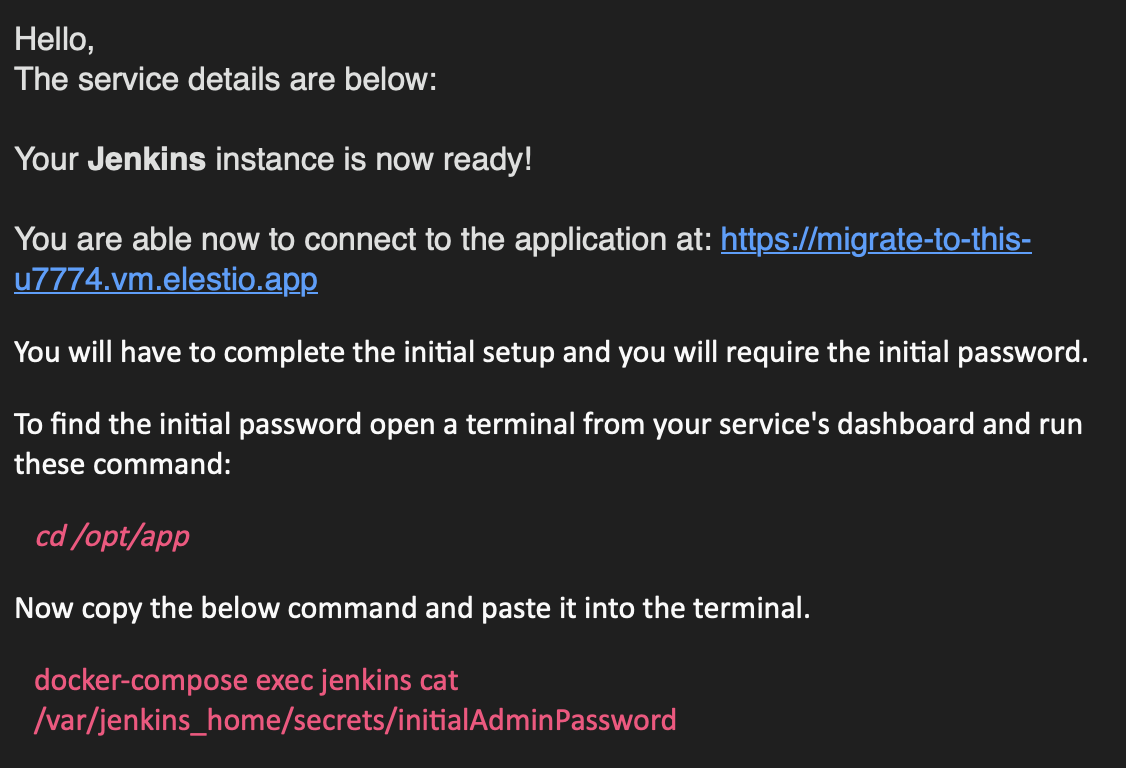
After deployment, check your email (linked to your account or specified during setup) for deployment details including:
- Dashboard link
- Initial admin password
- Access credentials
Step 4: Initial Login
Your email should contain information similar to this:
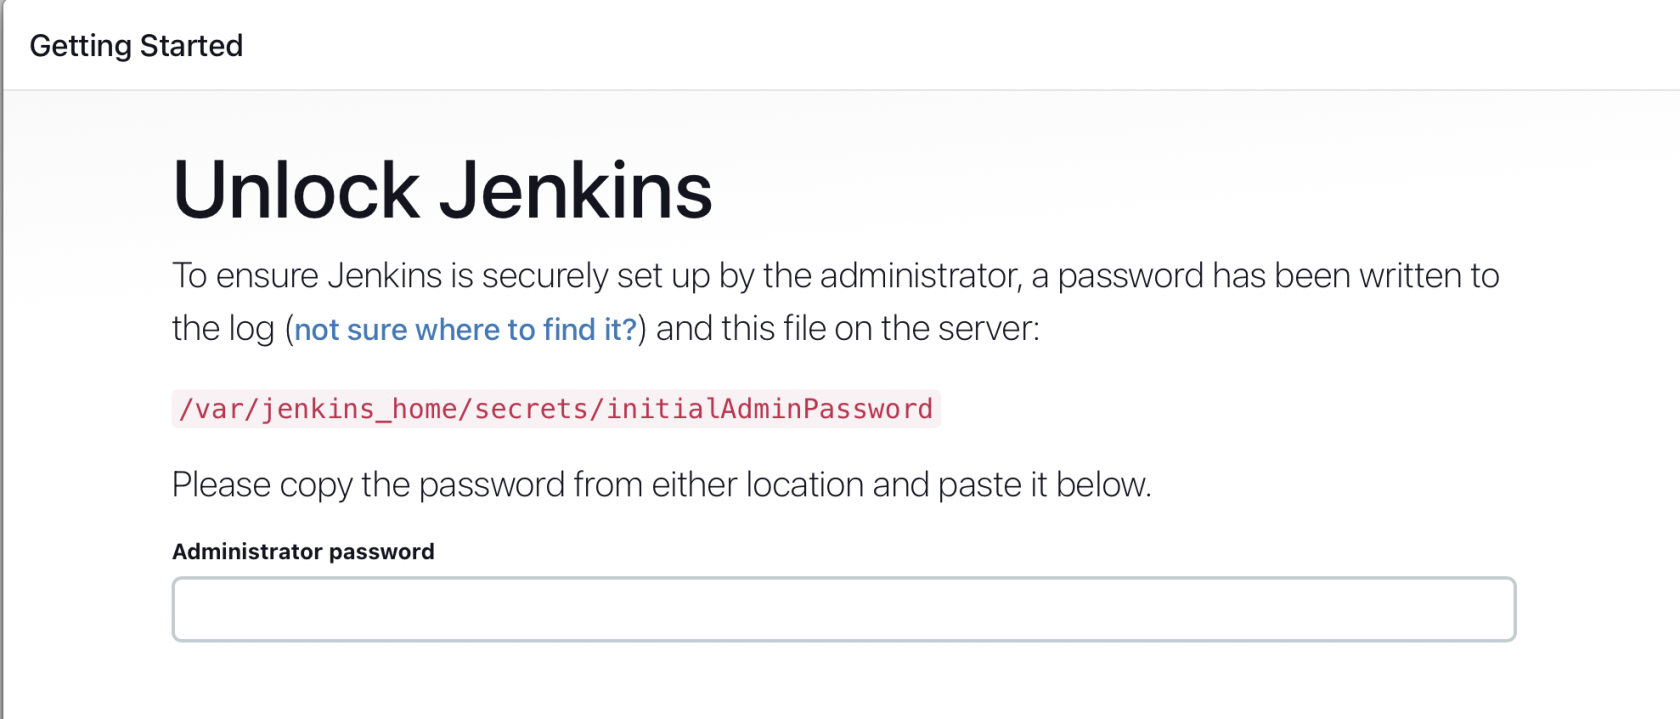
Copy the password from the email and enter it in the Jenkins login screen:
3️⃣ Importing Pipeline Data
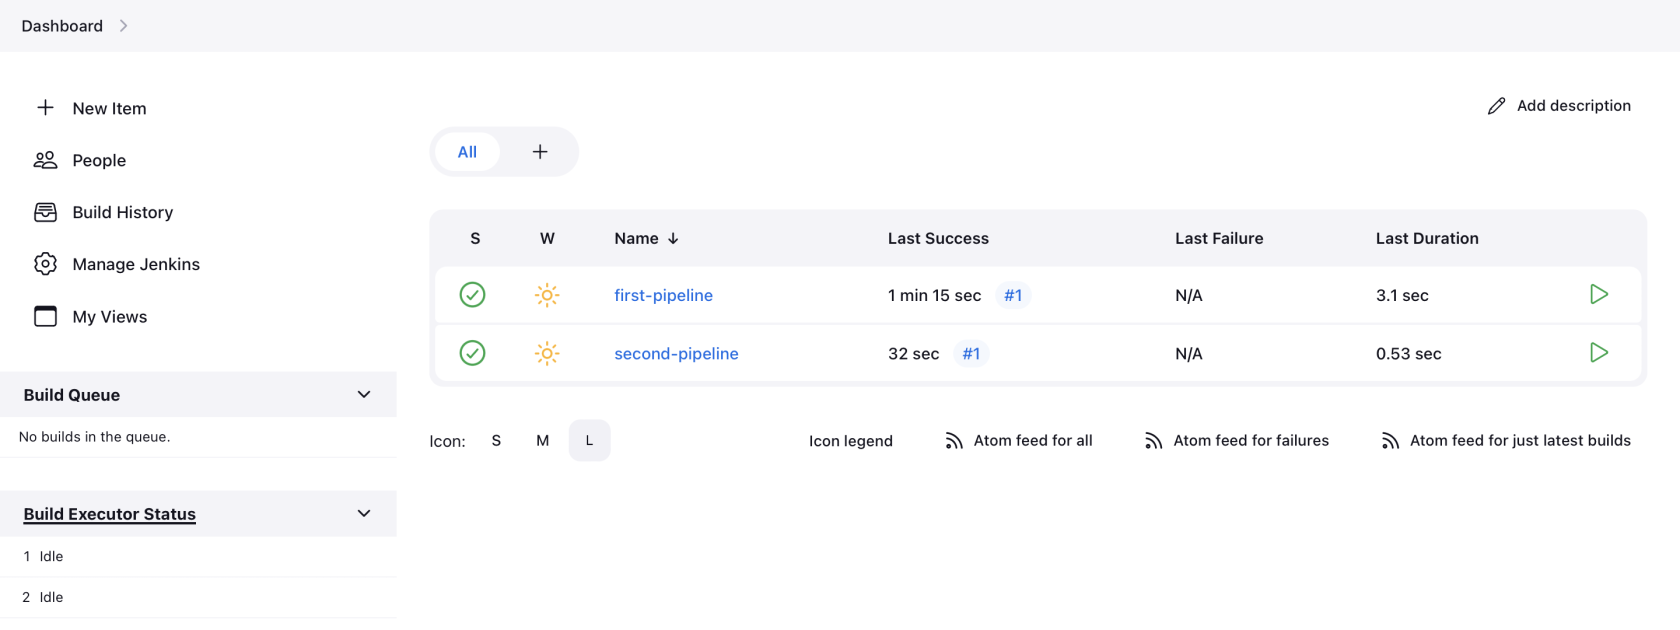
Step 1: Review Source Pipelines
For this tutorial, we'll import two simple pipelines from a source server:
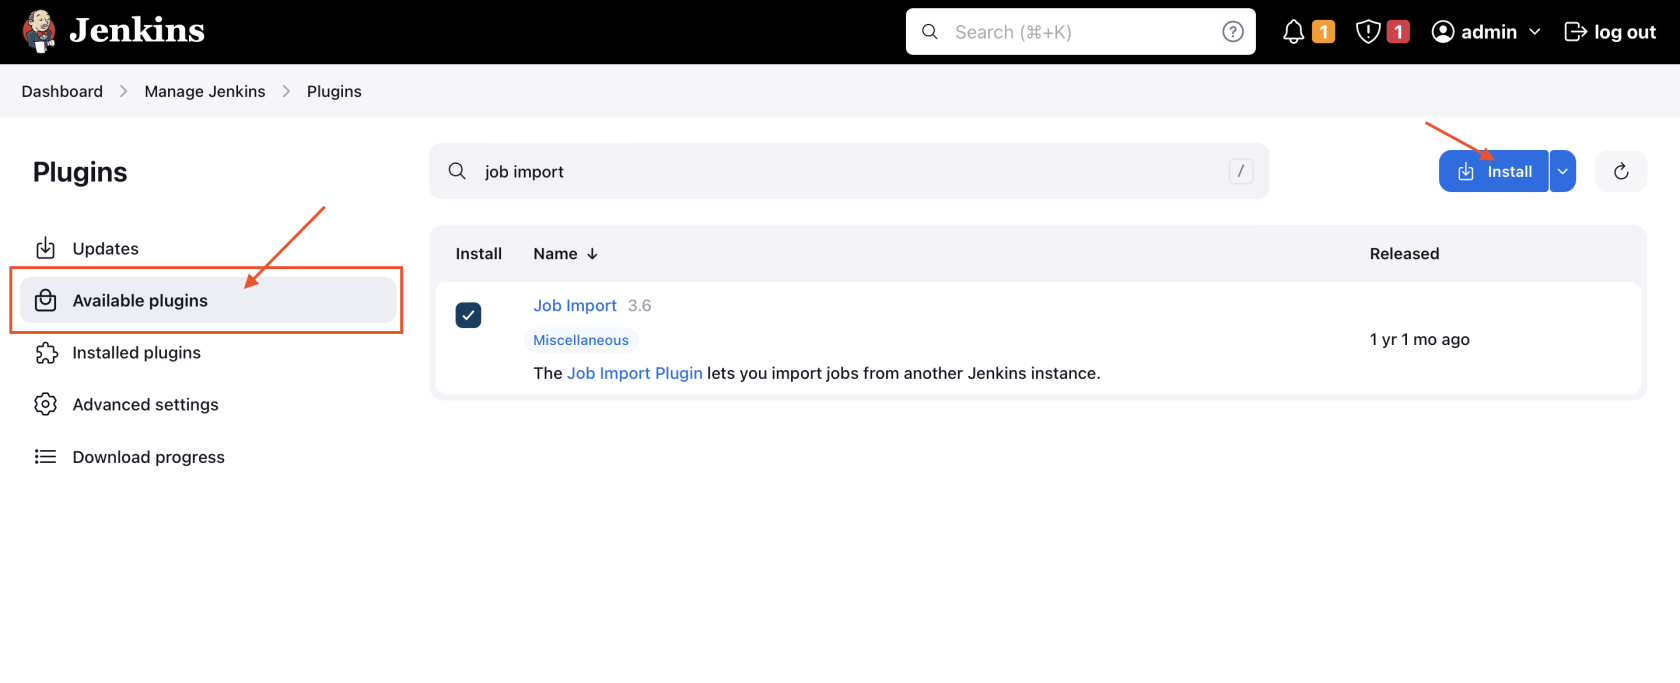
Step 2: Install Job Import Plugin
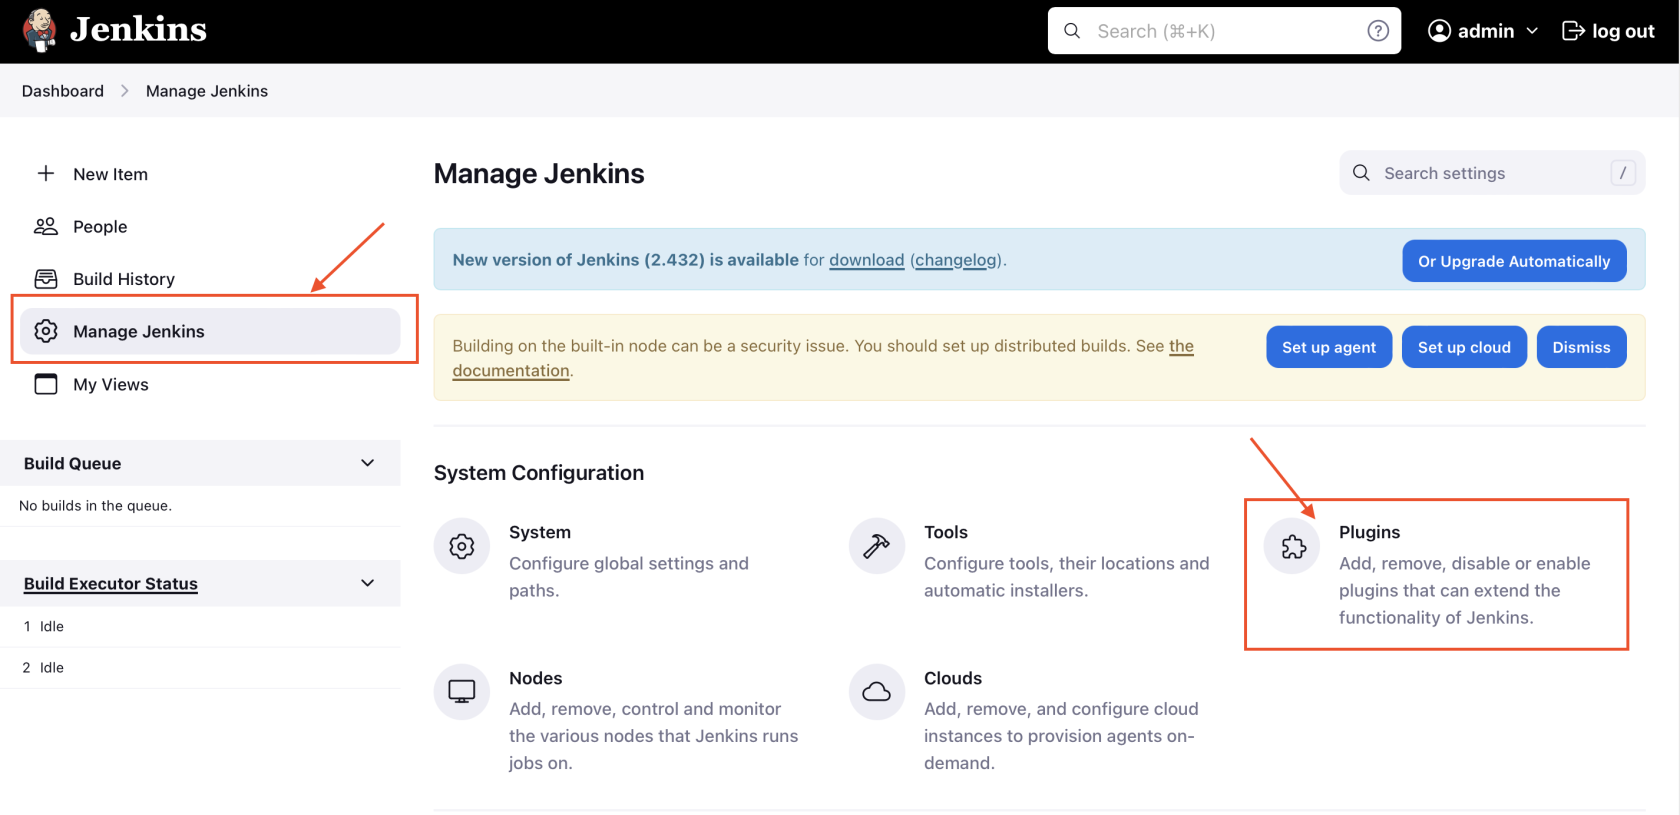
- Navigate to your Elestio Jenkins dashboard
- Click "Manage Jenkins" and select "Plugins"
- Install the "Job Import" plugin
- Restart Jenkins if required
Step 3: Configure Remote Jenkins Connection
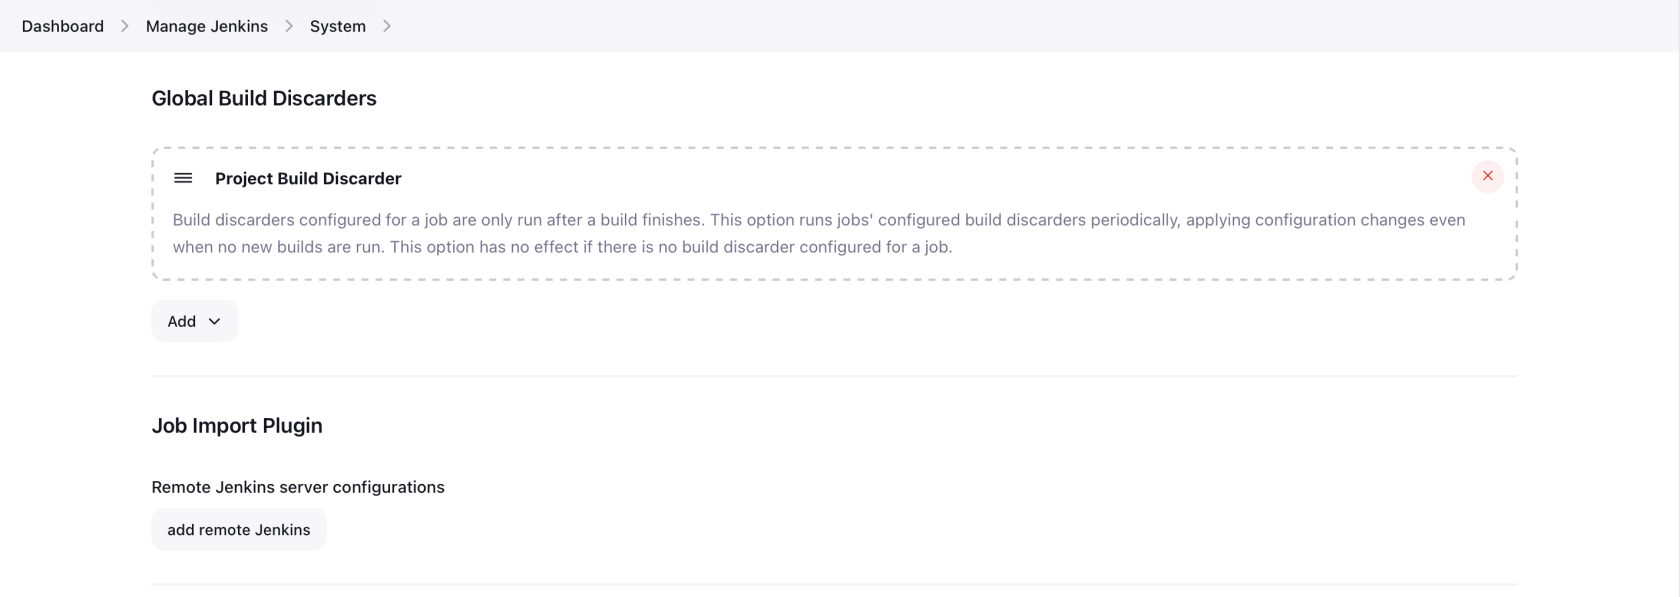
- Navigate to "Manage Jenkins" → "System"
- Scroll to the "Job Import Plugin" section
- Click "Add Remote Jenkins"
Step 4: Add Source Jenkins Credentials
- Enter your original Jenkins server information
- Click "Add Credentials" to add source Jenkins server credentials
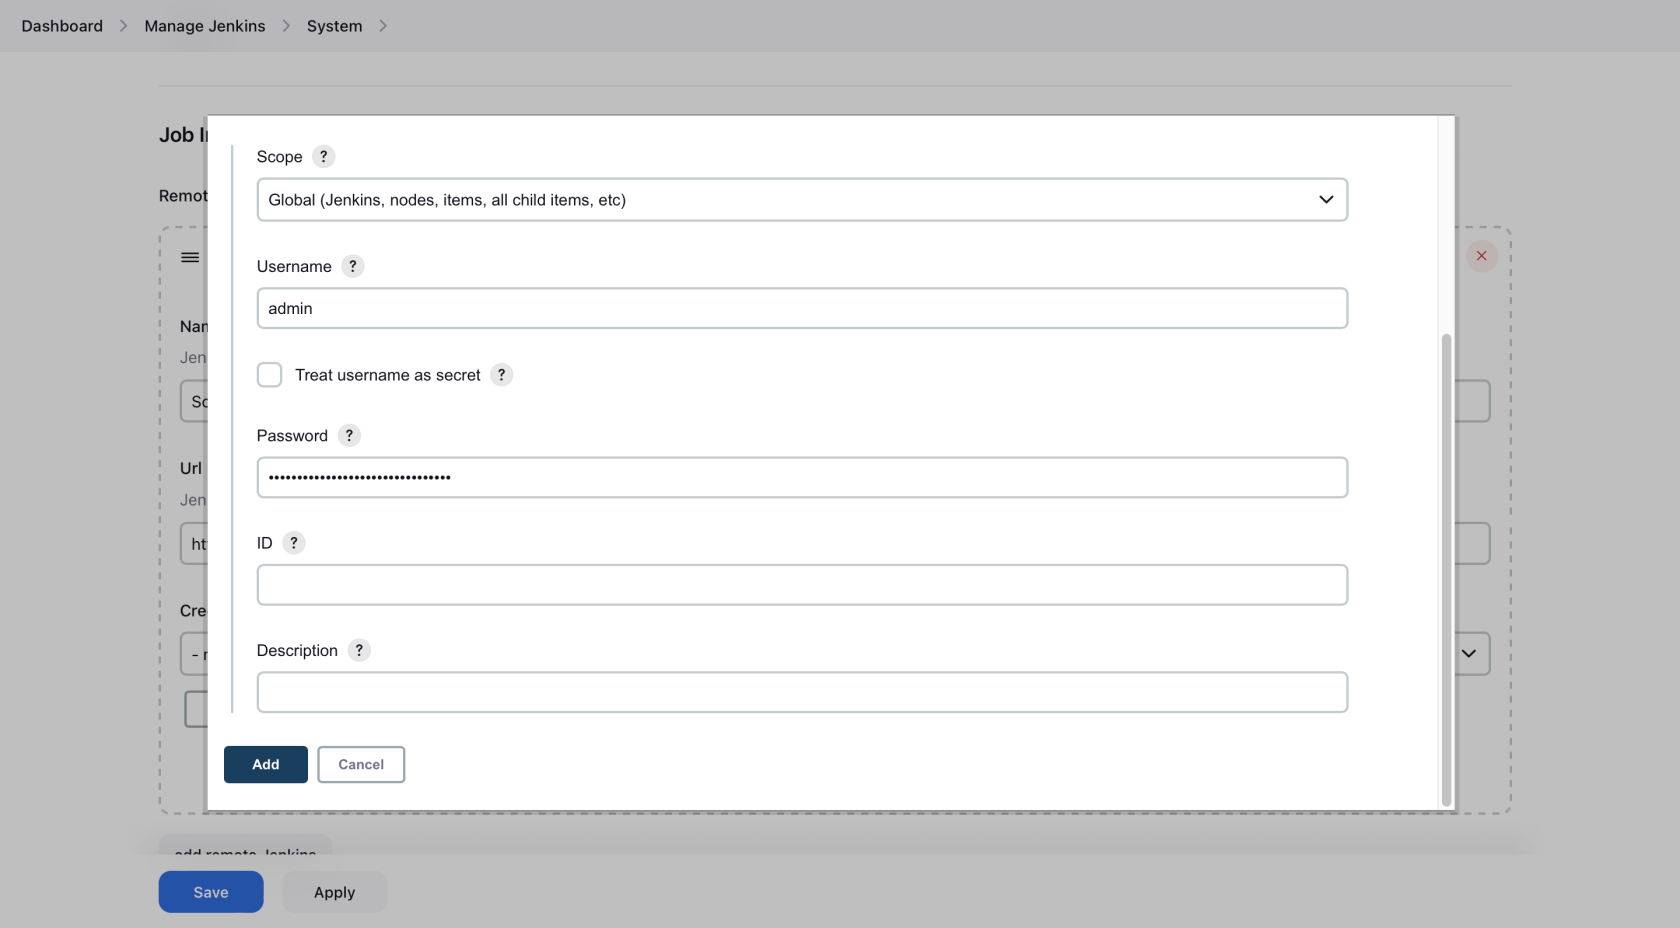
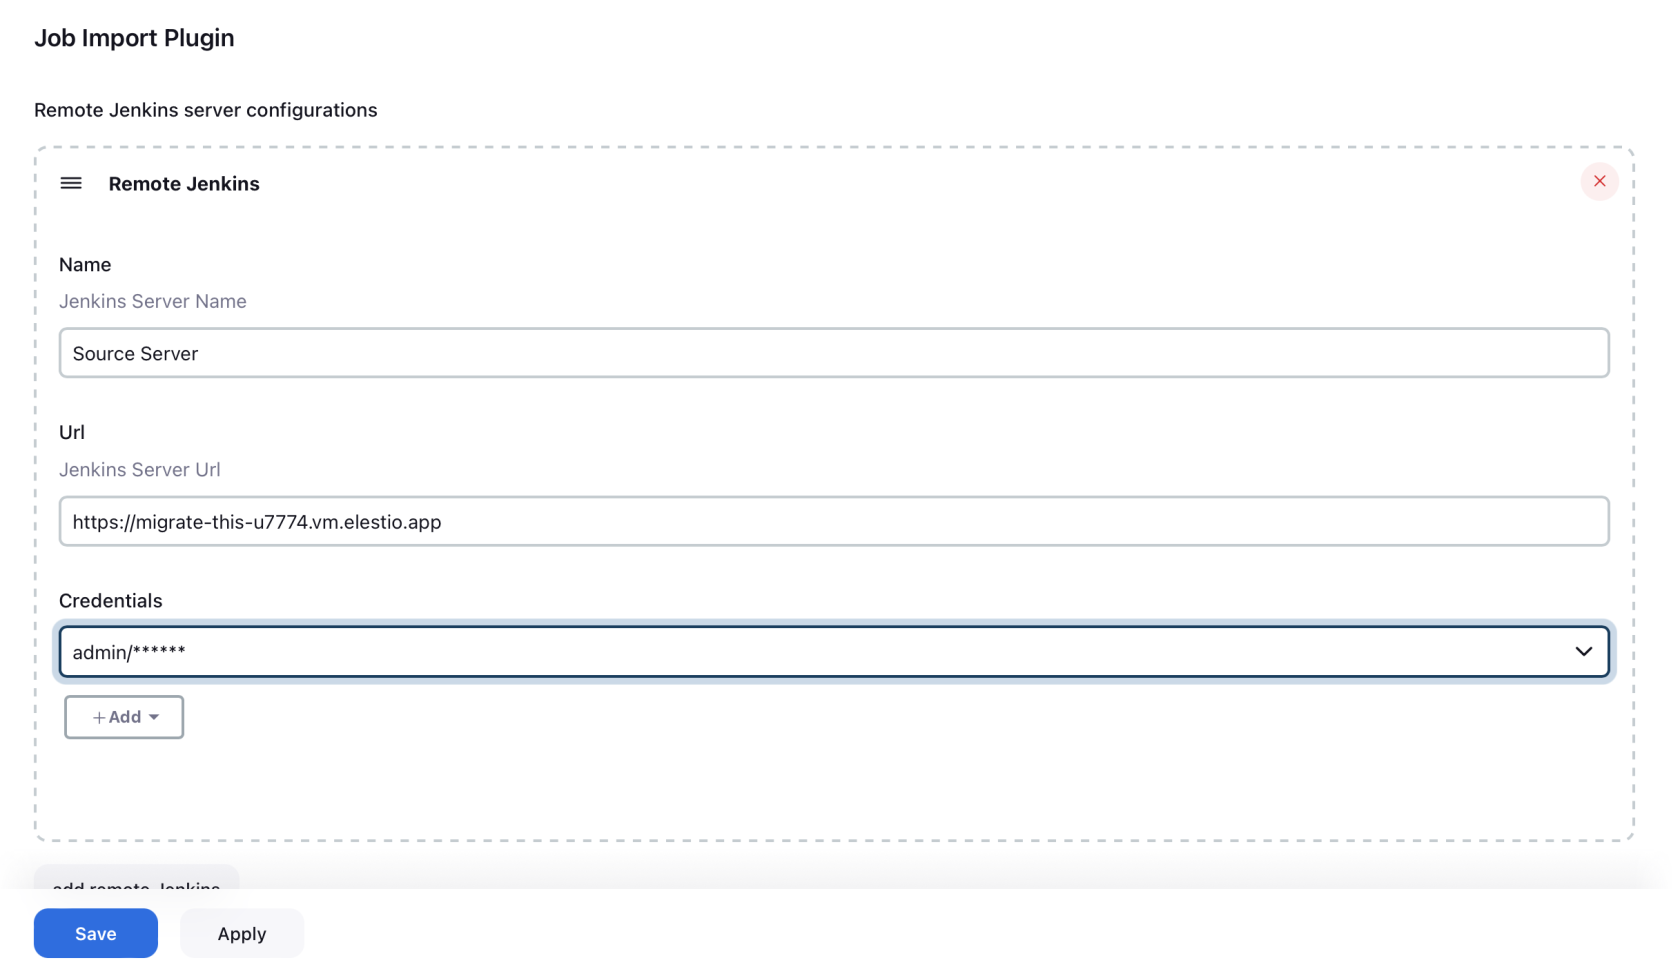
- Select the credentials from the dropdown
- Ensure your configuration looks similar to this:
Step 5: Save Configuration
Apply and save the remote Jenkins settings
4️⃣ Importing Jobs
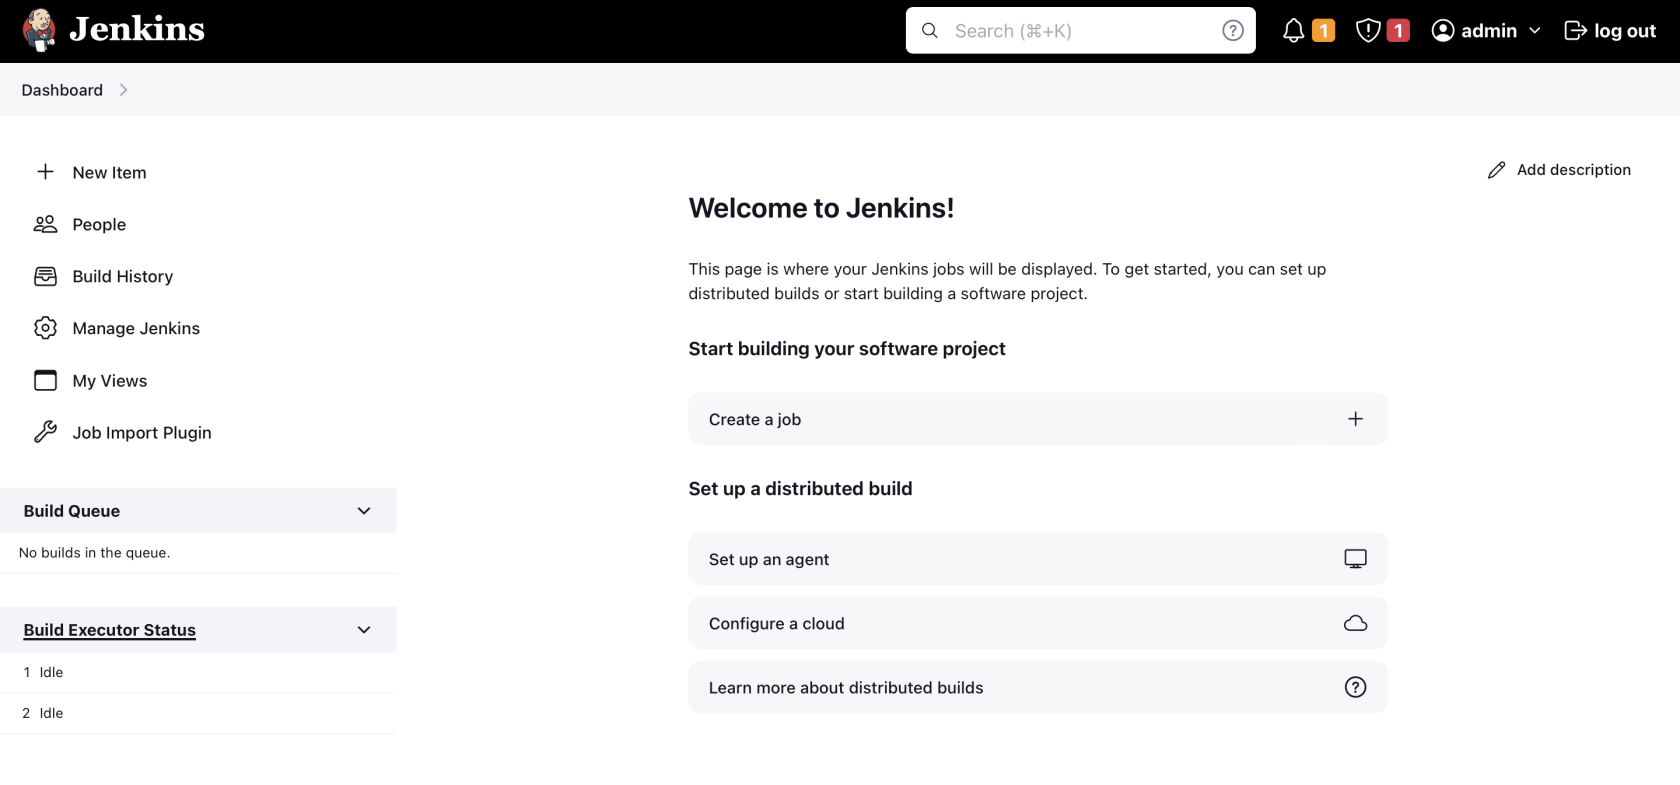
Step 1: Access Job Import Plugin
Navigate to the Jenkins dashboard and click on "Job Import Plugin" (now visible in the menu)
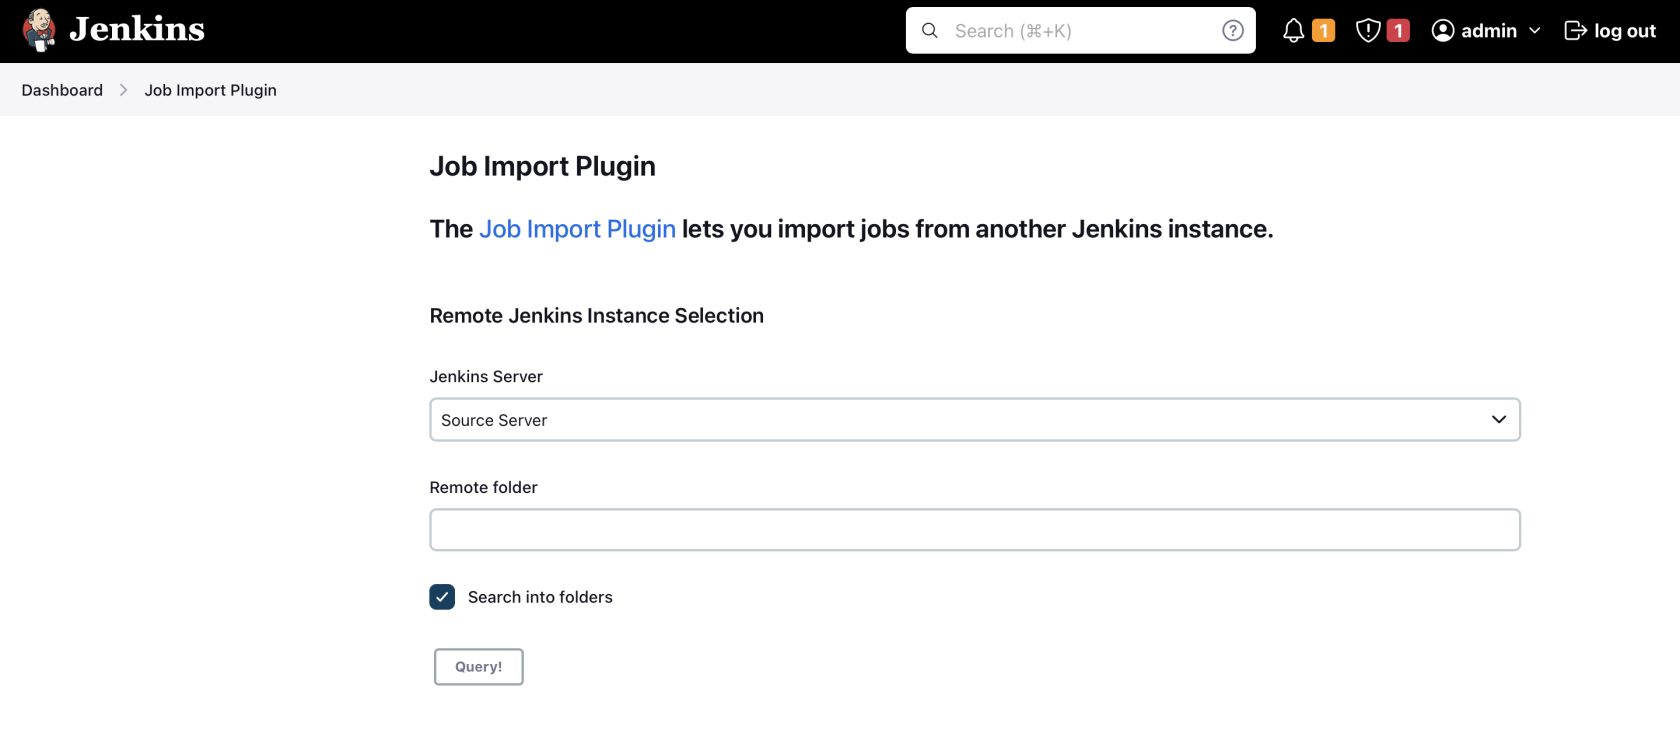
Step 2: Query Source Jenkins
- Select your source server from the dropdown
- Check "Search into folders" to avoid specifying remote folder paths
- Click "Query"
Step 3: Select and Import Jobs
- Review all available pipelines from your source server
- Select the pipelines you want to migrate (or select all)
- Click "Import"
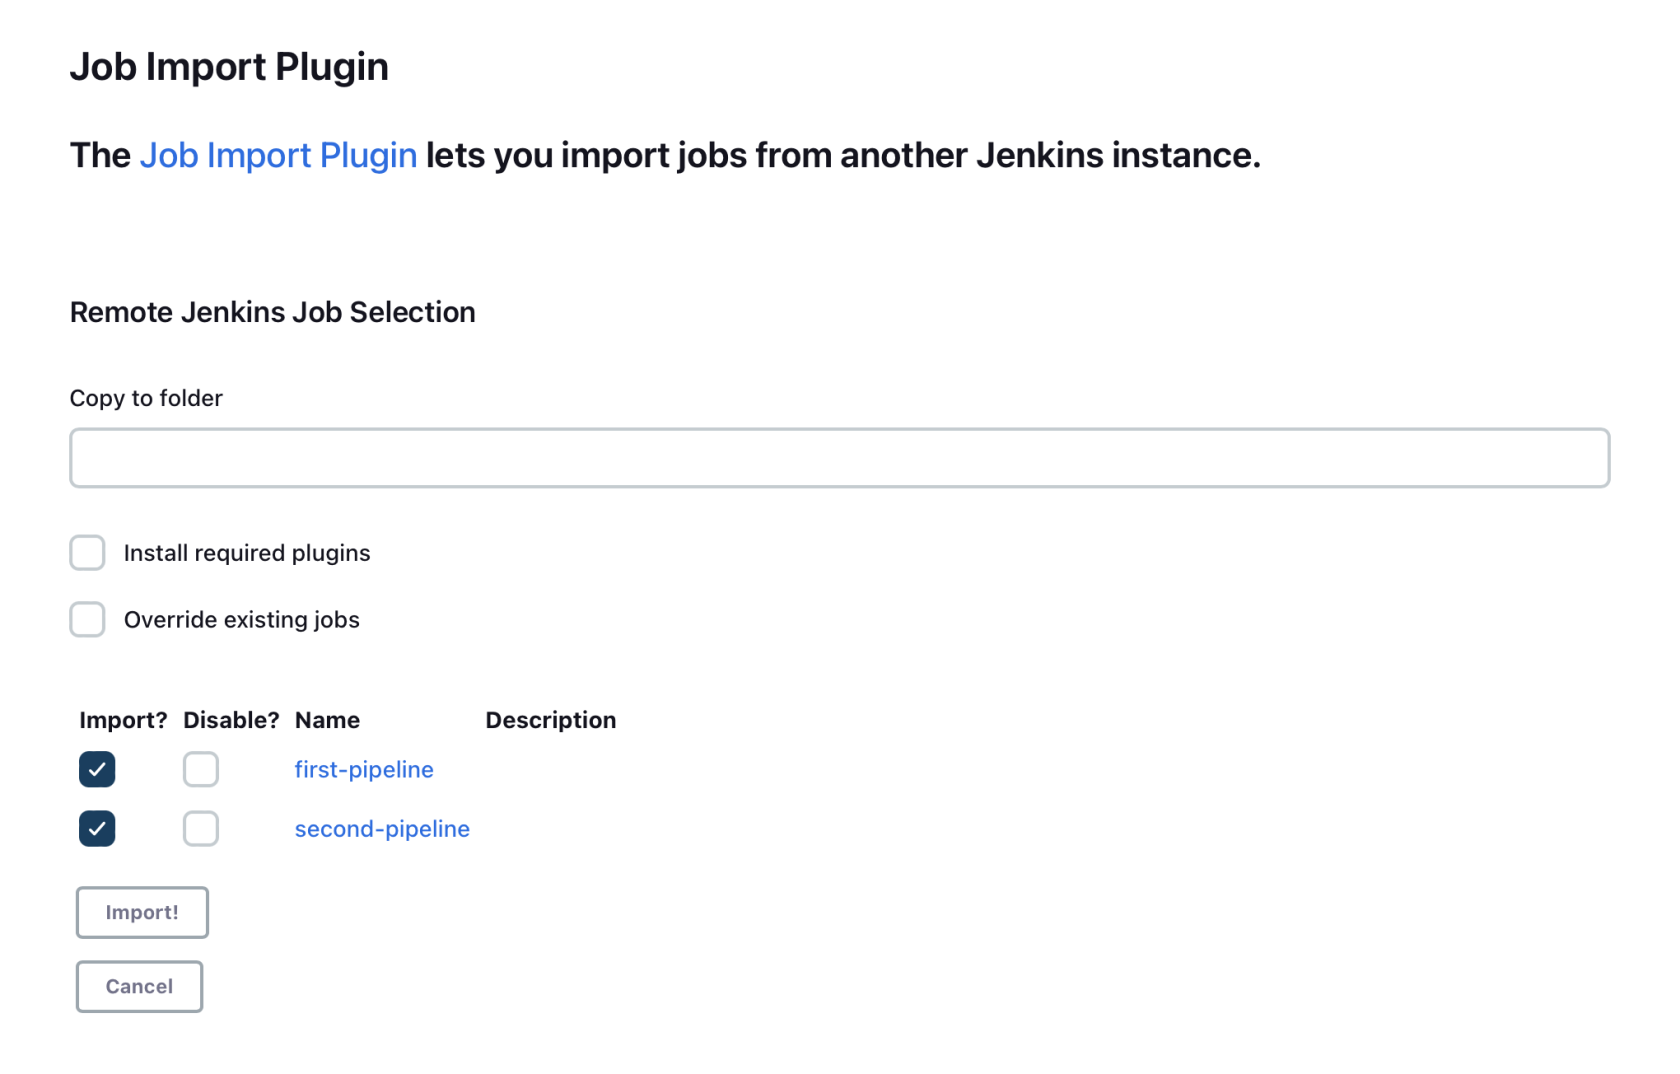
Congratulations! 🎉 You have successfully imported pipelines from your source server.
5️⃣ Testing the Migration
Verify Pipeline Import
- Navigate to the Jenkins dashboard
- Confirm all pipelines have been imported correctly
- Test pipeline execution to ensure functionality
Post-Migration Checks
- Test Pipeline Execution: Run a few test builds to ensure pipelines work correctly
- Verify Credentials: Ensure all necessary credentials are properly configured
- Check Plugin Compatibility: Verify all required plugins are installed and compatible
- Update Webhooks: Update Git repository webhooks to point to your new Elestio Jenkins instance
- Review Notifications: Configure email notifications and other integrations
6️⃣ Post-Migration Steps
After successful migration, consider these additional steps:
- Update SCM Integration: Point your repositories to the new Jenkins instance
- Configure Security: Set up appropriate user permissions and security settings
- Backup Strategy: Implement regular backups for your Jenkins configuration
- Monitor Performance: Set up monitoring for your Jenkins instance
- Update Documentation: Update any documentation referencing the old Jenkins URLs
7️⃣ Need Additional Help?
Stuck somewhere? We're here to help! Create a support ticket and we'll get back to you promptly.
Related Resources
- Jenkins Service Details - Learn more about Elestio's Jenkins offering
- CI/CD Best Practices - Learn about CI/CD pipelines on Elestio
- Migration Best Practices - General migration tips and best practices