SSH Keys
Control which SSH keys can reach your server, and connect securely with them.
Manage SSH keys
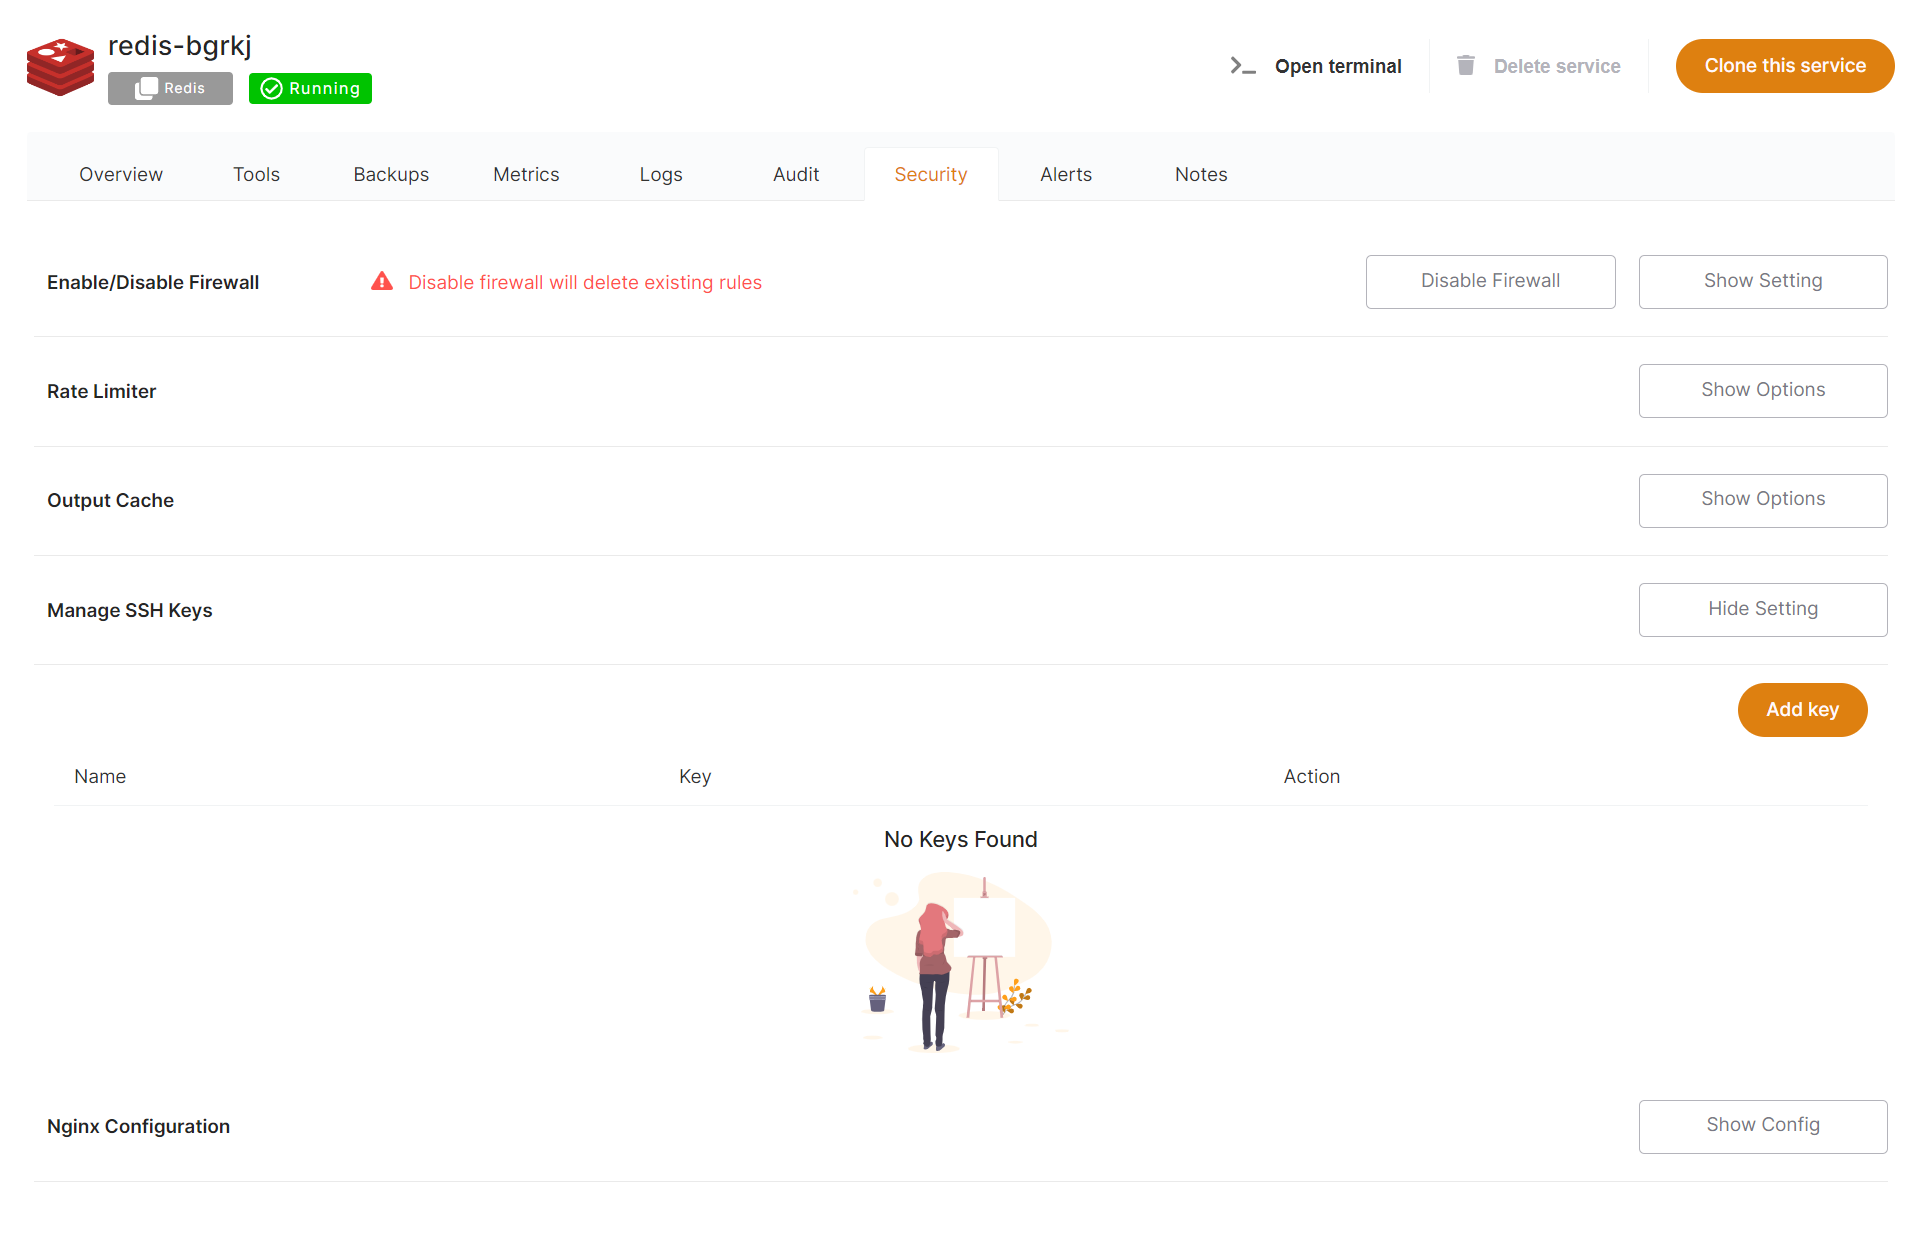
From the dashboard, open the Security tab and click Show Options on Manage SSH Keys. From there you can add or remove keys allowed on the server.
- Add a key — Click Add key, give it a title, and save.
- Delete a key — Click the trash icon next to the key. You will be asked to confirm.
Connect from Mac or Linux
1. Check for an existing key pair
ls ~/.ssh
The file ending in .pub is your public key. If you have none, generate one:
ssh-keygen -b 4096 -t rsa
2. Add your public key to Elestio
Display your public key (replace the filename with yours):
cat ~/.ssh/id_ed25519.pub
Then, in your Elestio service:
- Open the Security tab.
- Go to Manage SSH Keys and click Add key.
- Paste your public key and save.
3. Test the connection
ssh root@IPV4_TARGET_VM
Replace IPV4_TARGET_VM with your service IPv4 address from the Overview tab. For example:
ssh root@128.144.84.22
If it succeeds, you are logged into your VM.
Connect from Windows with WSL
1. Set up WSL
Open PowerShell as Administrator and run:
wsl --install
This enables the required features and installs the latest WSL.
2. Install a Linux distribution
Install a distribution from the Microsoft Store (for example, Ubuntu), launch it from the Start menu to initialize it, then create a user and password.
3. Update packages
sudo apt update && sudo apt upgrade
Then follow the Mac/Linux steps above to connect with your SSH key.